The Beginner’s Olympic Weightlifting Guide to the Clean
April 6, 2019
Written by admin in Training,
 23 min read
 The almighty clean. The more powerful of the two sister Olympic lifts, the clean is a showcase for athletes who love to move some weight. Whereas the snatch is painfully precise and complex, the clean is much more forgiving yet complex in its own right. Here are some helpful tips and tricks you can use as a guide to help you move some serious weight the next time a heavy clean is on the menu.
View this post on Instagram
The Beginner’s Guide to the Clean
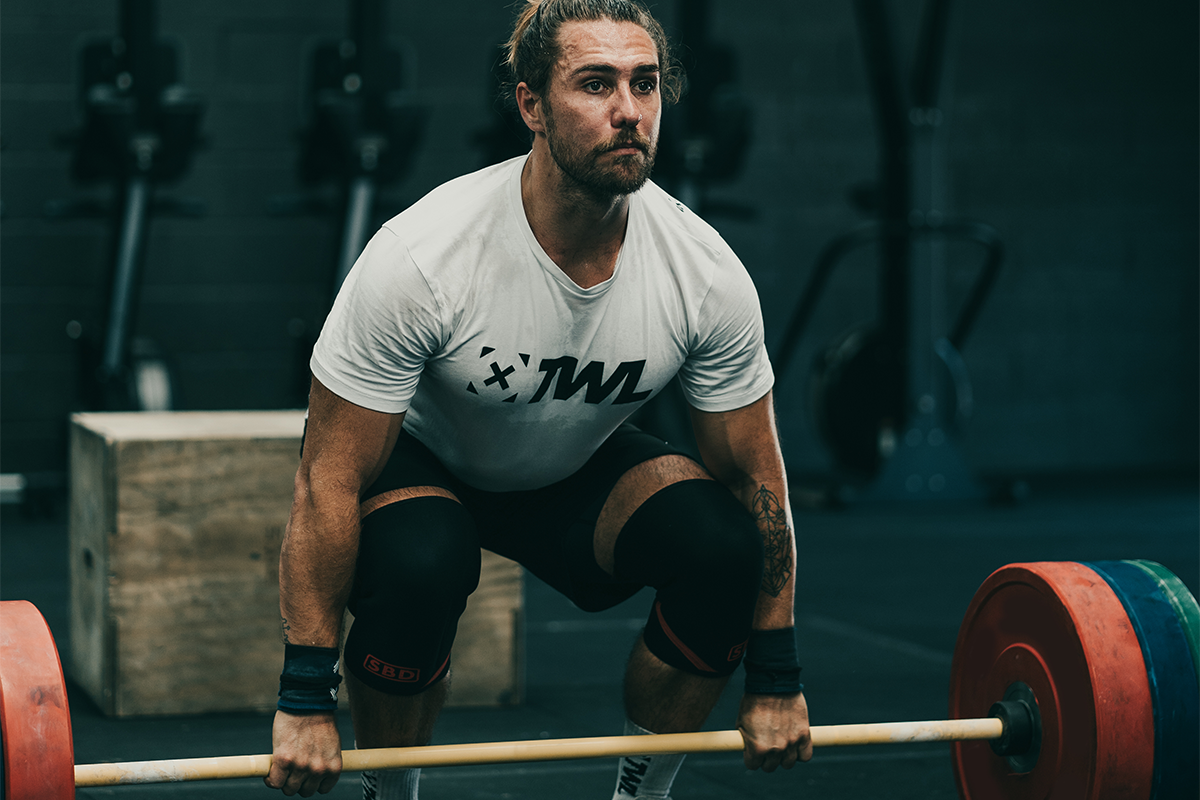
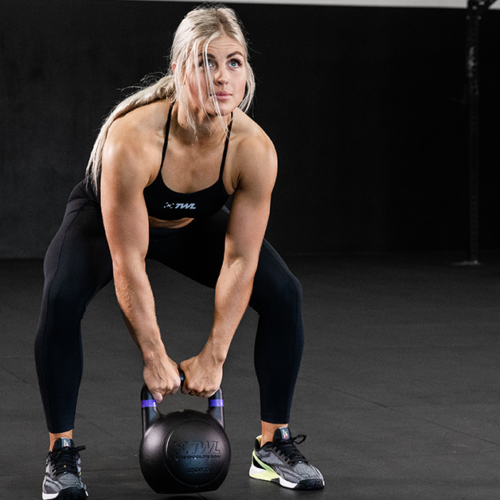
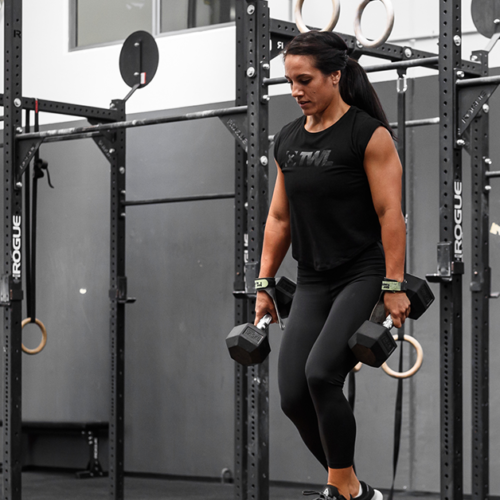
The Setup
The most important thing to remember is that the clean is not a deadlift. It may look like a deadlift and it may smell like a deadlift, but it certainly is not a deadlift. For starters, the hips are set much lower in a clean compared to a deadlift. This, in turn, forces the shins to push forward slightly and your weight to transfer to the balls of your feet rather than your heels.
With that being said, the heels should remain planted during the setup. Your weight should not be so far forward that your heels start to lift off the ground.
Also, your eyes remain up, focused on the horizon rather than on the ground in front of you like you would in a deadlift. This helps balance an athlete throughout the duration of such a complex movement and aids in reaching full extension through the hips at the most crucial point of the lift.
View this post on Instagram
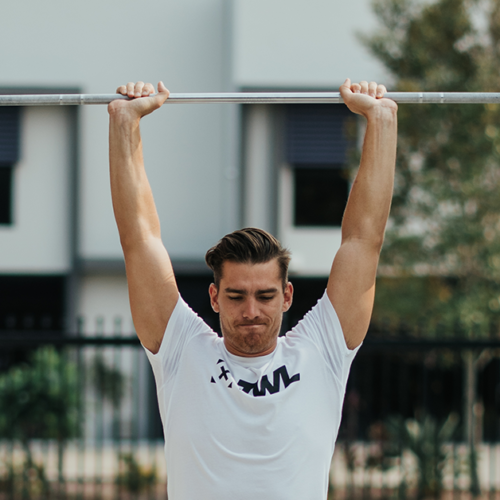
Patience is Key
And I do not mean that in some corny motivational Instagram post type of way. I mean actual real-life patience with the barbell. The tendency of so many lifters, experienced or not, is to cut the second phase of the lift short by “jumping” the barbell up once it passes the knees. The goal of the clean, as with the snatch, is to get the bar as close to the hips as possible before finishing the lift.
With the snatch, the goal is to actually make contact with the hips. This may not always happen with the clean as your grip, and limb length can dictate how close the bar gets to your hips. Either way, patience is key.
Whether you are doing a clean or snatch, the goal is to gain a mechanical advantage over the barbell. The closer the bar gets to your hips, the greater the advantage. You want to drag the bar up your thighs until your torso is vertical with a slight bend in your legs so that you are able to extend vertically and elevate the bar in a straight line. By launching the bar from just above your knees or a quarter of the way up your thighs, the bar will either follow a loopy path to your shoulders or be left out in front, causing you to jump forward to catch it. Both are no bueno.
View this post on Instagram
Patience with the bar becomes an even more daunting challenge as the weight becomes heavier. Your internal clock starts ticking a bit faster and the urge to jump early becomes even greater. Again, patience. The straighter bar path will pay dividends when trying to receive maximal loads.
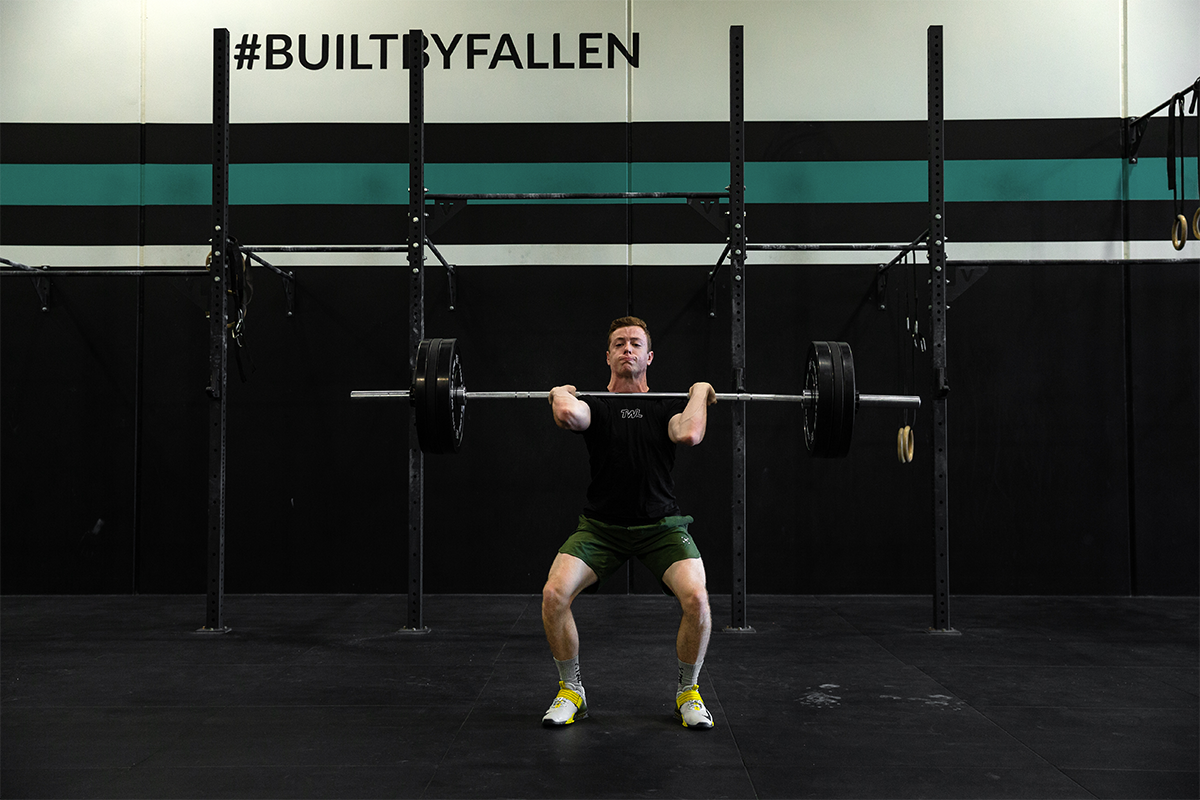
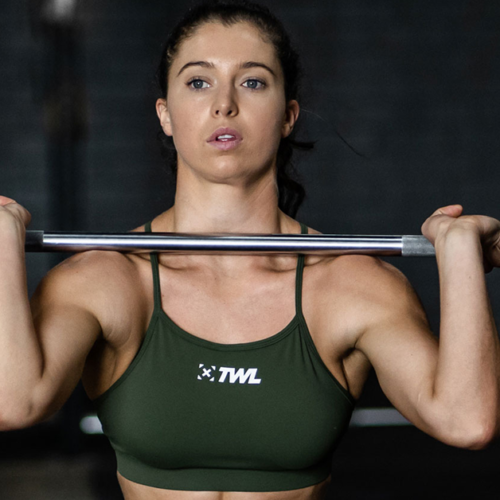
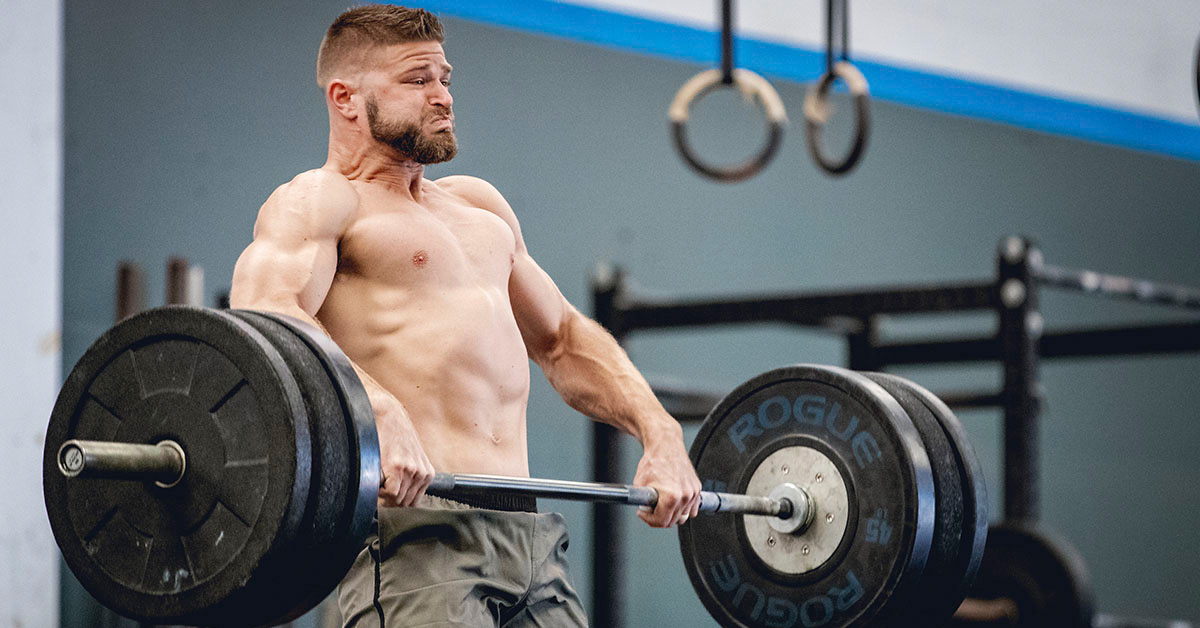
Do Not Hesitate in the Receiving Position
Let’s get one thing out of the way first. Yes, the bar will rest up against your neck. Yes, it’s supposed to be there. Yes, it might feel a bit sketchy at first, but that’s where it belongs. In the receiving position, the bar should be in contact primarily with your shoulders instead of your collarbone and slightly pressed up against your neck.
View this post on Instagram
Notice that I did not say “held in your hands.” The bar will be in your hands, yes, but the majority of the weight of the bar should not be taken on by your hands and wrists. At the very most, they should be there just to loosely babysit the bar on your shoulders.
This is important for two reasons: first is injury prevention. Your hands and wrists are not meant to take on that amount of loading by themselves in a dynamic effort. Second, more than likely, if you are catching the bar in your hands, that means the bar is in front of your center of mass — like way, way in front. You are at your strongest with the bar closest to your midline. An inch or two in front of that line can make a world of difference. And at maximal loads, that usually results in a missed lift.
You also want to receive the barbell with your elbows high and with a vertical torso. This will set you up in the strongest position to support the load of the barbell and drive vertically out of the bottom of your squat.
View this post on Instagram
Side note: Another problem I see many newer lifters face is an overly beat up collarbone. Yes, the collarbone will take some abuse regardless, but for those who take a little extra pounding, this usually occurs because they are receiving the bar with low elbows. It’s a bit counterintuitive, but to prevent that from happening you really have to commit to shooting your elbows around and catching the bar with your shoulders.
It’s the athletes that are hesitant to really commit to receiving the barbell (probably because they failed to commit one time and left the class with a bruised clavicle) that suffer the most. Get those elbows around quickly and your shoulders will naturally make a pad to take on most of that loading.
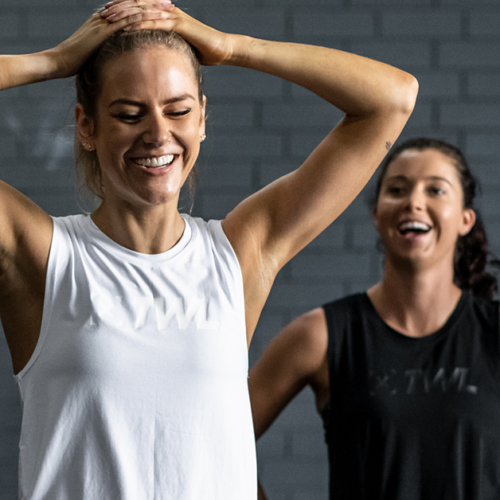
Skill Work. Skill Work. Skill Work.
The importance of skill work cannot be overstated, and I thought I’d repeat it three times to help make it stick. Doing cleans is great, but shoring up some weakness in your clean via skill work in addition to the cleans themselves is what turns good lifters into great ones. Need to work on a quicker turnover/receiving position? Why not try tall cleans? Need to work on maintaining an upright torso and not getting pinned in the bottom of your squat? Why not try Anderson squats? Need patience? Try clean pulls.
There are a million different drills to help supplement your training. The important thing is to identify your personal weaknesses and choose drills to eventually turn those shortcomings into strengths.