3 Movements You Can Improve Before the Open
January 16, 2018
Written by admin in Training,
 38 min read
 The Open is upon us, and we all want to be as prepared as possible. TWL spoke with Ben Dziwulski over at WODPrep, which helps athletes break through sticking points, master specific skills and Rx more workouts. Ben selected three specific movements you can significantly improve before the Open arrives, and how to do it. Here’s what he had to say.
Here we are, 2018. And with another new year comes another CrossFit Open just around the corner. So my question to you is, are you ready for it? Have you been fine-tuning some of those skills we see pop up year after year, or have you been avoiding them like the plague?
Regardless, I’m here to help.
Every year, there are a handful of movements we see programmed across the Open without fail. Today, I want to focus on three I believe you still have time to make progress on before February 22nd — when workout 18.1 is officially announced.
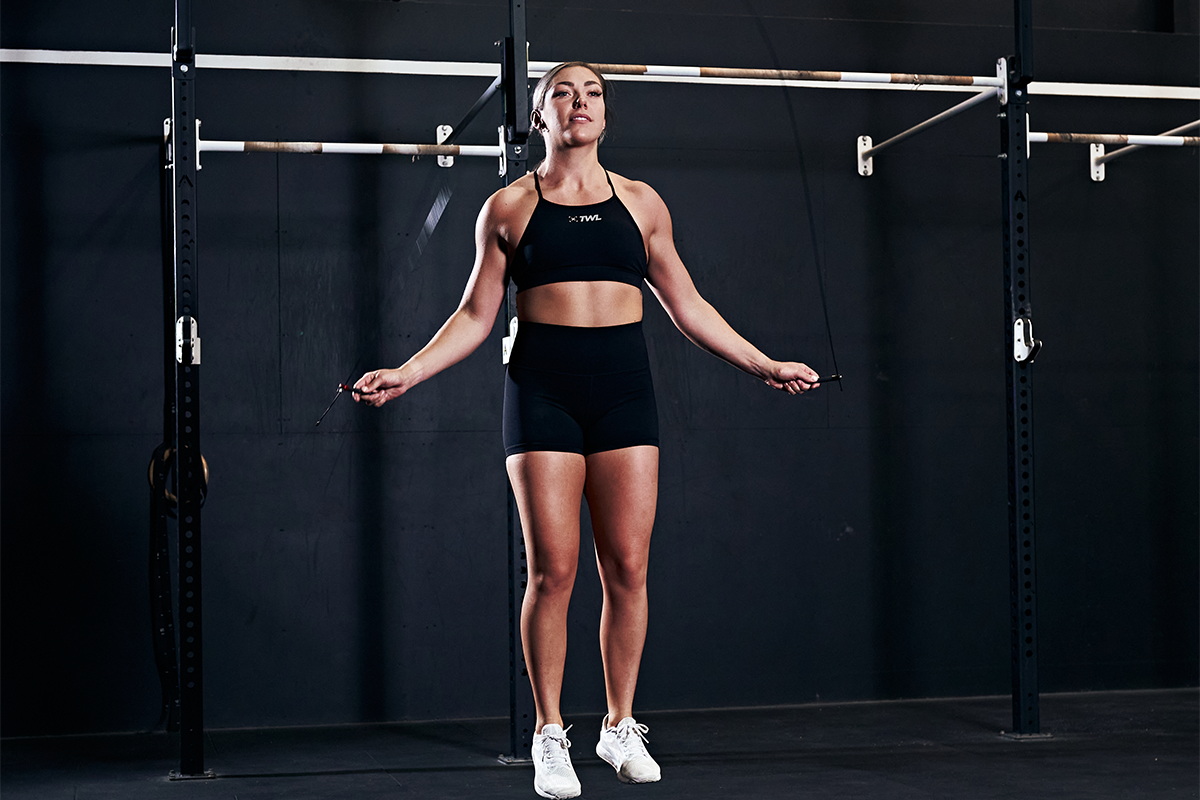
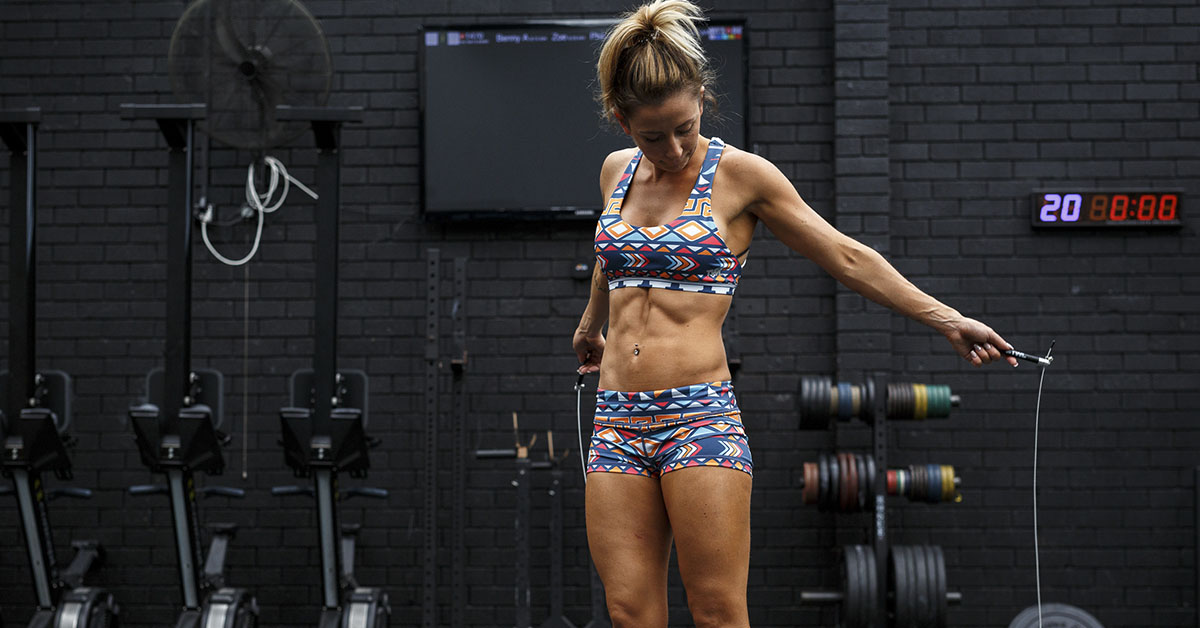
1. Double-Unders
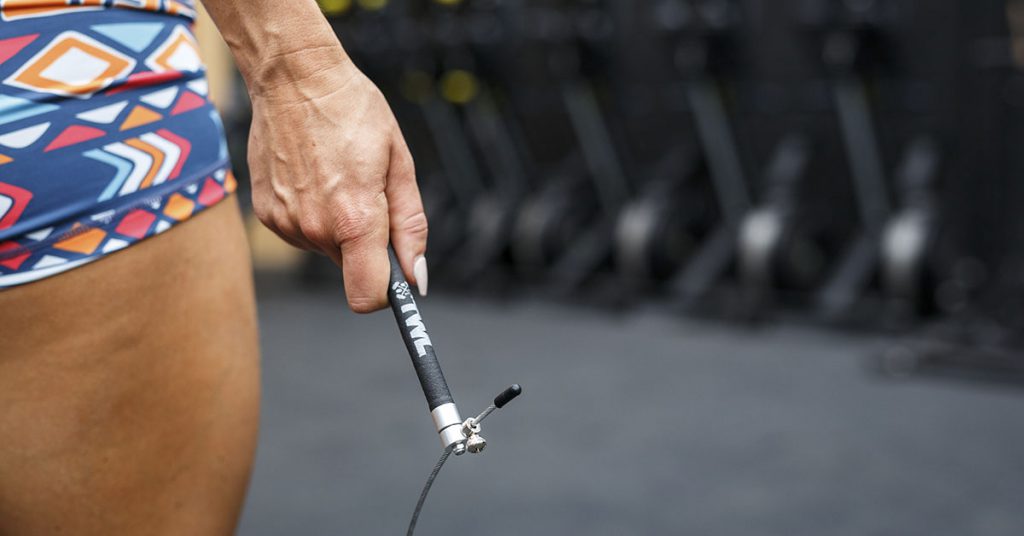
Believe me, I’ve experienced it firsthand… double-unders can be super annoying. There’s nothing more frustrating than repeatedly getting whipped by a rope as you’re trying to learn a new skill. Whether you’re just starting to learn them or are working on improving your capacity, I recommend following four simple steps.
Make a Plan
It may sound silly, but unless you know what your starting point is, it’s hard to move forward. Don’t even know the first step to take toward a double-under? Try checking out this video.
If you already understand double-unders but are having specific issues with wrist speed, jumping form, stringing reps together, etc., then it’s important to find drills to address whatever your specific issue is.
Try New Things
If you’re feeling stuck in a rut and just CAN’T figure out where your sticking point is, here are a few things I recommend for switching things up and breaking through barriers. Below are a few techniques I have seen work well with athletes in the past:
Know Your Jump
Jumping form is incredibly important in relation to double-unders. So when I say “know your form,” this is what I’m referring to:
Are you donkey kicking?
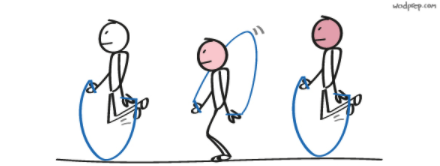
Are you piking?
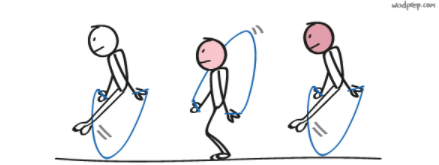
If you are, you’re wasting a TON of energy. Generally, I like to think of the double-under as a “pogo stick” jump. Keep your feet together and bend at the knees, hips and ankles slightly. Imagine your legs are one solid spring and simply jump straight up and down, just like a pogo stick!
Be Patient
This is important: trust the process. Know that every day of practicing double-unders isn’t going to bring immense progress, and there may be days where you feel like you’re backtracking…
Stay focused, stay diligent and try to enjoy the process!
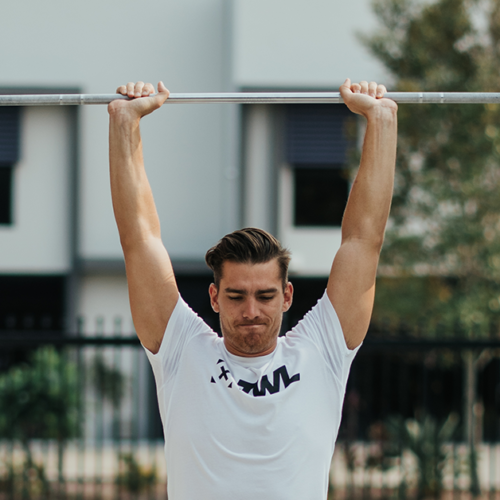
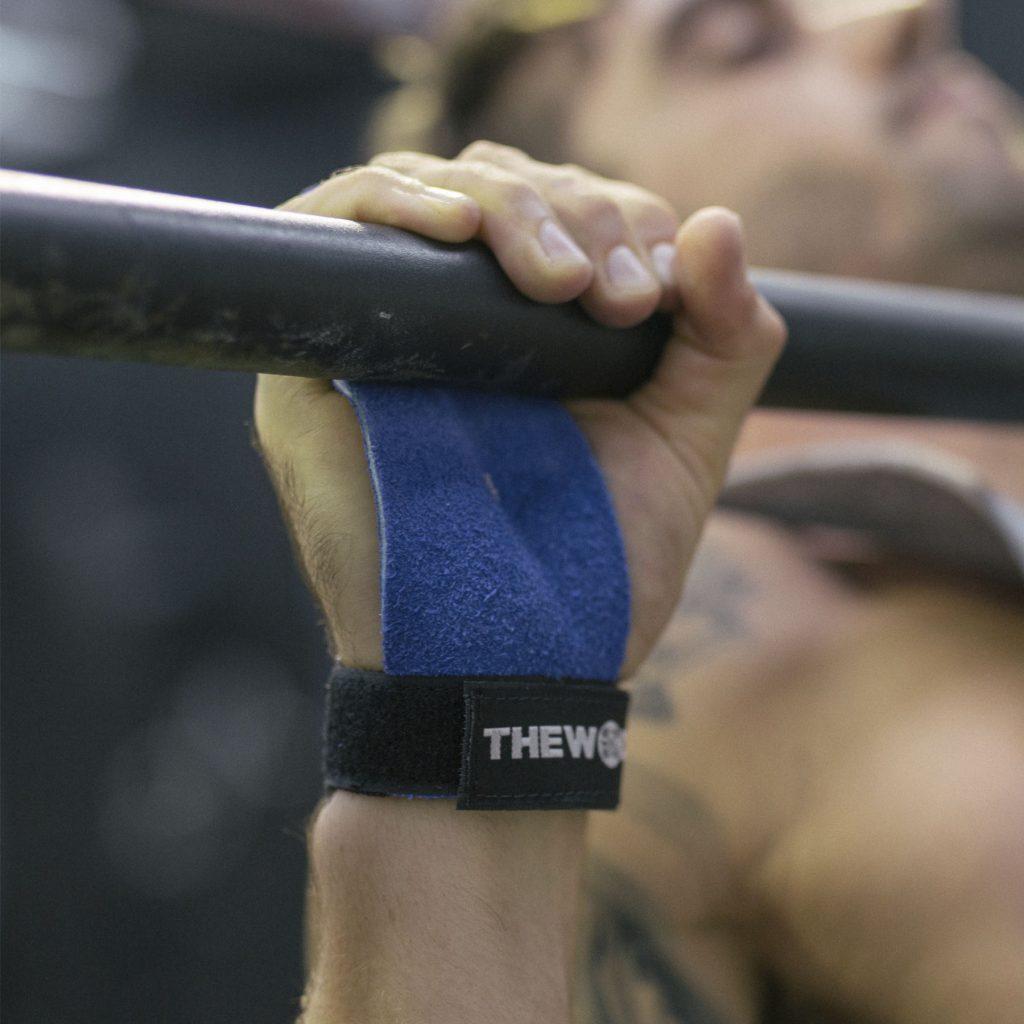
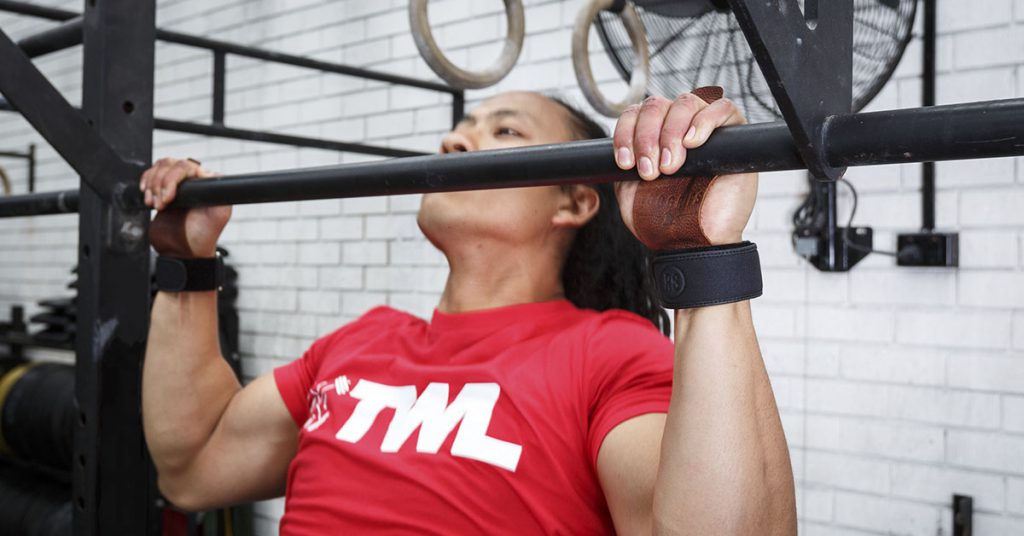
2. Kipping Pull-ups
As a disclaimer, I highly recommend you do NOT attempt kipping pull-ups until you can do at least four strict pull-ups. The motion of a kipping pull-up can cause a lot of stress on your shoulders. Therefore, the movement really shouldn’t be attempted until you’re strong enough to string together a series of strict pull-ups first. (Still working on strict pull-ups? There’s a free guide for that.)
When it comes to this skill of kipping pull-ups, I like to break it down into six parts:
Grip and Hollow Body
Your grip should be just outside of your shoulders when you hop onto the bar, and you should be holding a hollow-body position. (Think of your body forming a slight C shape.) Another important tip is to make sure you’re wrapping your thumb around the bar and under your fingers; this is simply more safe and won’t allow you to fly off.
Extend Into the Arch Position
Keeping your legs and core tight, point your toes and extend from the hollow body position into an arch position. This will push your head through, and your legs back behind your body.
Shoulders Up and Away
In this step, you’re moving back into a hollow body position, but also start to hinge your shoulders back as well. At this point, your head will start to come through also.
The Hip Pop
As you’re drifting up toward the bar, you will momentarily reach a point of weightlessness right at the apex. As you are reaching the apex, or right when you reach it, you need to pop your hips. This hip pop is what will help you pull yourself directly into the bar.
Pull With Your Elbows Down
This step is pretty simple: you should be pulling up and into the bar, so you can use your biceps and back muscles — not just your shoulders.
Push Back and Away
Now that your chin is above the bar, this next step is crucial (and often overlooked). You need to push back away from the bar, bringing your feet back out in front of you and moving back into the hollow body position. Think of it like pressing rewind. 🙂
3. Bar Muscle-Ups
I very often get asked the question, “Ben, which is easier — bar muscle-ups or ring muscle-ups?
In my opinion, the answer is bar muscle-ups — because the bar is much more stable than rings are. So, if you’re at a point where you think you’re ready to work on muscle-ups but not sure which one to focus on, my suggestion would be bar muscle-ups first.
Now, let’s look at my favorite drill for this movement: banded bar muscle-ups.
This drill can help you work toward getting your first — or help you clean up your current technique if you already have them. And the best part is the only equipment you need are a band and a bar.
First, wrap the band around the pull-up bar you will be working on. Then, carefully put one of your feet into the band once your hands are on the bar. (Either enter this position from a dead hang or from a box.)
Note: to keep this movement clean, simply wrap your foot that isn’t in the band over the top of your other foot.
Once you’re situated, make sure your hands are about shoulder width apart on the bar, lever back and attempt a bar muscle-up. The more assistance you need with bar muscle-ups, the thicker the band should be.
So, why am I specifically recommending this drill? I’ve got three reasons.
- It’s a great skill progression. Once you find the correct band that allows you to do assisted bar muscle-ups efficiently, this drill allows you to scale yet still practice multiple reps in a workout (instead of just scaling down to pull-ups).
- It helps to eliminate bad habits. Like I mentioned above, even if you can already do bar muscle-ups, this drill can be useful to you. If you’re still finding yourself doing the “chicken wing,” or having crazy legs in the process of your kip/lever, using a band can help you clean up these bad habits.
- This drill helps to accumulate volume. If you currently aren’t able to do several reps in a row, then you probably aren’t accumulating enough practice with bar muscle-ups to truly get good at the movement. So, grab one of the lighter bands the next time a workout calls for multiple bar muscle-ups, and work on accumulating those reps.
4. Ring Muscle-Ups
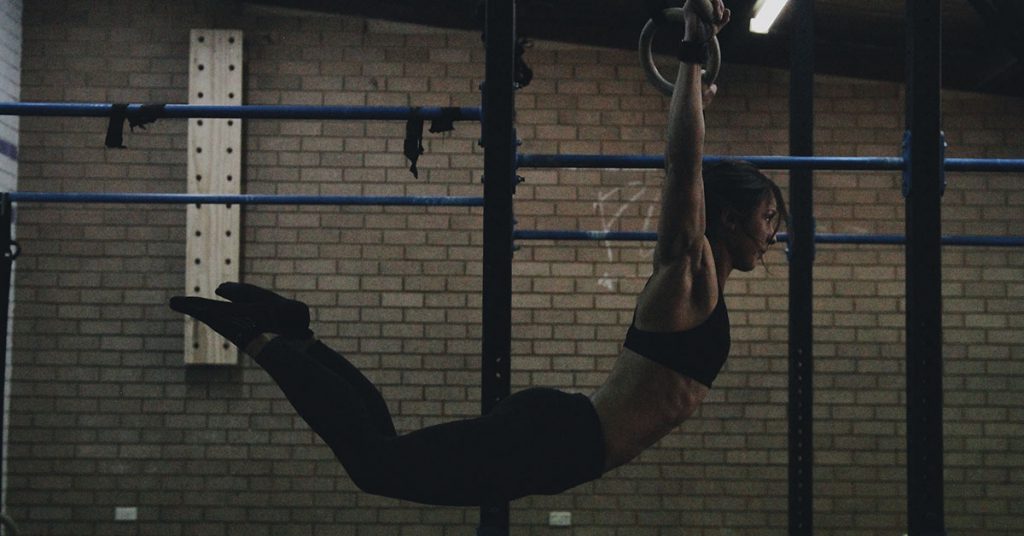
Bonus! I know this was article is supposed to cover three movements you can work on before the Open, but I’m going to break out both bar and ring muscle-ups, because they’re both super important.
Before anything else, here are the questions I typically ask athletes before starting to work on ring muscle-ups:
- Can you do five or more strict pull-ups unbroken?
- Can you do five or more strict ring dips unbroken?
- Can you do 10 or more kipping chest-to-bar pull-ups unbroken?
- Can you do a single, strict chest-to-bar pull-up?
If you answered yes to each one of these questions — you can do a muscle-up. You just need a little coaching and some practice. If you answered no to a few of the above questions, then you know what you still need to work on!
Let’s look at the three areas I highly recommend you focus on first.
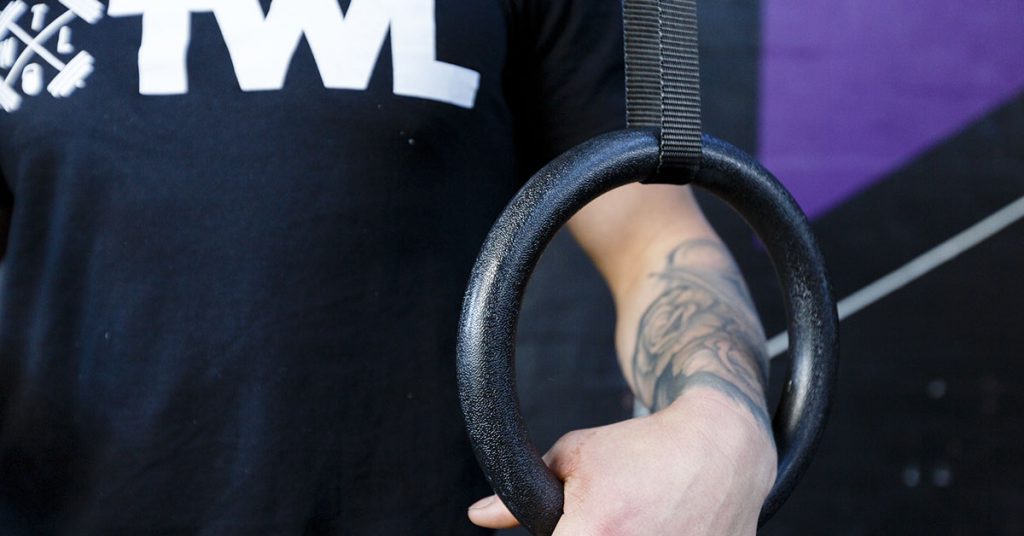
The False Grip
I’m well aware we don’t see Games athletes using false grip while they’re ripping out multiple ring muscle-ups. However, if you’re new to the movement, learning the false grip is the FIRST step you need to take toward developing a muscle-up. In fact, it is the ONLY thing I teach my online athletes for the first few sessions of muscle-up training. If I can get an athlete to perform a strict false grip ring pull-up on week one, then I know they will have a muscle-up within a few weeks.
Unfortunately, many athletes say, “I can’t hold on to the false grip!” or, “It really hurts my wrists, so I don’t like using that technique.”
My response: When was the last time you specifically practiced in order to develop the false grip?
If you started treating the false grip like any of your major lifts (practicing on a consistent basis), then my guess is you would see major improvements. Too often, people try to attempt the muscle-up as a whole instead of taking time to work on the individual parts.
The reason the false grip is key is because it puts your wrist in an optimal position to allow the turnover to take place. It works like magic to get you above the rings with little to no kipping required.
Practicing Transitions
Transitions are the “sexy” part of the muscle-up; they’re the link between the pull-up and the dip. I said it before and I’m going to say it again for emphasis:
Too often, people try to attempt the muscle-up as a whole instead of taking time to work on the individual parts.
The best way to practice transitions is to do them! Understanding the way your body catapults itself from a pull-up into a dip takes time, so you have to make sure to get your reps in. After several practice sessions, you’ll start to develop muscle memory.
Stay Diligent
I understand how frustrating it can be. You are close, yet feel so far away. Have faith! You are just a few positive habits away from getting above those rings. The key is making consistent progress, practicing the right drills and trusting the process.
Remember: if you only practice these drills a few times a year, then you will see little to no progress. On the other hand, if you spend 45 minutes per week (that’s 15 minutes per day, three days per week) practicing, developing and training your false grip and transition, you will see MASSIVE progress and ultimately, success!
Hopefully this post helped to give you some ideas of movements and/or drills to work on as we quickly approach the 2018 Open. Even if you can’t Rx all of the movements, the Open is a great time to challenge yourself as an athlete, all the while evaluating where you stand in your fitness.
Best of luck!
Ben
To get more help mastering CrossFit movements, visit WODPrep online.