
While generally considered the less challenging of the two Olympic lifts, the clean and jerk still demands specific technique if you want your numbers to keep climbing. How can you refine your positioning so that you can safely continue adding weight to your barbell? In this blog, we’re going to offer some of our best clean and jerk tips for advancing with the lift. Whether you’re a beginner or more seasoned, these will help with both your Olympic lifting sessions as well as your clean and jerk WODs. Keep scrolling!
12 Clean and Jerk Tips
We’re going to split the lift in half and look at the clean and the jerk individually.
6 Clean Tips
A precise clean sets the stage for a beautiful jerk, so let’s start here.
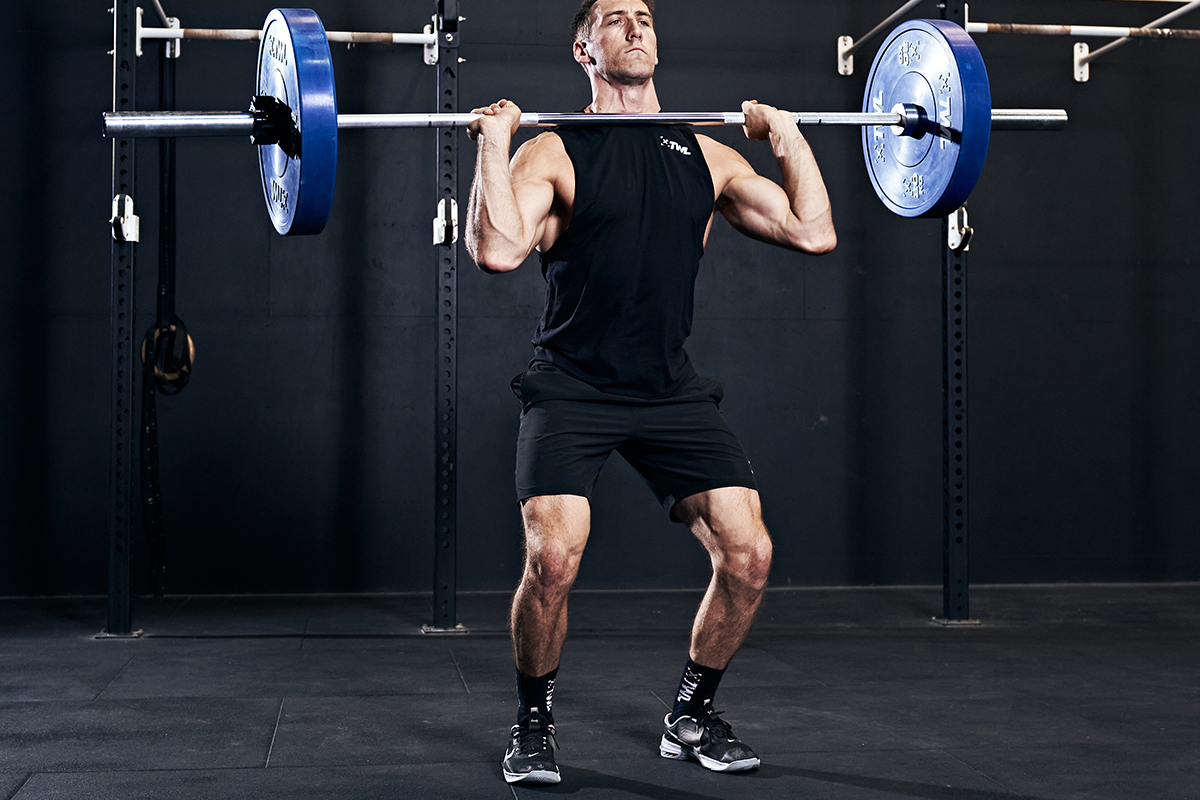
1. Pull the Bar — Don’t Yank It
A lot of athletes are anxious, so they rip the barbell off the ground. However, the first (and second) pull should be controlled.
Fun fact: The first pull takes place from the floor to the knees. The second pull is the knees to the hips. The third pull is the hips to the front rack position.
Take your time off the ground. That first pull should be smooth and seamless. This is where it all begins, and a calm first pull sets you up for a smooth lift. A hectic first pull makes for an erratic and out-of-control lift.
2. Slow to the Knees, Fast After That
Even after the first pull, you should still be moving slowly and under control. Once you hit your knees? That’s when you take off. At that point, you’re thinking of extending (read: straightening) your hips as fast and explosively as possible to help launch the barbell upward. After the knees, it’s go time.
3. Trace Your Body with the Barbell
Through the entirety of the pull, you want the barbell to stay as close to your body as possible. The further away it gets, the heavier it’s going to feel.
Also, when the barbell “loops” outward away from you, you’re forced to jump forward to meet it. This throws the whole clean out of alignment and will stall your progress. It also increases the likelihood of the barbell crashing onto you. (More on that in a minute.) Think of the barbell moving up and down in a straight line.
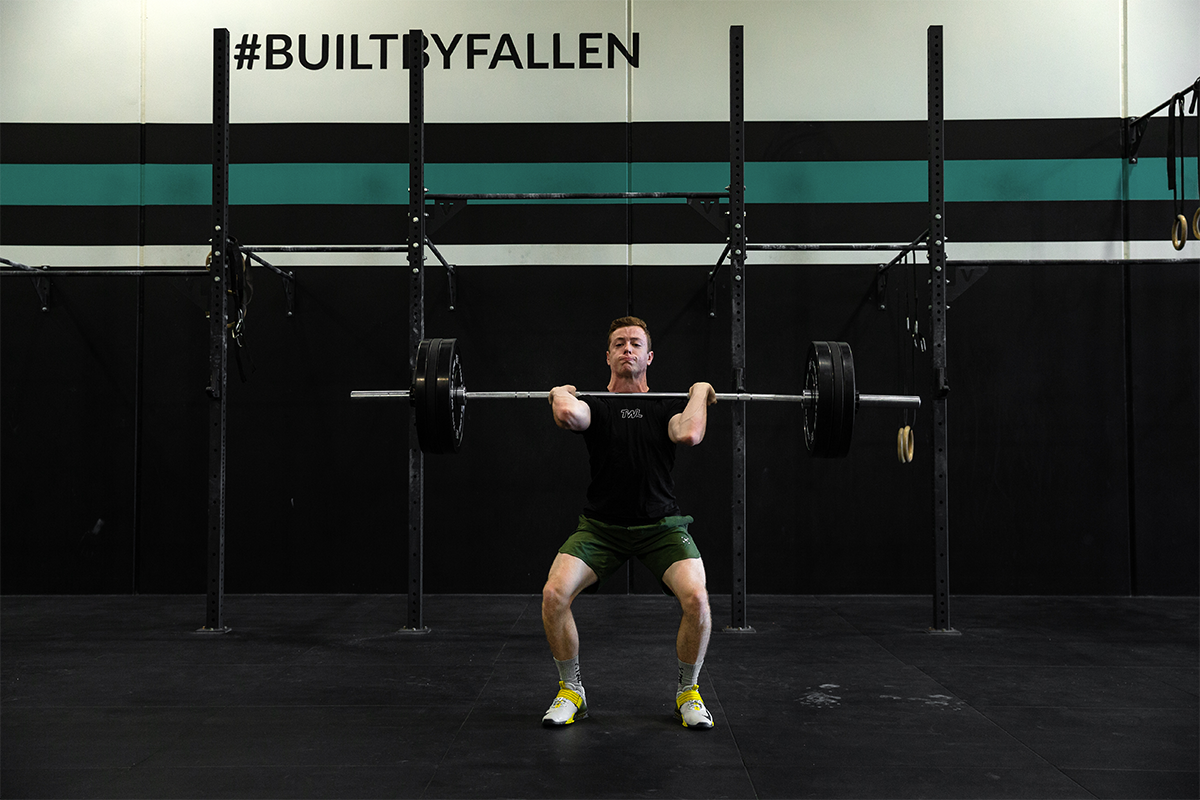
4. Catch the Bar as High as Possible
The higher you catch the barbell, the more you’re ultimately going to be able to lift. This is one of the benefits of regularly practicing power cleans. Power cleans force you to catch the barbell above parallel. If you can power clean 80kg, imagine how much you can clean when you have the additional room of a full squat.
5. Ride it Down, as Opposed to Dive Under It
Because we feel like we don’t have enough time, we sometimes dive under the barbell. If you feel it crashing onto your shoulders, you’re likely doing this.
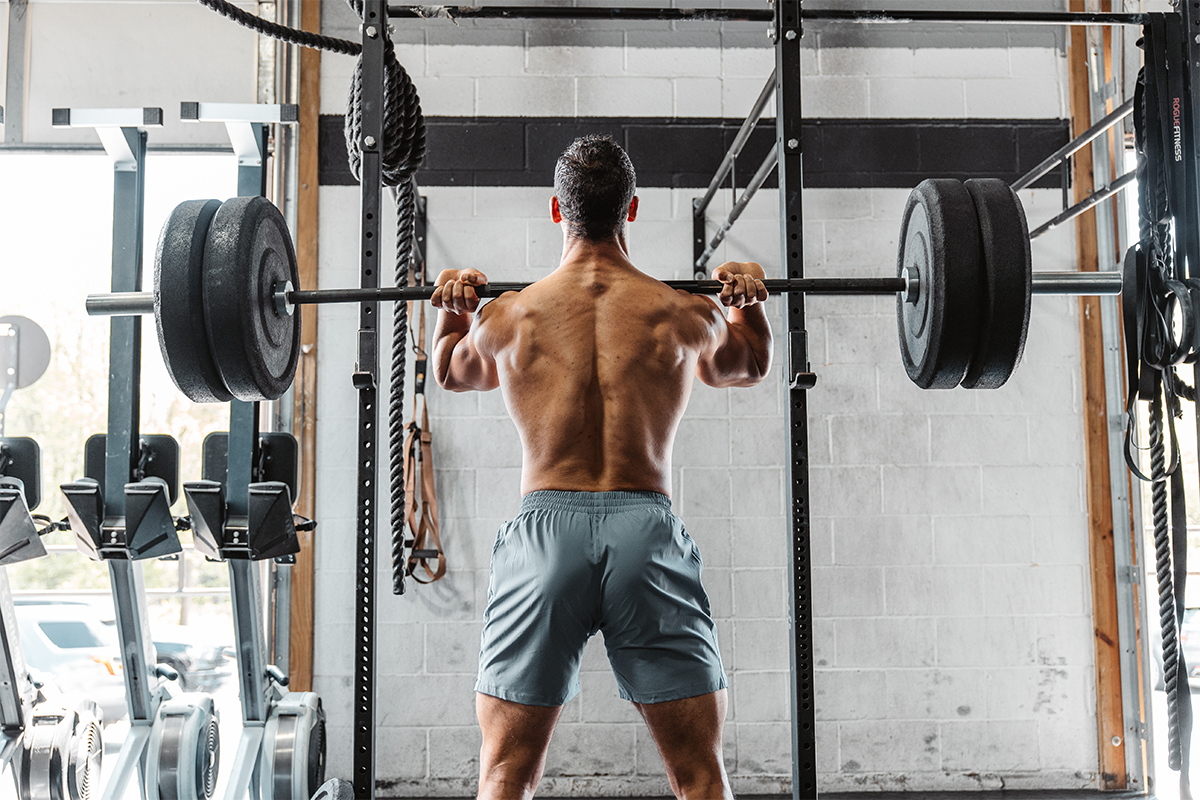
As you bring your elbows around the barbell and catch it in the front rack position, you are meeting the barbell — not racing underneath it. You and the barbell squat down as one.
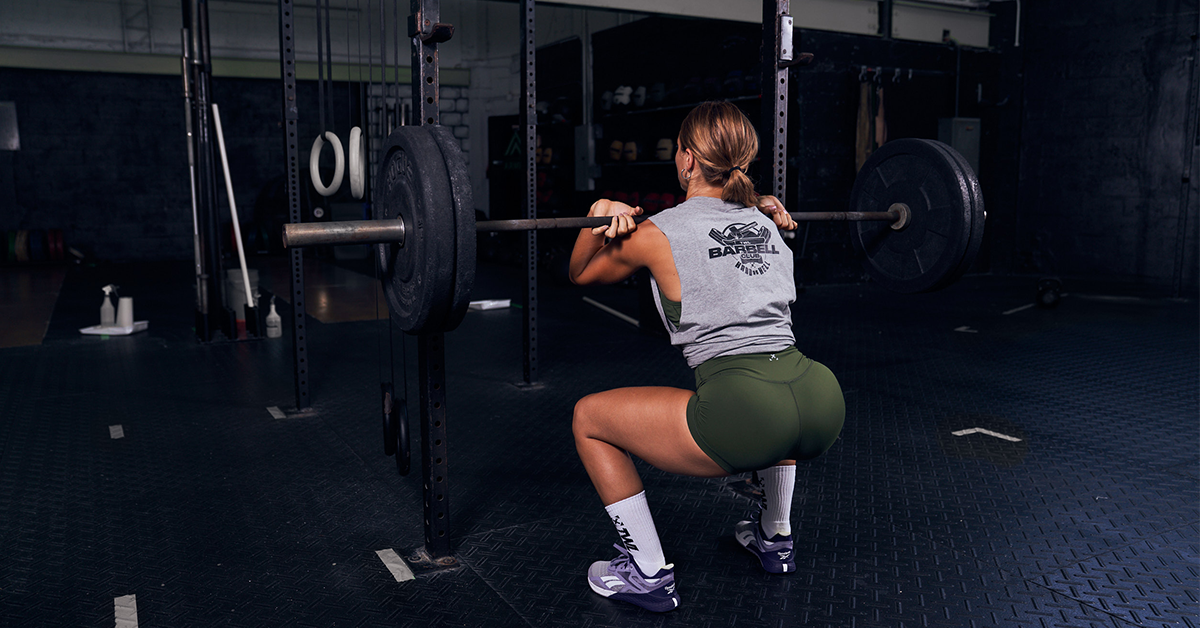
6. Use Gear to Your Advantage
Building strength should always be the top priority. However, the right gear will give you an extra boost and also help to protect your joints. For the clean, you might consider knee sleeves and a lifting belt.
Knee sleeves provide compression and warmth, protecting the joints and also making it a little easier to stand up out of the squat. A lifting belt protects your spine and offers additional stability under pressure.
6 Jerk Tips
Because the traditional clean and jerk utilizes the split jerk, we’re going to focus on that overhead lift specifically.
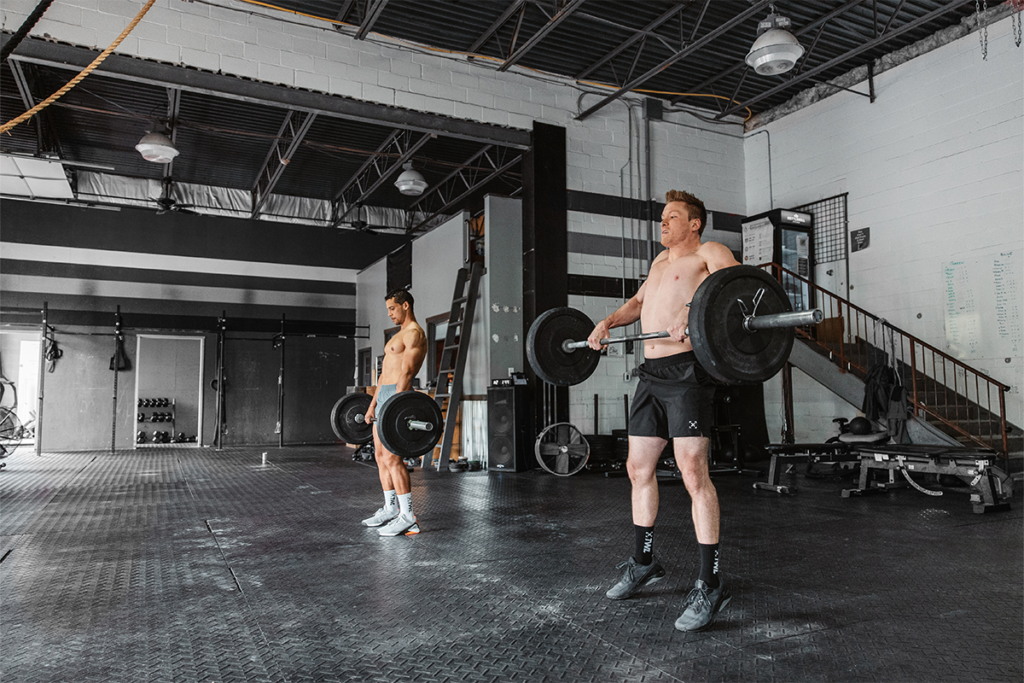
1. Slow Dip, Fast Drive
The clean starts slow and then speeds up. The jerk is the same. It consists of a dip and a drive. The dip (the downward portion of the lift) is slower, and the drive is when you explode upward with your barbell. This is a good thing to practice during your clean and jerk warmup.
2. Launch the Barbell Through Your Legs
While your upper body finishes the lift, your lower body starts it. During the dip, load your quads and build that tension. This is what propels the barbell upward — not your arms. The arms simply guide the barbell in the right direction, and then you lock out underneath it.
3. Leverage the Bar’s Whip
While some barbells behave differently, many will oscillate when you dip and then drive. In other words, you’ll see the ends of the barbell “bounce” a little.
Use this motion to your advantage. While in competition, it’s against the rules to intentionally use the bar whip to get it in the air, oscillation happens naturally, especially when you’re loading heavier weights. If you time your split jerk correctly, the whip will work in your favor.
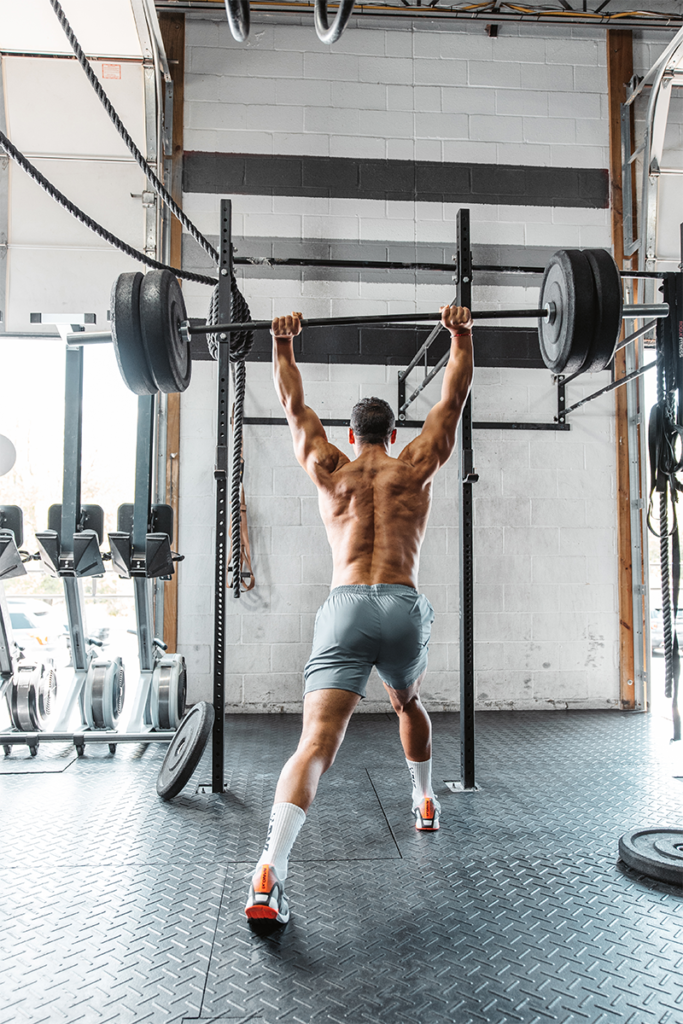
4. Only Move Your Feet Forward and Backward — Not Out
When you initiate the split jerk, your feet are probably about hip-width apart. When you catch the jerk, they should be roughly the same width. If the width of your stance changes too much, you’re going to experience lateral instability. You’ll know this is happening if you’re wobbling or stepping to either side.
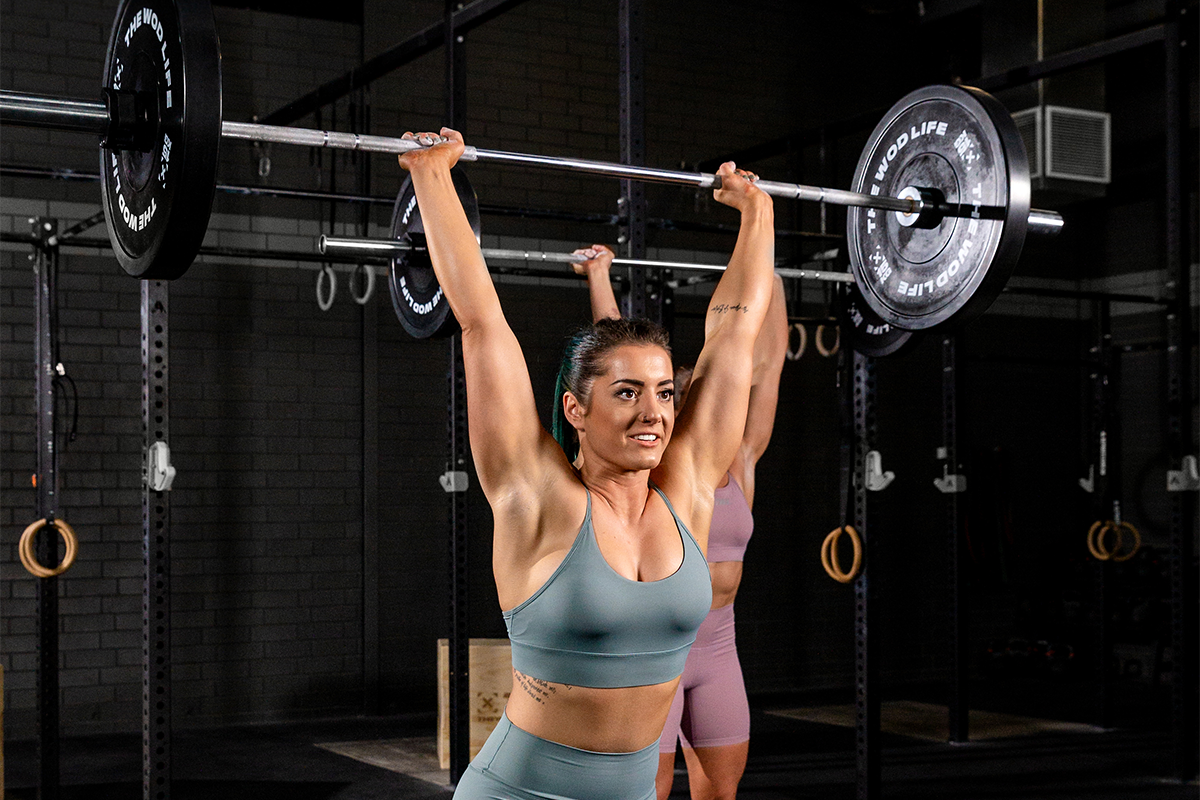
5. Let the Bar Reach its Peak Before You Get Under It
Similar to diving under the bar in the clean, some athletes split their feet under the barbell too early in the jerk. Once again, wait until the barbell has hit its peak before you start to move under it. Otherwise, you’re limiting how much you can lift.
6. Think of Keeping Your Upper Body in a Straight Line
At the bottom of the split jerk (when their feet are split), a lot of athletes stick their ribs and head out. However, in an ideal position, you form a straight line from the hips up.
Try to “stack” your upper body. Your ribs should be over your hips, and your head should be in between your arms. This provides a stronger base for the weight overhead, and it’s also easier on your joints and muscles. Plus, rehearsing this stability will translate to other things you do in the gym — just one of many clean and jerk benefits.
While the clean and jerk might not seem as technical as the snatch, a precise lift is still better than a sloppy one. Follow these tips and you’ll be smashing through PBs in no time. Don’t forget to stock up on all the gear and equipment you’ll need!