Handstands for Beginners: Achieving a Freestanding Handstand
May 23, 2022
Written by admin in Training,
 4-minute read
 Handstands are one of the harder moves to master in functional fitness. Demanding strength, mobility, and a healthy dose of confidence, they’re not something that happens overnight. And that makes them even more frustrating — progress can feel slow. If you feel like handstands are getting the better of you, you’re not alone. In this blog, we’ll focus on handstands for beginners and how you can start to feel more comfortable hanging out upside down.
Grab your wrist wraps and let’s get to it.
How to Master Handstands for Beginners
As we said, patience is key. Let’s focus on building a strong foundation so that handstands will be more manageable.
1. Handstand Mobility: Warming Up Your Wrists and Shoulders
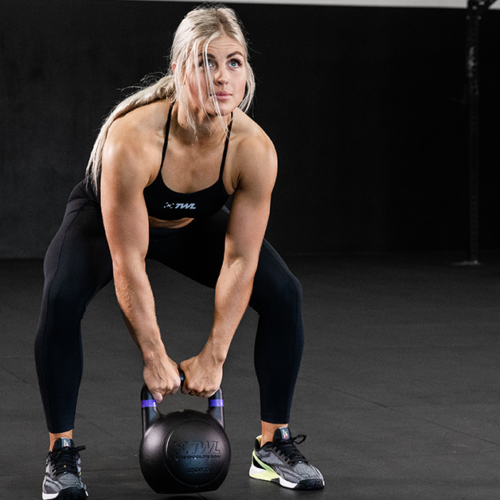
Before you can even think about kicking up, you need to make sure your joints and muscles are ready. Wrist mobility matters. Otherwise, putting the full weight of your body on your hands can be uncomfortable and even painful. Try these exercises:
- Form fists and roll them in circles to the left and right.
- Hold a light dumbbell with your grip facing up and do wrist curls.
- Stretch your arm out in front of you, palm down, and pull your fingers downward toward you with the other hand. Then, pull your fingers up and toward you.
Shoulder mobility is also important! A lack of mobility in these joints often leads to pain and even injury. Try:
- Foam rolling.
- Wall extensions.
- PVC pipe pass-throughs.
As excited as you may be to improve your handstands, don’t skimp on the warmup. This is necessary for staying healthy and safe.
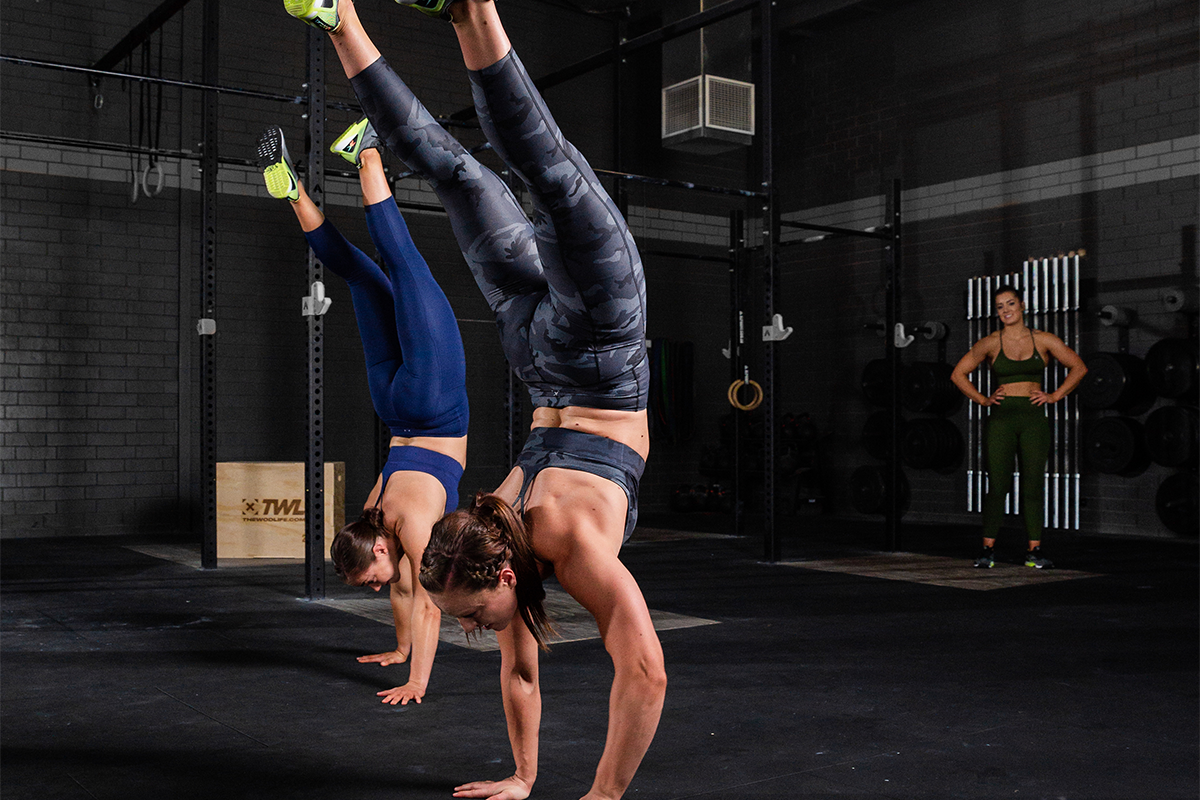
2. Gaining Confidence Upside Down
If you’re not scared of handstands, feel free to skip this step! However, a lot of athletes understandably deal with a lack of confidence here. Much of it boils down to not feeling in control and totally being able to “see” what you’re doing and where you’re going. What we want are baby steps. Try these in this order:
- Get on your hands and knees in the pike position, with your butt in the air. Practice rocking back and forth, transferring your weight into your hands and then back toward your feet.
- Place your hands on the ground and climb your feet up onto a box. This starts to mimic the sensation of being upside down and is a common handstand hold alternative.
- Practice cartwheels, which have you in a handstand-esque position halfway through.
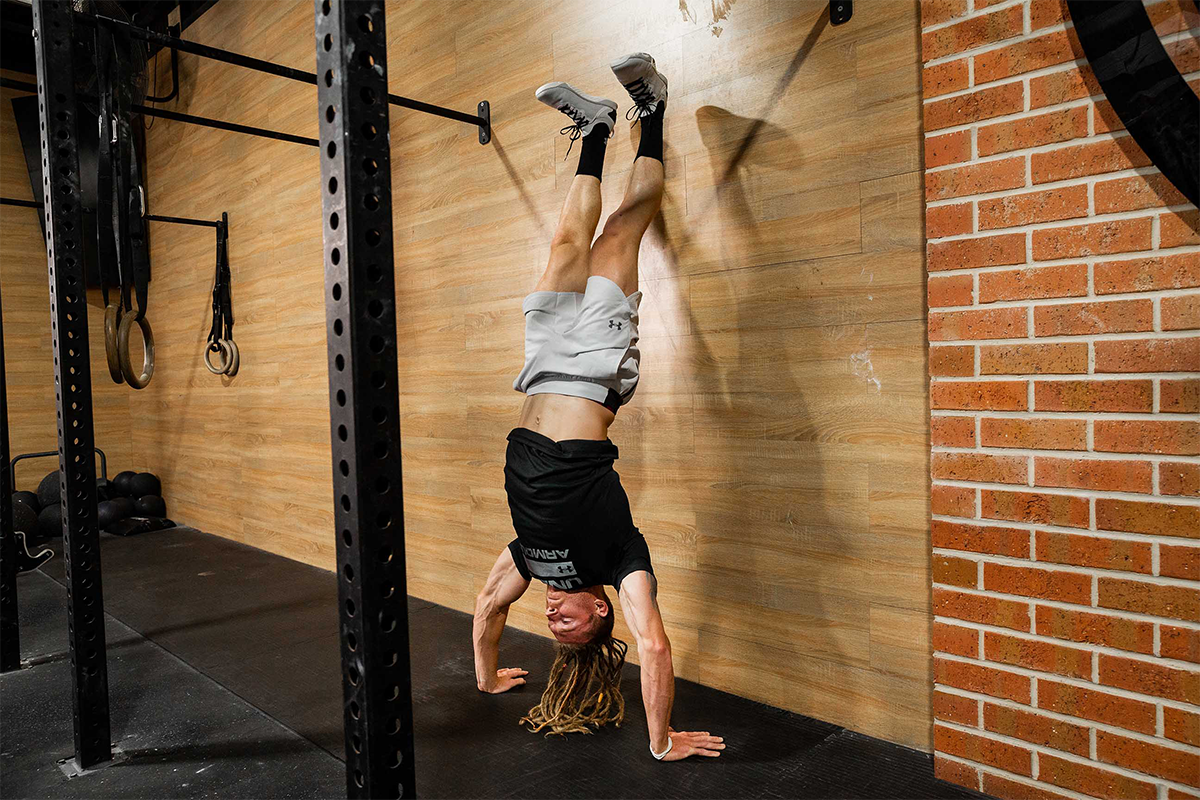
- Stand arm’s length from the wall, facing it, place your hands on the floor, and practice kicking up.
Don’t worry about making it look pretty. Right now, the goal is simple: Gain confidence in the inverted position. As an added bonus, all of these drills are going to improve shoulder strength, which will always come in handy for handstands and a million other movements you perform in the gym.
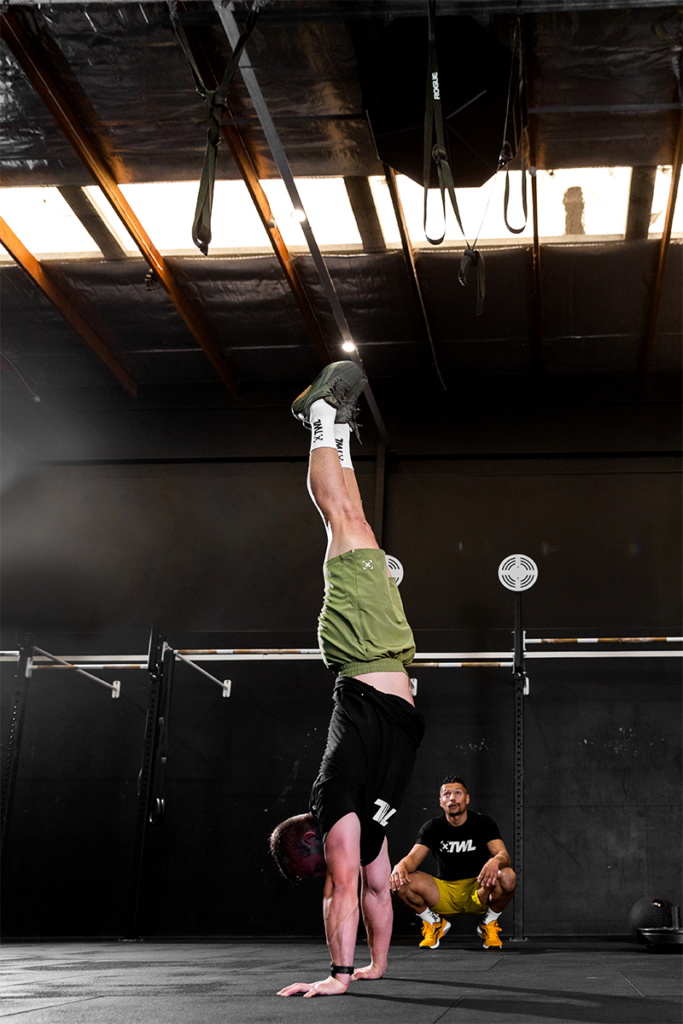
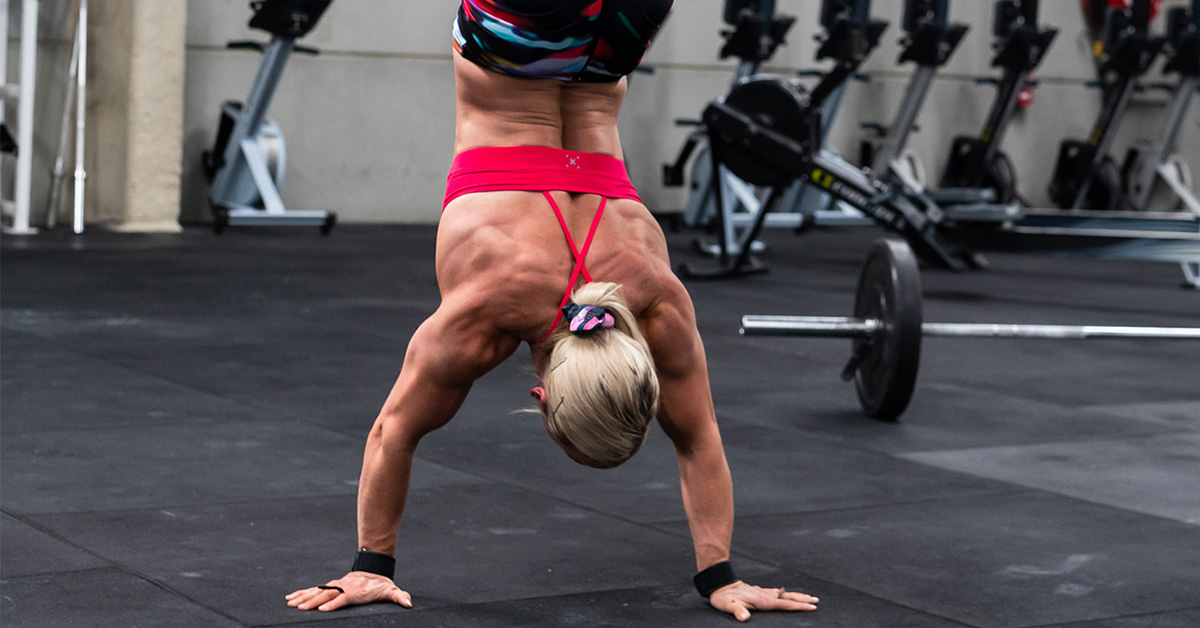
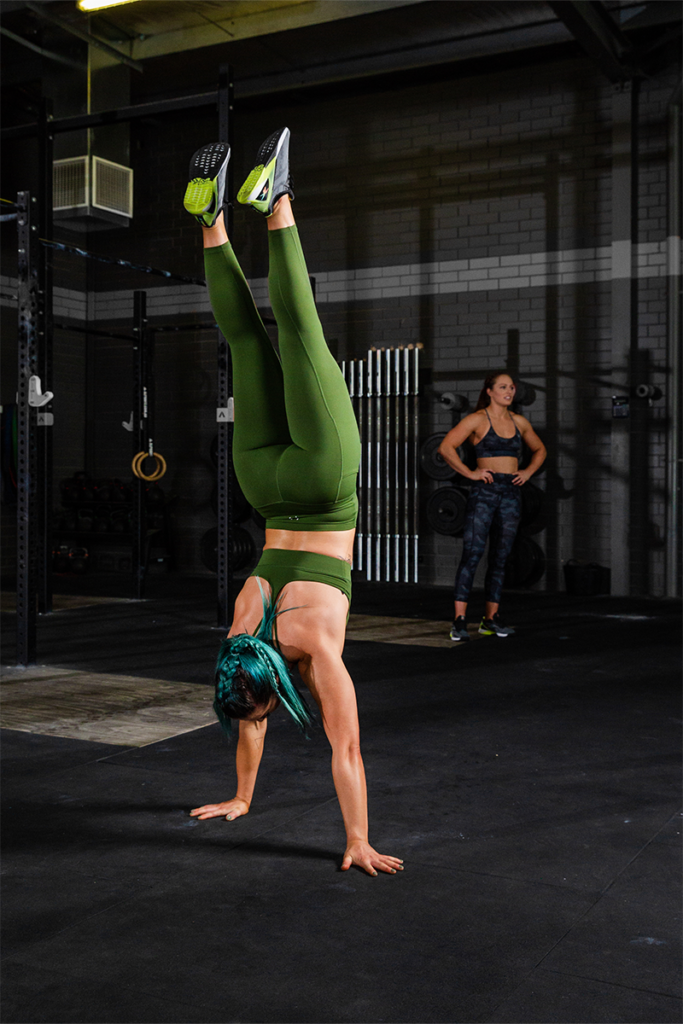
3. Rehearsing the Handstand Itself
When we’re talking about handstands for beginners, we don’t want to go from 0 to 100 in one fell swoop. However, repeatedly kicking up against the wall without any regard for positioning isn’t going to get you there, either. What we want is a safe and comfortable way for you to rehearse the movement while still preparing you to perform a freestanding handstand, without the assistance of the wall. (Scary, we know!)
Try this:
- Face the wall and stand arm’s length away from it.
- Place your hands in the middle on the floor between the wall and your feet.
- Kick up. Both heels should be against the wall. Push up out of your shoulders and engage your core.
- Start to bend one knee and bring that foot down flat against the wall until your shin is parallel with the floor.
- Bring your remaining (straight) leg forward off the wall so that it forms a straight line with the rest of your body.
- Slowly push off of the foot that’s still on the wall, finding your center of gravity until you’re in a handstand.
This approach to handstands for beginners is so helpful because you’re in a totally risk-free position. Even if you fall out of the handstand, you’re falling right back to the position you started in: feet on the ground, facing the wall. Falling backward is what scares a lot of us! This drill avoids that.
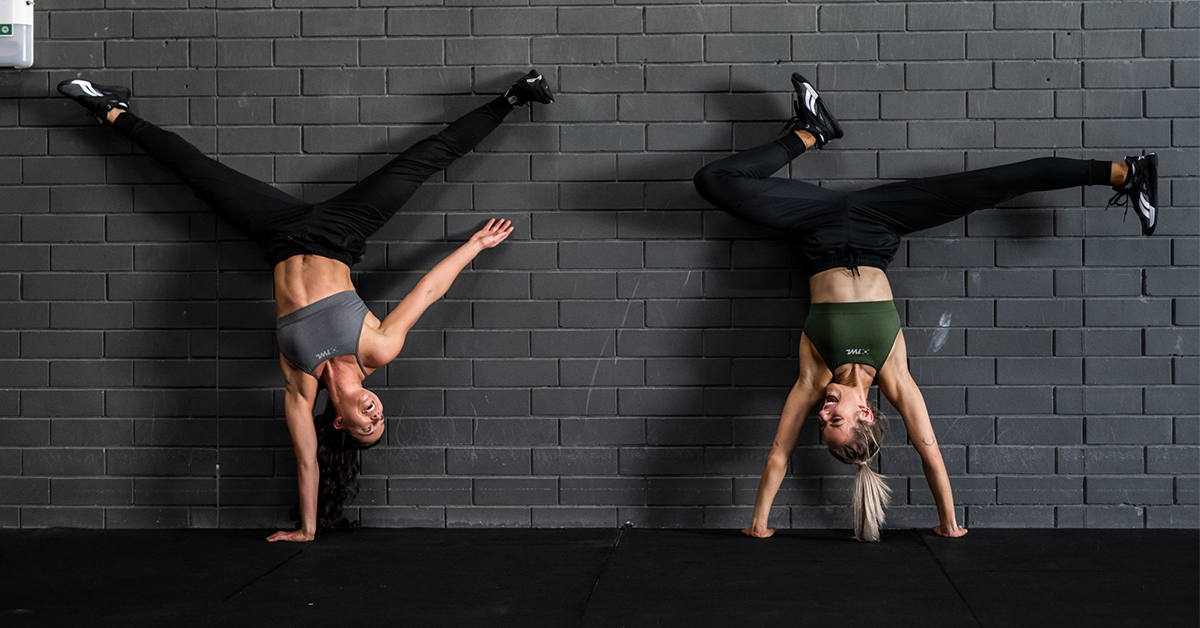
Now, when you are ready to turn away from the wall, try this:
- Face the wall and stand arm’s length away from it.
- Turn around so that your back is to the wall.
- Place your hands on the ground so that the heels (bottom) of your hands align with your toes.
- Climb your feet up on the wall until your body forms a 90-degree angle. Your legs should be parallel to the floor.
- Extend one leg so that it forms a straight line with your body.
- Slowly tip into your center of gravity and bring the remaining leg straight up.
Note that with this drill, unless you fall toward the wall, you’re going to be falling backward. So, you need to be able to tuck and roll and/or fall into a backbend. Of the two approaches to handstands for beginners that we’ve shared, this is the more advanced.
Remember that in the handstand position, your body is still actively engaged. You should be pushing out of your shoulders, not sinking into them. Keep your core tight. Make the movement intentional, rather than simply trying to avoid falling out of it.
We know how frustrating handstands for beginners can be. Give yourself the time you need — practice equals progress! Pretty soon, you’re going to be as comfortable on your hands as you are on your feet.