
Have you been working on your arm pump and still feel like the results aren’t showing? In this blog, we’ll cover how one simple exercise — the spider curl — can help you target those harder-to-reach upper-body muscles to build strength and chisel your aesthetics.
What is a Spider Curl?
Don’t let anyone tell you otherwise: Your standard curl is absolutely worth your attention. And the spider curl, more specifically, puts a nice little twist on it.
The spider curl is, for lack of a better phrase, old school. You might not see a ton of fitness influencers using it now, but it holds a great record for targeting your upper body and building tension to create greater metabolic stress in between muscles.
To make it work, you need the following:
- Weights: Athletes most commonly use a set of dumbbells or kettlebells, although some will opt for a barbell. Whichever you choose, start with a more modest weight so that you can master the technique first.
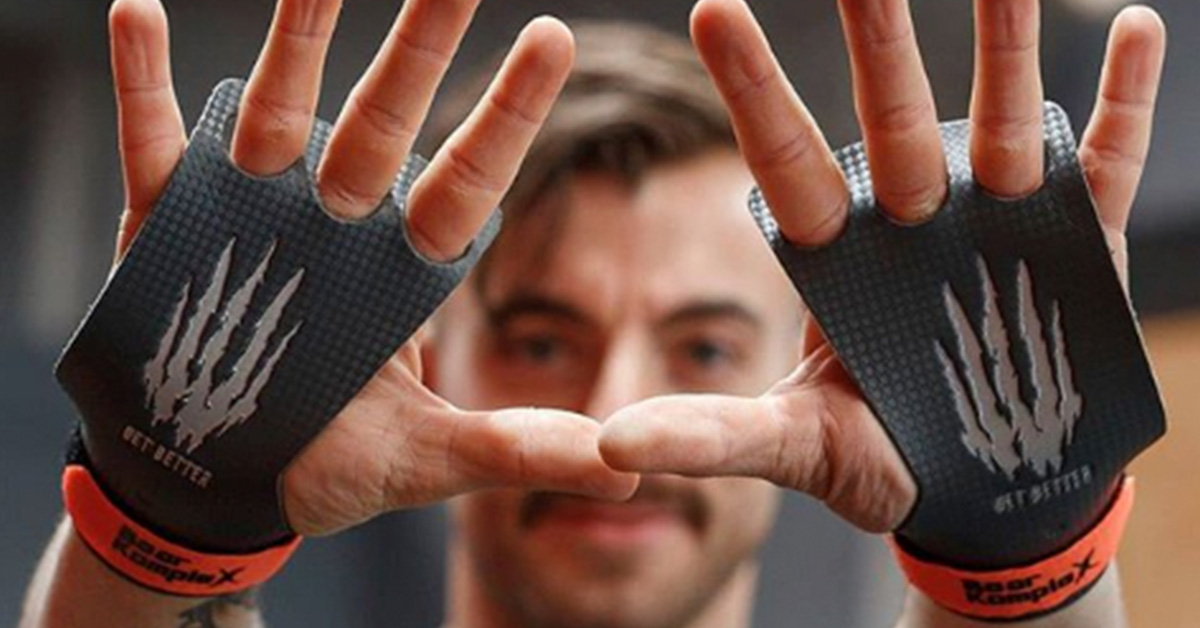
- Grips: Athletes find these helpful for the spider curl to prevent rips, tears, and blisters. (Tape works, too!)
- A bench: You will be working at an incline, so use a bench that’s adjustable.
With these, you’re good to start!
What Muscles Do Spider Curls Work?
The main muscle that is being put to work by the spider curl exercise is the biceps. But here’s what makes it so special. The biceps brachii is made up of long and short heads. In your everyday programming, more than likely, you have been targeting your long head.
In the spider curl, you will be targeting the short head part of your biceps, since you keep your arms in front of your body.
Aside from your biceps, the spider curl also helps you work your brachialis (an elbow flexor_, forearms, and triceps. It’s great for building grip strength, too. (More on that in a bit.)
How to Do Spider Curls
To do the spider curl effectively, follow these steps:
Step 1. Prepare the equipment needed. Make sure that the bench is locked and secured and that it is set to 45 degrees. Place the weights in front of the bench. Start with something more modest, and then increase the weight once you get used to the movement.
Step 2. Sit/lay down. Lean forward so that your stomach is pressed against the inclined bench. Some athletes sit on their bottom, legs bent and feet firmly planted on the floor. Others opt to keep their legs straight, as in the video below.
Step 3. Grab your weights — this is your starting position — and curl. Your palms should be facing away from your body.
Step 4. Pause for a moment at the top of the movement. This increases your time under tension! Slowly lower the weight back to the starting position.
Step 5. Repeat for reps. Consider 3-5 sets of 5-10 reps.
Make sure you keep your back and core engaged, maintain your position, and control the movement (not the other way around). Roughly 90 seconds of rest in between sets should suffice! Here’s what it looks like in action:
The Benefits of Spider Curls
We’ve touched on some of these already, but let’s go a little deeper.
Spider Curls Target the Short Head of Your Biceps
As previously mentioned, doing the spider curl will target the short head, which is often neglected when working out. It helps isolate that muscle and continuously puts it to work to help you increase the size and density of your muscle tissue.
They Help to Increase Your Range of Motion
Because you’re on a bench, the spider curl exercise allows for a larger range of motion from start to finish. It provides higher strength efficiency and greater muscle gain. And don’t forget that when you improve your range of motion (read: mobility), you help protect yourself against injury.
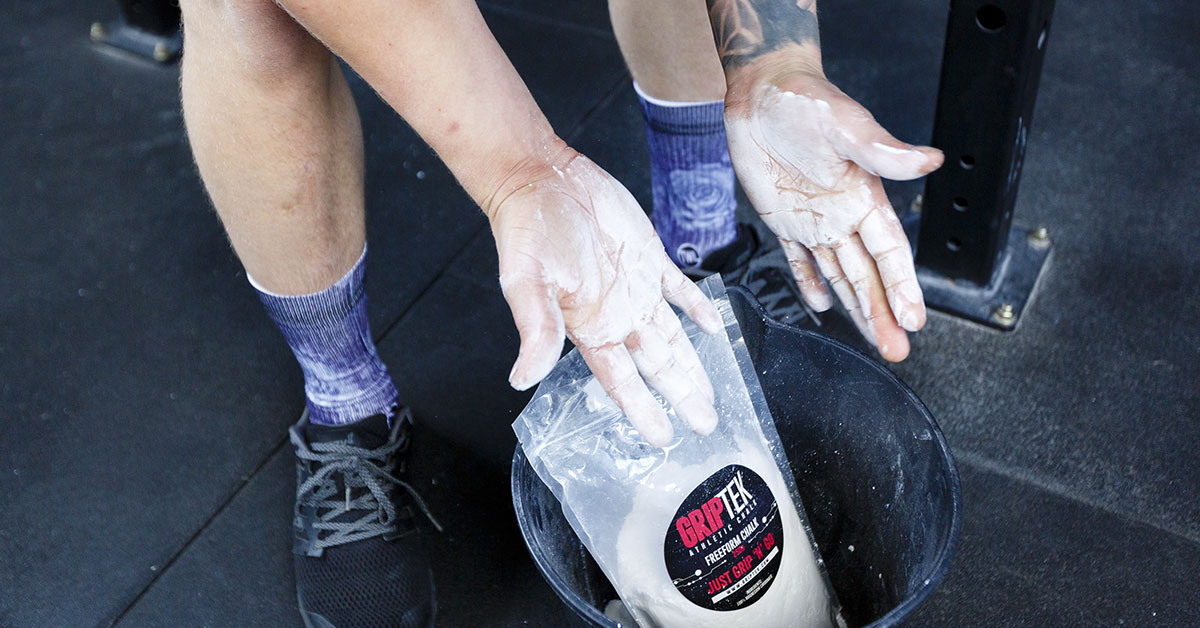
You’ll Get a Stronger Grip
The spider curl puts you in a unique position. Laying with your stomach against an inclined bench and reaching for the weights from that position forces your grip to work harder. Having a strong grip translates to so many other things you do in the gym — from pull-ups to the Olympic lifts.
A Few Final Tips for Success with Spider Curls
This exercise is simple enough, but we’d like to leave you with a few final pieces of advice.
- The movement should be slow and controlled. We don’t perform spider curls for time!
- Try breathing at the top or bottom of the movement, but not during/in the middle. Holding your breath while you’re performing the curl helps you maintain tension.
- Like your standard curl, you should be using your innate strength to curl the weight — not momentum, speed, or kipping. If you’re relying on any of these things to complete the movement, you’re probably going too heavy.
Curls might be one of the more underutilized exercises — and they offer big strength gains. Ready to start incorporating spider curls into your training? Then you need to stock up with the appropriate gear and equipment! Shop The WOD Life’s selections of benches, dumbbells, kettlebells, and hand grips today.