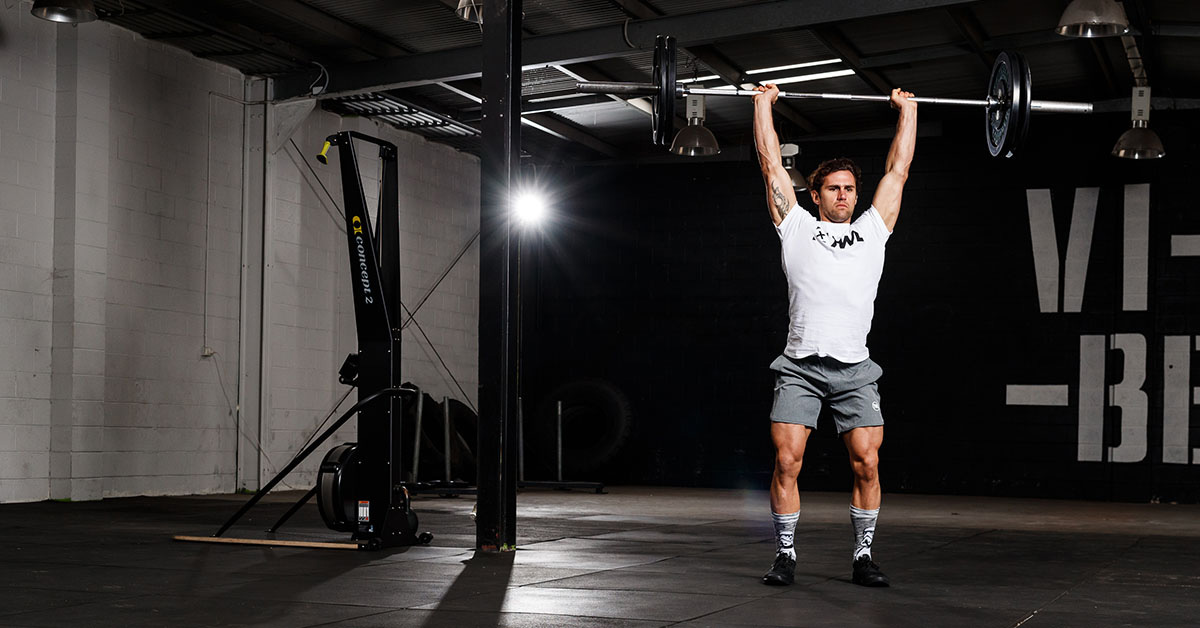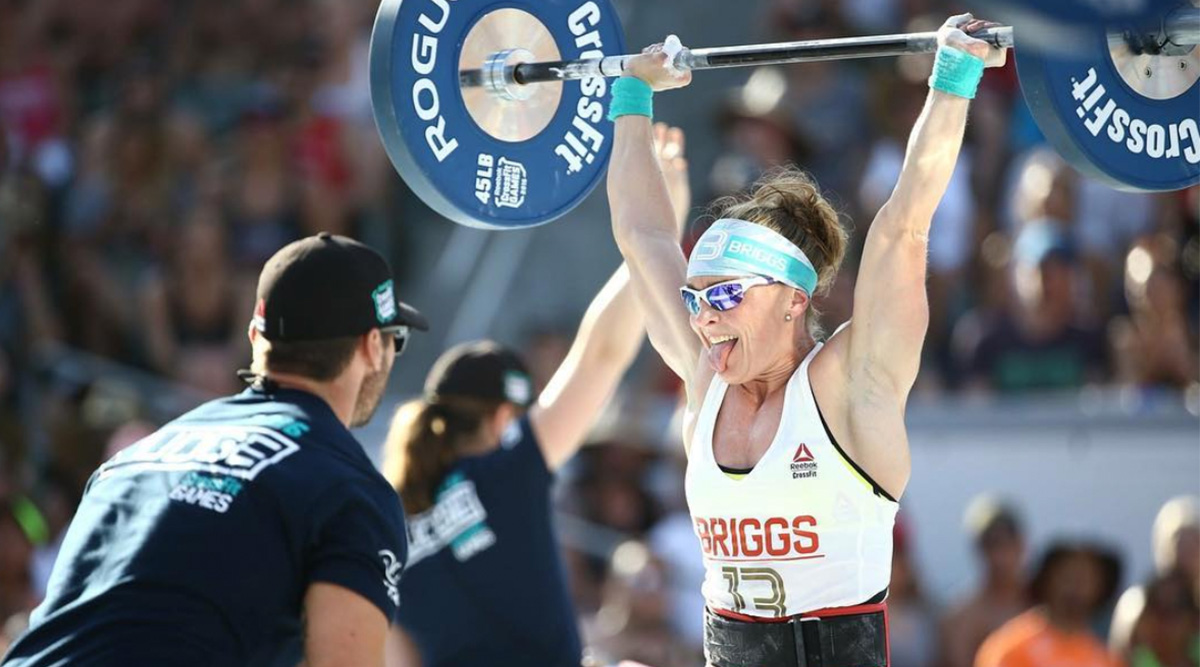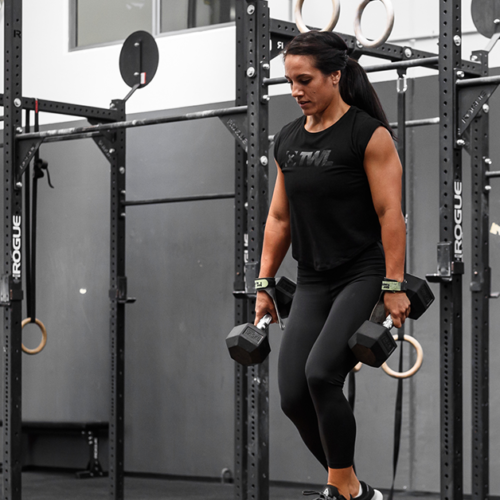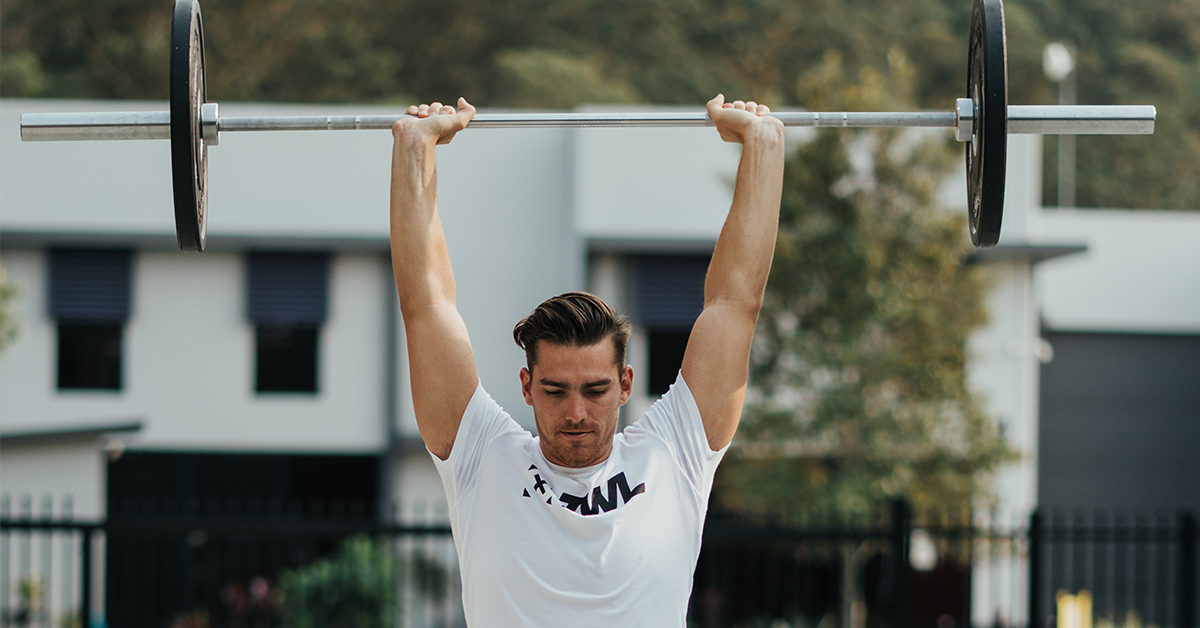

The push jerk, occasionally referred to as the power jerk, is a common method used by athletes to get a barbell overhead. It’s an efficient way to lift heavier weights, as it entails using the lower body to assist the movement.
With the legs in play, the push jerk boosts the lifter’s capability and effectiveness so they can lift faster and heavier.
Why You Should be Training Push Jerks
Incorporating the push jerk into your programming can help you reap various benefits. It can help you achieve higher drive on the bar, better balance in your dip and drive, and increased accuracy in your vertical drive. It can train you to transition faster and improve lifting the bar overhead. It also helps lifters who have difficulty timing their foot movement or coordination or inadvertently cut off their overhead drive prematurely.
So, technically speaking, it can be easier than a split jerk but more efficient than a push press or strict press.
How to Do A Push Jerk
Now, let’s talk about how to do it, broken down into four steps.
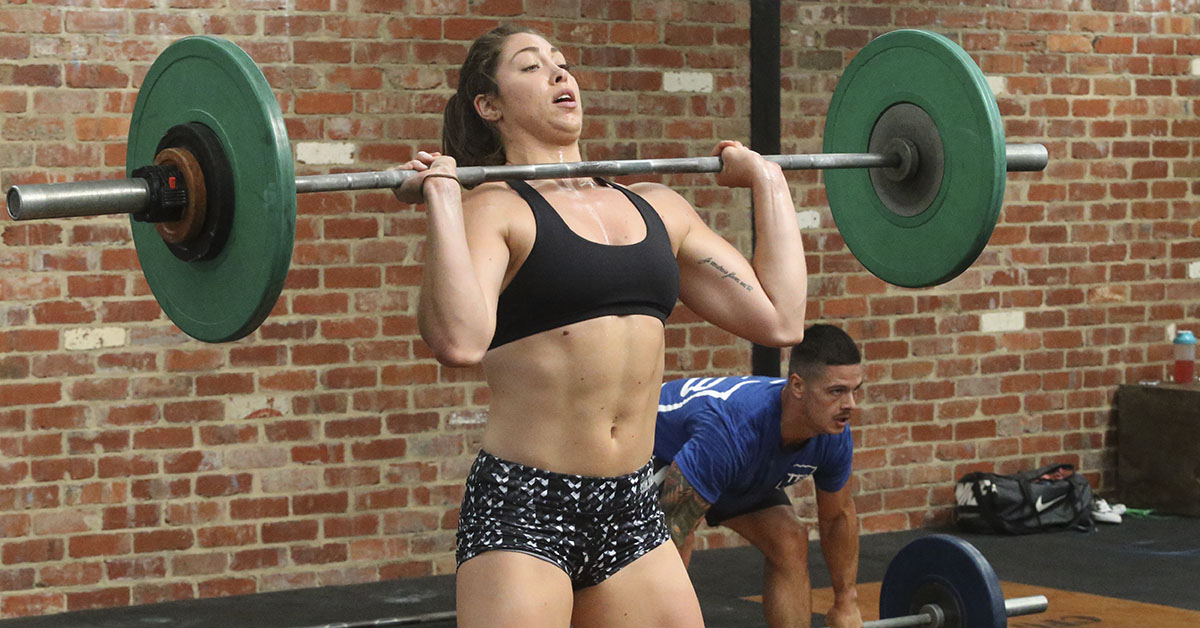
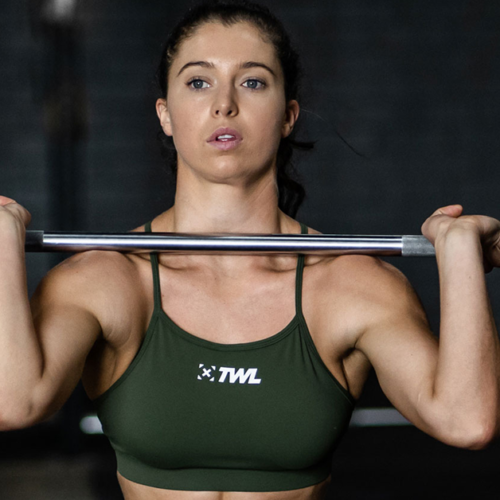
- Position the bar in your front rack position, with your feet at a hip-width distance and your toes slightly turned out. Make sure that your weight is spread evenly from heel to toe and your feet are planted on the floor.
- Bend your knees slightly while maintaining a vertical torso. Then, transition swiftly and aggressively at the bottom of your dip and drive. Keep your feet planted firmly on the floor to help power your upward movement. Think of pushing down into the floor.
- When your legs have fully extended, punch up your arms to push the bar overhead while you sit in a semi-squat. Note that when you squat, your thighs should be higher than parallel to the floor. If it’s lower than this, the move would be considered a squat jerk instead. Again, be mindful your feet are still firmly planted on the floor.
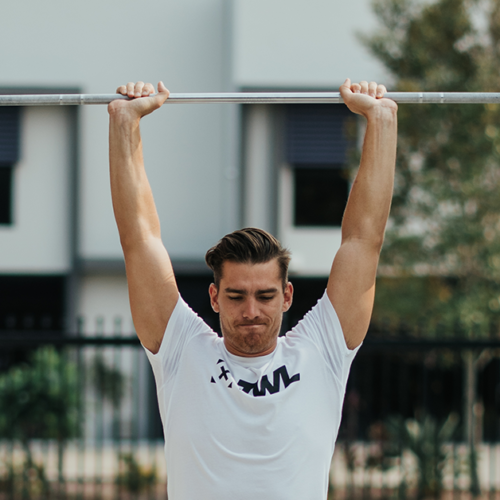
- Hold the bar overhead securely and steadily before moving from a semi-squat to a standing stance.
The Push Jerk Versus Push Press
Many use the terms push jerk and push press interchangeably, but these are different types of lifts distinguished by the required movement in the lower body.
Because the push jerk allows you to re-bend under the bar, you can typically get under more weight and lock out beneath it. The legs are largely responsible for finishing the lift. Timing and technique play a slightly bigger role.
The push press, on the other hand, relies much more on upper body strength. Because the second part of the lift is a press, your upper body is what finishes the lift. And because your upper body isn’t as strong as your lower body, it’s common for this one-rep max to be lower than that of your push jerk.
6 Pro Tips for Push Jerks
Here are a few tips for how to correctly perform the push jerk and optimize the movement to get the best results out of your programming.
- Start at shoulder height: If you’re lifting out of a rig, when standing in front of it, set the barbell and j-hooks just below your shoulders. This will make it easier for you to lift the barbell on and off your shoulders during the move.
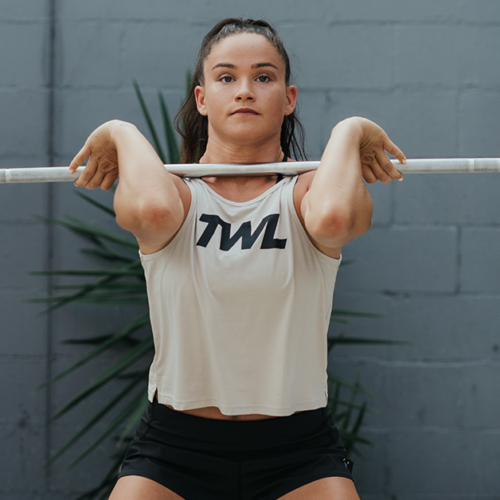
- Use your thumbs to measure your grip: Hold the bar with a thumbs’-width distance from the knurling. Gripping with your hands too close together will result in an incorrect setup and lead to a hunched stance. By holding it at a thumb-width from the knurling, you’ll be able to keep a better position throughout your push jerk.
- Alter your front rack stance: The move starts with the bar on the front of your shoulders. For an ideal pressing position in the push jerk, keep your elbows below and just slightly in front of the bar. You don’t want your elbows pointing too far forward. Otherwise, you’re going to send the bar back instead of up.
- Close your ribcage: It’s important to avoid letting your torso jut out when you punch upward, to ensure you work the right muscles and get the most out of the push jerk. You’ll also risk tweaking your back if you don’t properly engage your core. To keep your ribs closed and core engaged, tighten your butt and abs.
- Re-bend for a second dip: One of the differentiating factors of the push jerk is this second swift dip. The purpose of this dip is to load the quads in preparation for launching the bar upward. Remember that this dip isn’t really a squat. It’s just a slight re-bending of the knees — enough to build up that tension.
- Slow dip, fast drive: The dip and drive don’t take the same amount of time. Think of the dip being slightly slower, while you load your quads. And once your ready, you change directions and launch upward as quickly as possible.
- Keep your biceps close to your ears: Some athletes have the tendency to stick their heads out at the completion of their push jerk. This often means that your butt is extended in one direction while your ribs go in another. You want your body to be stacked and in alignment! Be mindful of keeping your biceps tucked in next to your ears when you push the bar up and over your head.
Even if you primarily rely on the split jerk, having a solid push jerk is going to come in handy.
And on a related note, learn more about how to improve your split jerk technique.