
There are a few movements that every functional fitness athlete plans for when stepping into the gym. Squats, muscle-ups, and burpees are all a sure thing. But maybe toes-to-bar weren’t originally on your list. If you quickly made the discovery that this movement isn’t as easy as it sounds, then this blog is for you! Keep reading to learn the following:
- What are toes-to-bar?
- How to do toes-to-bar.
- Common mistakes and tips so that you can improve your toes-to-bar.
What are Toes-to-Bar?
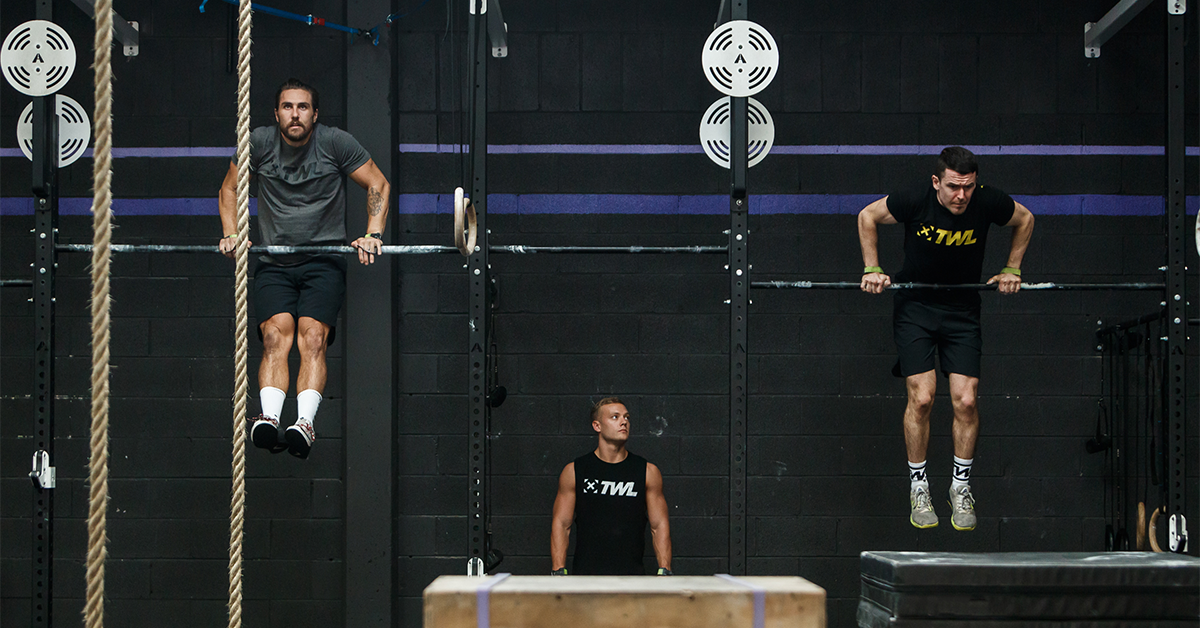
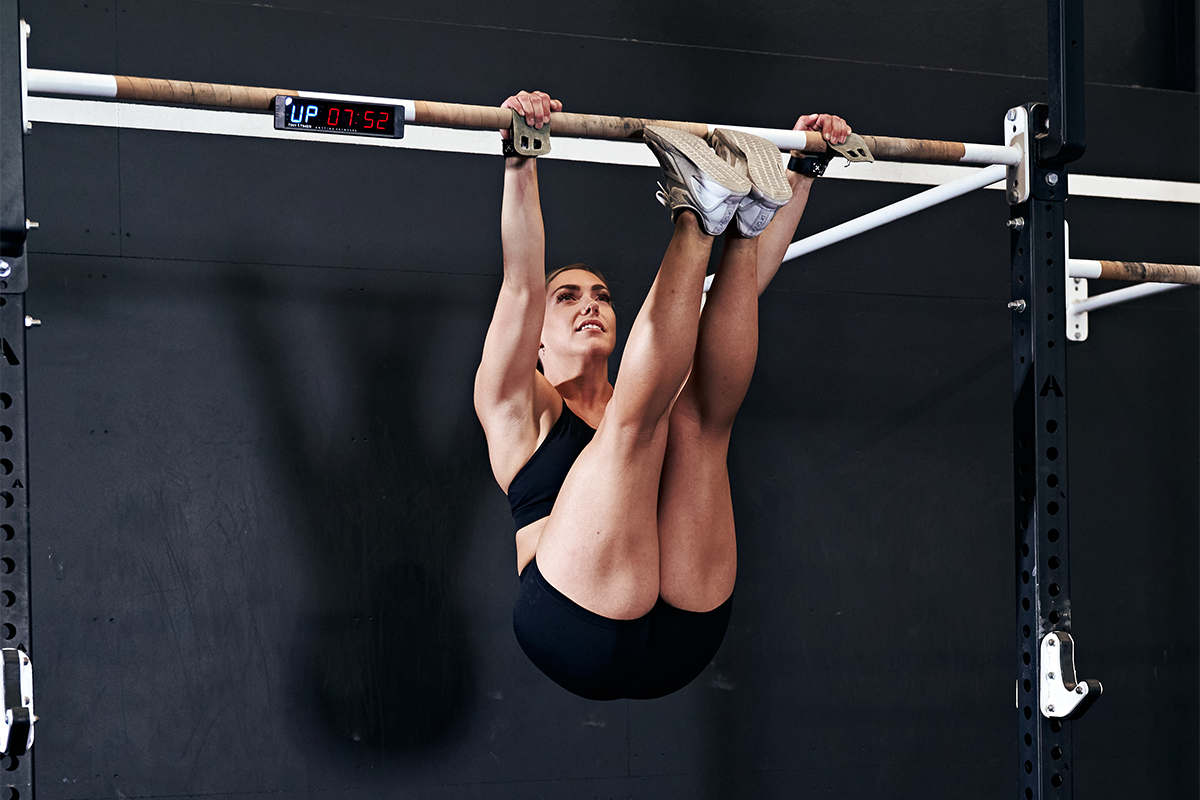
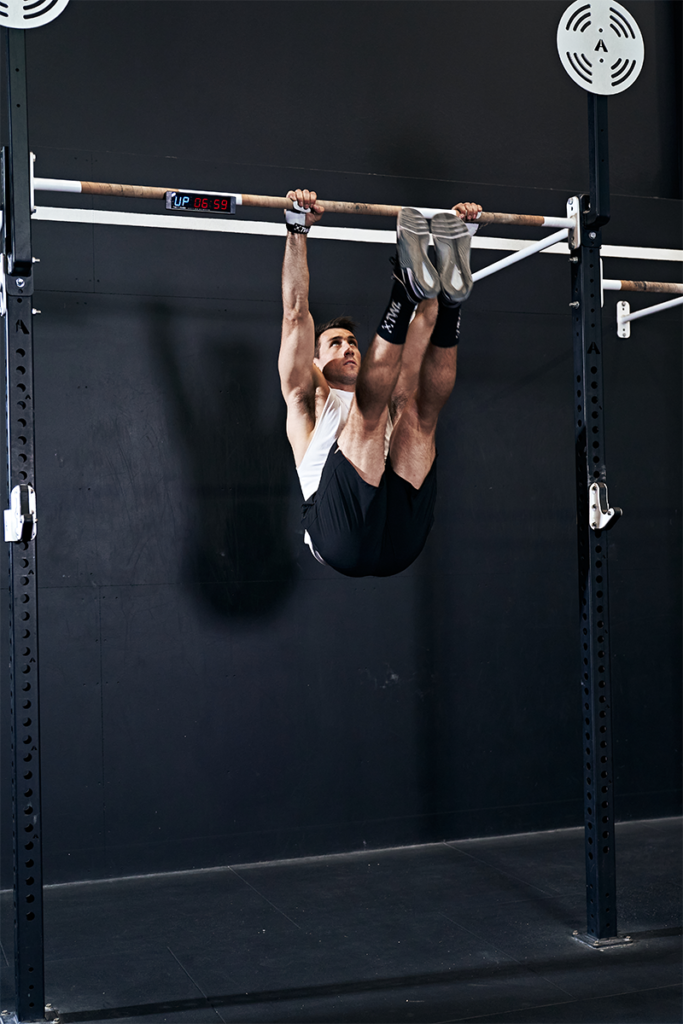
Toes-to-bar is a gymnastics movement in which the athlete hangs from a pull-up bar and brings their toes up to touch the bar. They’re also sometimes referred to as TTB or T2B. It requires a great deal of upper-body strength and coordination, along with solid shoulder mobility.
While TTB are commonly performed with a kip, you can also do them strict, which requires a lot more core strength.
Here’s what kipping toes-to-bar look like in action:
How Do You Do Toes-to-Bar?
All you have to do is grab the bar and fling your feet up, right? Well, you could try that, but it probably won’t work. The easiest way to execute toes-to-bar is by breaking it down into smaller steps/progressions.
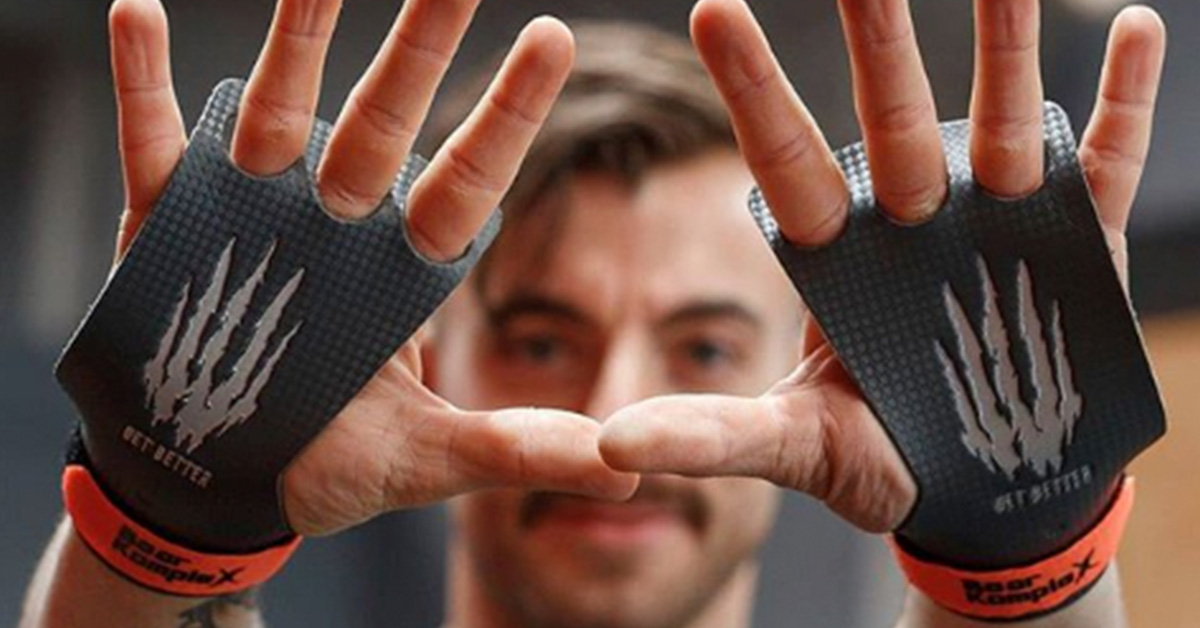
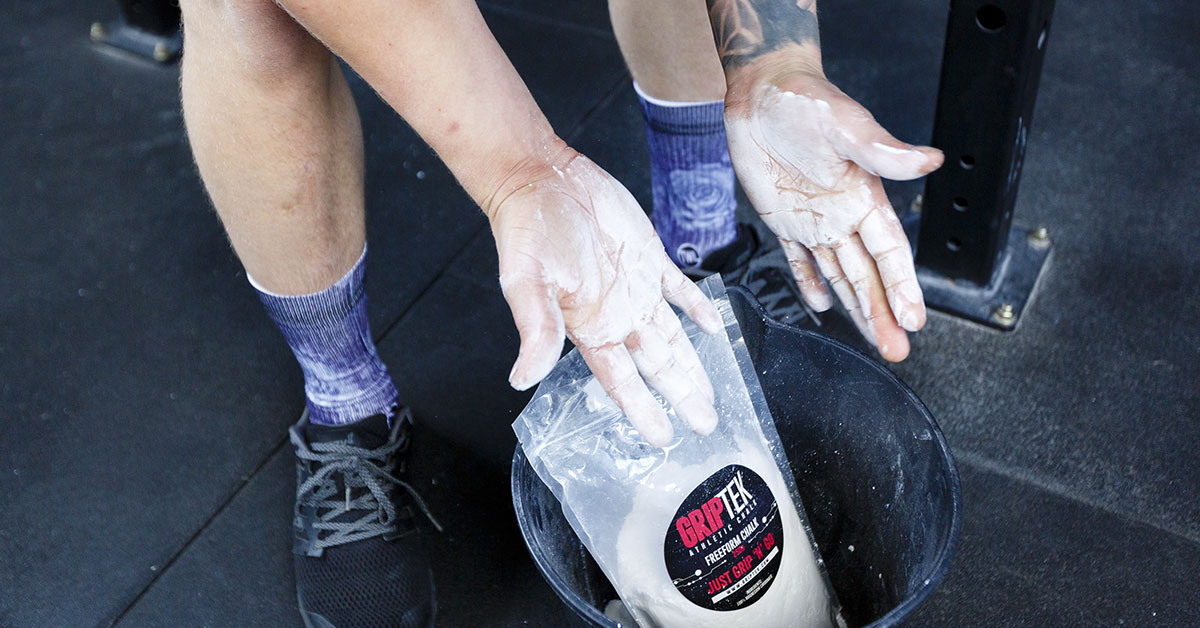
Heads up: Rips, tears, and blisters are common with toes-to-bar. Before you start, grab hand grips, tape, and/or chalk.
Step 1: Master the Kip
Let’s start small. Jump up and grab the pull-up bar. Your hands should be slightly wider than shoulder-width. Make sure your palms are facing outward. While your arms are fully extended so that you’re completely hanging from the bar, you still want to engage your shoulders. Think of pulling your shoulders down and moving them away from your ears.
First, focus on kipping. This is when you alternate between a Superman and a hollow-body position. Engage your core and keep your body tight, legs together, and toes pointed. The kip is not an uncontrolled flail. It’s tight, intentional, and precise.
Step 2: Enhance the Kip
Once you’re comfortable kipping, we’re going to make it a little more drastic. While maintaining control, think of pushing down on the pull-up bar. This is going to engage your lats more. The result is that your feet and hips will end up a little higher and your torso will open up slightly more to the ceiling.
Think of it like an exaggerated kip.
Step 3: Move to Knee Raises
Before you can run, you must walk. And before you can lift your feet, you need to lift your knees. While maintaining your flawless kipping technique, drive your knees upward to hip-level. This is going to require you to use your core more. If you can manage this for at least five reps, take it one step further and try to bring your knees to your chest.
Step 4: Move to Toes-to-Bar
This is the final step, which will bring you to RX’d toes-to-bar. (Hooray!) At this point, you’re able to touch your knees to your chest. All you need to do now, at the top of each rep, is flick your feet upward so that your toes quickly touch the pull-up bar. Pro tip: As you flick your feet, look up at the ceiling! This helps you get in the ideal position.
As long as your toes make contact, it counts as a rep. And that, friend, is how you scale to toes-to-bar.
Note that the difference between Steps 3 and 4 isn’t all that great. Don’t do more work than you need to. If TTB feel that much harder than knees-to-chest, you might need to go back a step and spend more time lifting your knees up (and that’s okay!).
3 Common Mistakes Athletes Make in Toes-to-Bar (and How to Fix Them)
While the concept is simple, the execution is not. Here are the most common mistakes we see with TTB and how you can avoid them.
1. Using Nothing but Momentum
If the only way you can get your toes to the bar is by swinging wildly like a monkey until your feet fly up, hit the pause button. This is inefficient, you won’t be able to keep it up for many reps, and you’re going to destroy your grip.
What to do instead: T2B are part kipping, part strength. The kip is where you build power and explosiveness, and the “flick” is where you blast off.
2. Using Nothing but Strength
Bypassing the kip completely means you’re doing strict toes-to-bar. That’s not a bad thing, but it’s significantly different! Building up that raw strength is great. Just understand that it’s a different type of challenge.
What to do instead: The kip is what allows you to knock out more reps, faster. And you’re going to need this for your WODs, which typically program TTB in higher rep counts.
3. Losing the Kip
This kind of goes along with the first mistake but deserves its own shout-out.
As we mentioned earlier, a kip is a tight and controlled movement. While getting through their reps, many athletes tend to get sloppy. Their legs are bent and separated, and they arch aggressively in the kip — and this is actually going to make your life harder.
What to do instead: During the kip, remember to keep your legs long and together (as much as you can), point your toes, and keep the Superman/hollow-body position compact. This is going to help you propel your feet upward. Keep the kip snappy, and it’s going to be easier to string reps together.
Remember to be patient with yourself. Kipping toes-to-bar require strength (especially grip strength), shoulder mobility, and a solid core. Follow the steps outlined in this blog and before you know it, you’ll be a TTB pro!