The split jerk is the most efficient way to get as much weight as possible from your jerk rack position (shoulders) to overhead. To be able to move the most weight, this lift requires an immense amount of power and technique. In training, the split jerk can be used to develop power, speed, precision, mobility, and overhead strength. To ensure that you’re receiving all of the benefits from this lift, it’s important that you execute it properly — so we’re going to break it down.
How to Do the Split Jerk
Step 1: Figure Out Which Foot Should Split Forward
Before you start training the split jerk, it’s important to find your split jerk foot position — AKA the receiving position. To do this, first, figure out which foot should go forward. You can do this by asking a friend to give you a light push on the back. Whichever foot you automatically try to catch yourself with is your forward foot. Simple!
View this post on Instagram
Step 2: Perfect Your Stance
The next step is creating a wide and long base of support that will help you stabilize the weight.
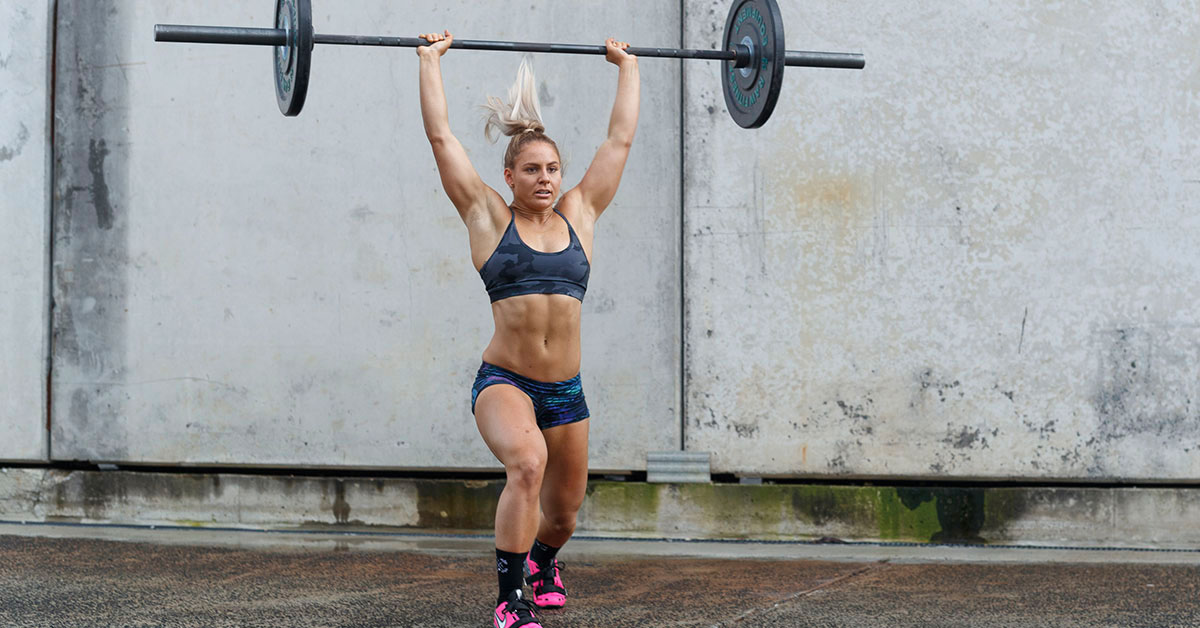
When you split your feet, the front foot and back foot should travel in their respective directions roughly the same distance. In other words, you want to split equally forward and back. You might have a little more weight in the front foot but generally, your weight should be fairly evenly spread between both feet.
This video offers a helpful breakdown of how to find the right foot position for you:
It’s important to keep the:
- Front shin vertical.
- Back heel slightly elevated.
- Back knee slightly bent.
Your hips should be directly under your shoulders and the bar straight overhead.
Step 3: Initiate the Split Jerk
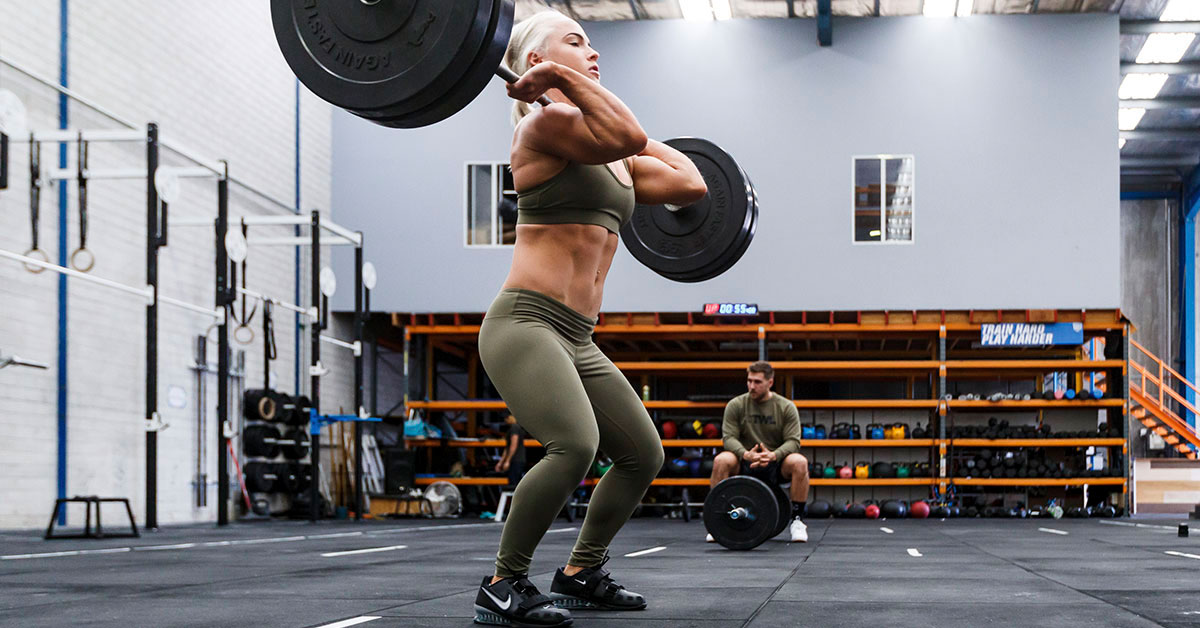
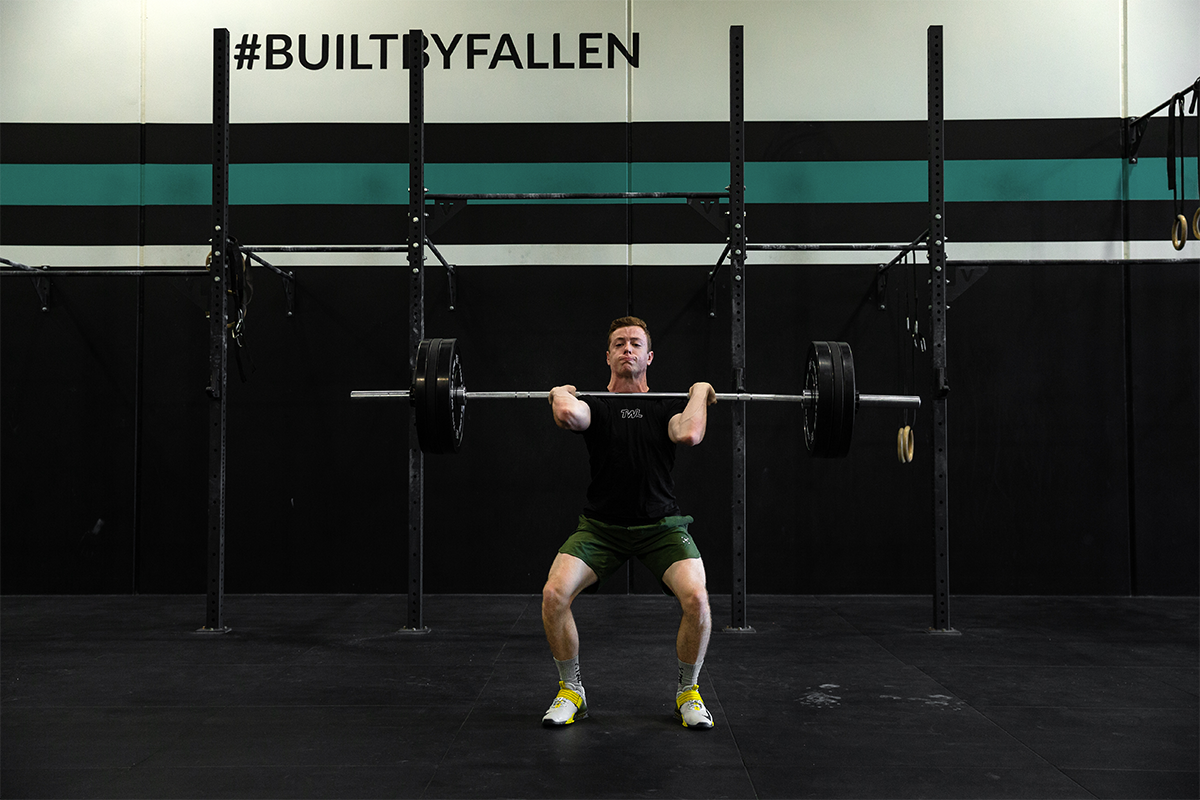
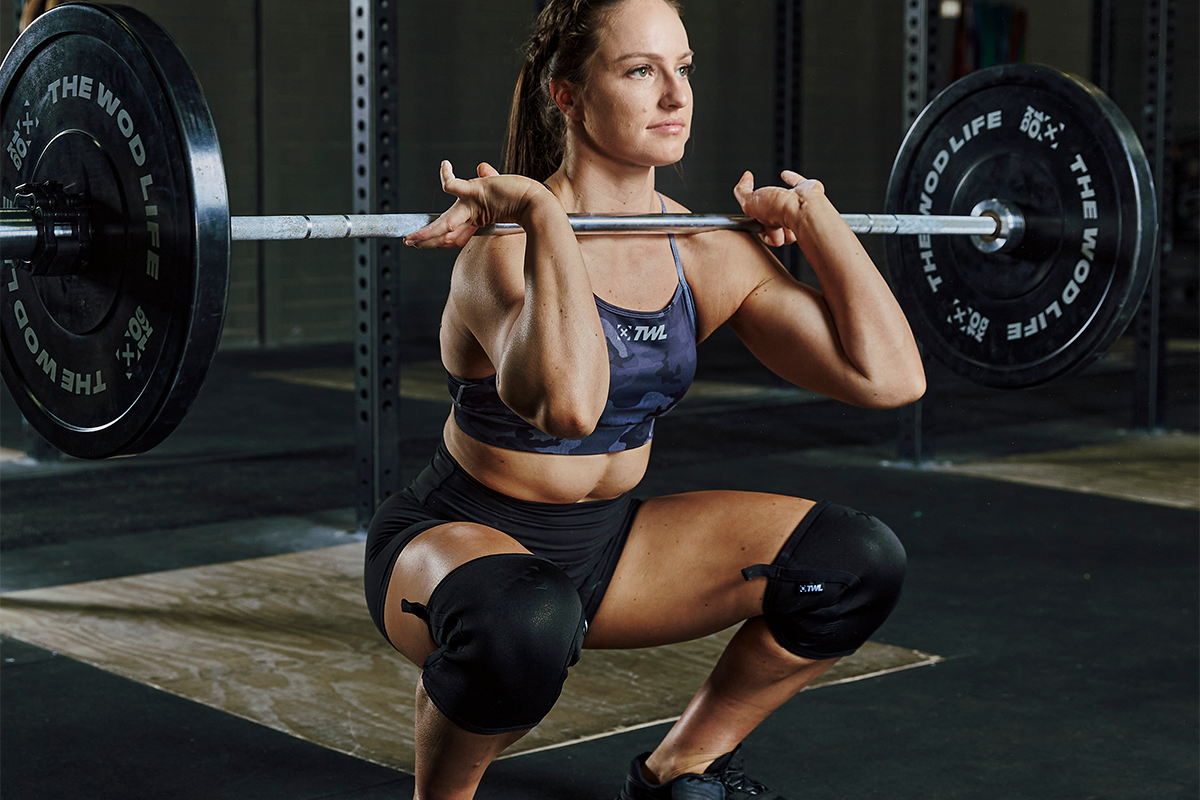
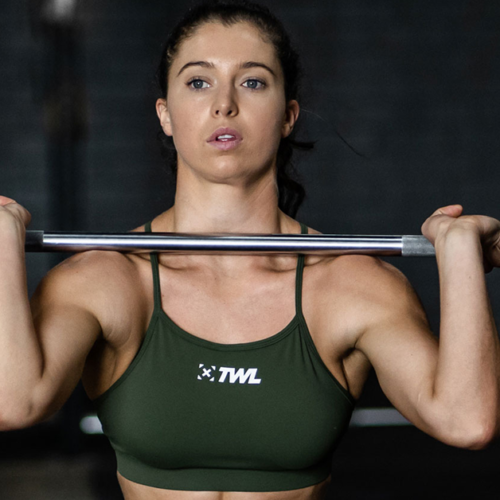
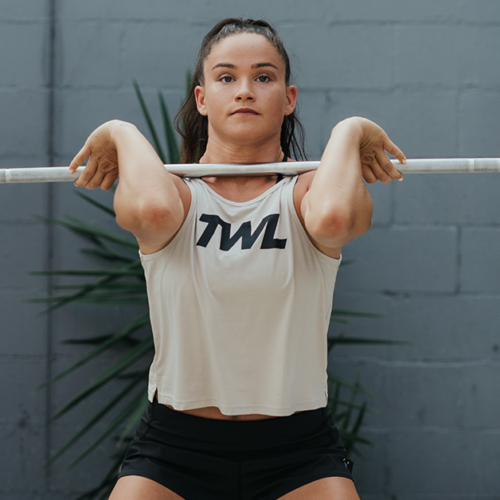
Whether you are taking the jerk from a rack or performing it following a clean, you must start the movement with a strong jerk rack position. To create a strong jerk rack, think about making a “W” with your elbows, lowering them and spreading them to the sides. The ideal elbow position is much lower than your front rack position but not all the way under the bar.
The lower your elbows are (without dropping completely straight down), the better your mechanics will be when pushing your body underneath the bar. Spreading your elbows creates a strong position to drive the bar up.
The Dip
Stand with your feet at a hip-width distance, about the same place you would start a clean or snatch. The first movement in this lift is the dip.
To begin the dip, bend only at your knees while keeping your trunk vertical and your weight evenly spread in your feet. If you hinge from your hips or drop your chest forward, your bar will more than likely move forward as you drive up instead of staying straight over your midline, possibly causing you to miss the lift.
The Drive
After the dip comes the drive. The dip and drive is what makes the magic happen. You want to immediately transition at the bottom of your dip to driving forcefully with your legs while accelerating the barbell upward (shrugging your shoulders up helps with this).
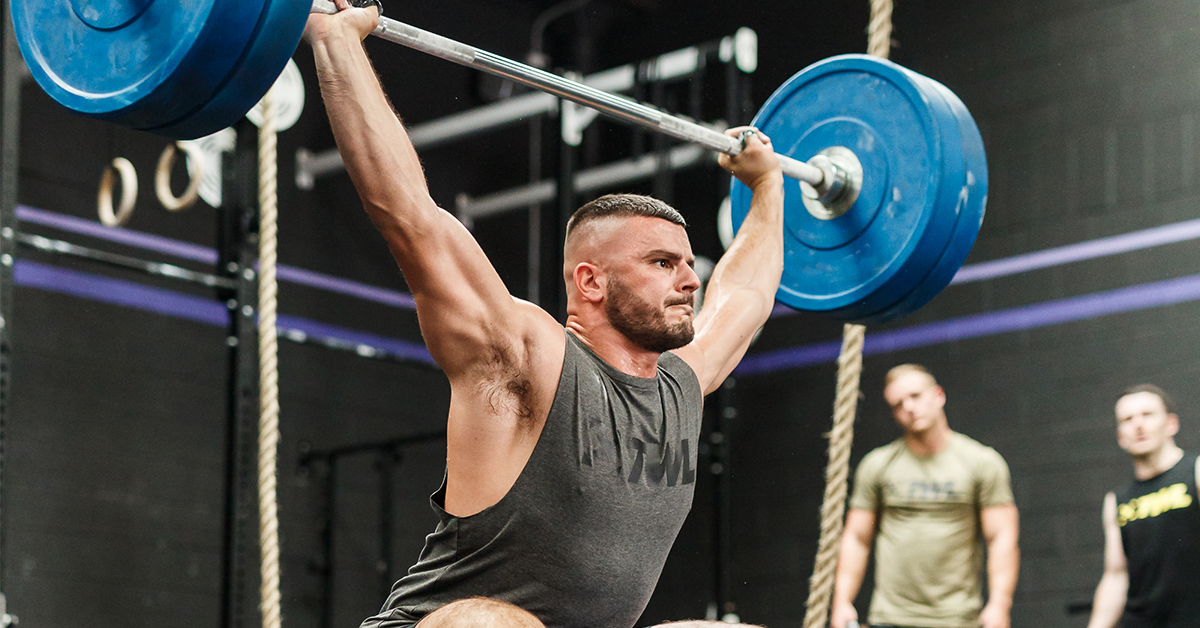
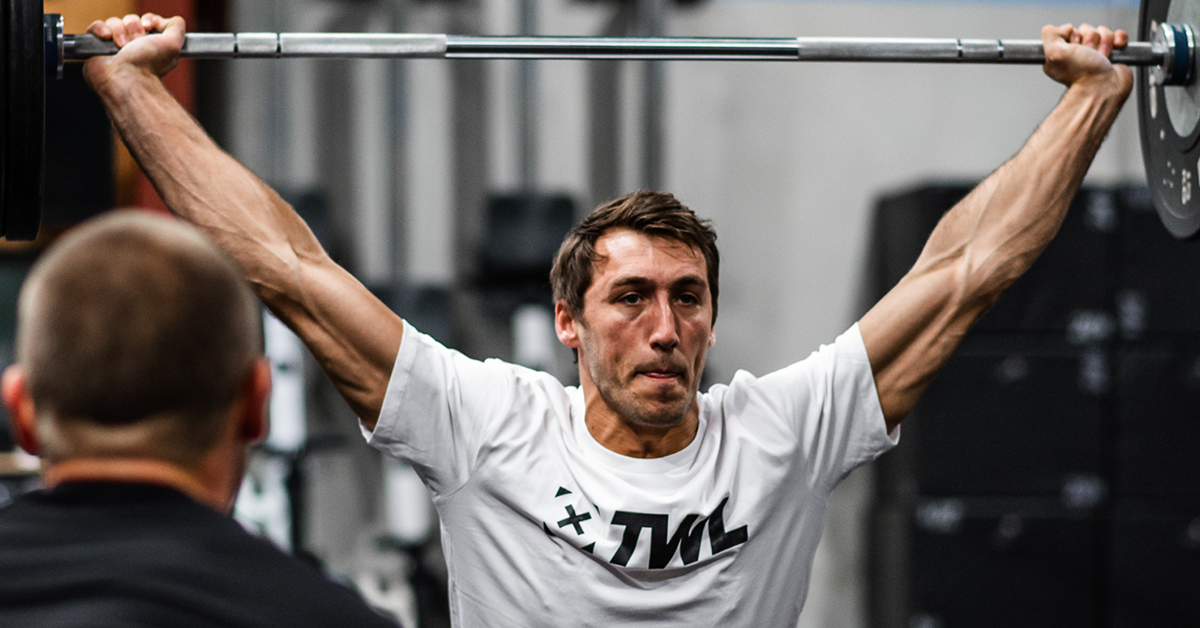
As your legs finish extending, your body is going to drive under the bar to the stable split position described above. While your body is driving under, your arms push up against the bar, aggressively punching into a locked-out position. When hitting your catch position, it’s important to keep your core engaged and shoulders activated.
View this post on Instagram
Finally, make sure that the barbell is secure and stable overhead, come to a full standing position, and your lift is complete. You “recover” from the lift by (1) bringing the front food back and (2) bringing the back foot forward.
There are many drills out there to help you work the split jerk technique, including tall jerks, jerk dips, and jerk balances. Incorporate these and the full lift into your training, and you will be moving major weight over your head in no time.
3 Common Mistakes Athletes Make in the Split Jerk
Don’t let these common mistakes stop you from getting heavier weights overhead more consistently.
1. Lunging Forward Into the Split
Athletes will often catch the jerk very far forward into the front foot. You might be able to get away with this with lighter weights, but try throwing something heavy overhead while lunging forward in this manner, and you’re probably looking at a missed lift.
2. A Sloppy Dip
The dip seems like such a tiny portion of the lift, and in a way, it is. However, it serves a huge purpose. This is what initiates the entire lift. A sloppy, weak, or slouched dip will not prepare you for a successful split jerk.
Use the dip to build the tension in your legs — meaning you can’t rush it! Keep a tall, proud chest. Importantly, take a deep breath before you do it.
3. Pressing Out the Jerk
Again, this is something you can manage at lighter weights but will not be able to pull off with heavier ones. The purpose of a split jerk is to drive the bar as high as you can, land underneath it, and lock out.
If you’re pressing out your split jerks, you need to work on (1) driving the bar higher, (2) getting lower under it, or (3) both.
Other blogs you might like

