20.3 is giving us 18.4 flashbacks, and they aren’t totally good ones! Handstand push-ups and handstand walks — two notoriously elusive movements — are both back. What if you’re one of those people who has the strength for a HSPU but can’t seem to get the technique down? There’s an argument for doing this workout Rx’d, especially because we’re going to break the movement down for you. Let’s start at the beginning.
Pushing Up Against the Wall
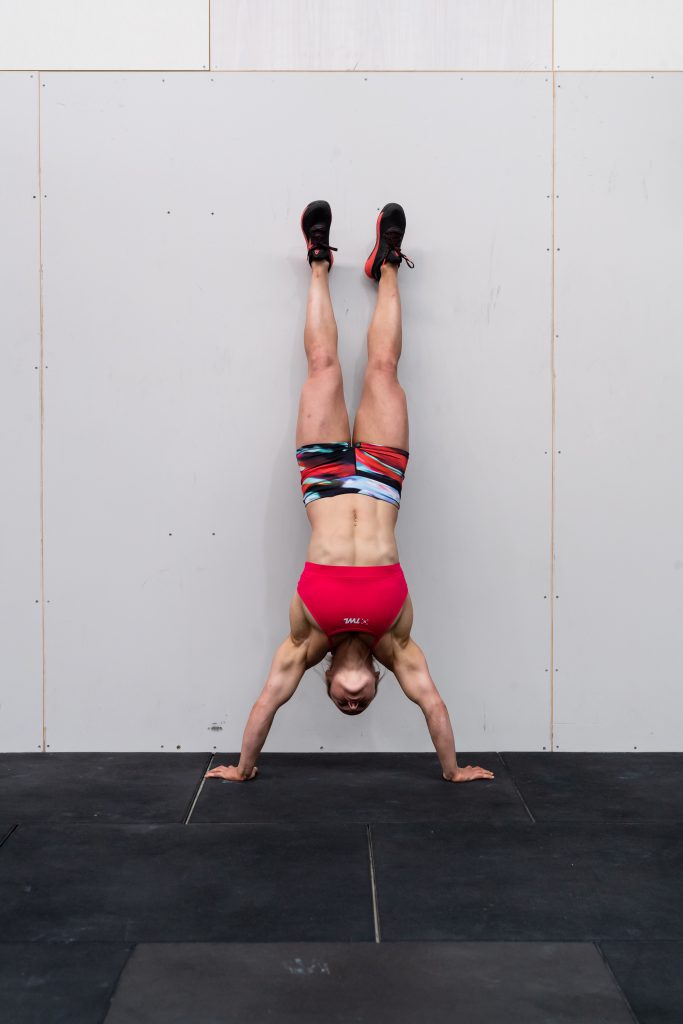
Kick upside down against the wall and get cozy for a few seconds. Here are a few important points to remember:
- You should be pushing up through your shoulders, core always engaged.
- Your heels should be touching the wall; your butt should not.
- Place your hands no further than a foot away from the wall, max. This gives you the room you need to perform the movement while still requiring you to hold the correct posture.
- Your hands should be slightly wider than shoulder-width apart.
Athletes sometimes experience discomfort because of the angle of their wrists and the fact that a good majority of their body weight is bearing down on them. Wrist wraps are a good idea for 20.3. They keep things compressed and provide stability while you’re upside down. That support will make it easier for you to spend more time inverted.
The Negative
Don’t underestimate the power of practicing only the negative (the part where you travel down) — it’s half the movement, after all. This is also where a lot of our problems begin because if you’re unstable and reckless on the way down, you’re sure as heck not going to get back up again. Keep these points in mind:
- You shouldn’t be bashing your skull into the floor. It’s a controlled descent and you are still on tension.
- Slowly lower yourself down until the top of your head touches the ground and your elbows are at about a 90-degree angle.
- Your head and hands should form a triangle/tripod (a headstand).
Hold this position for a few seconds before kicking down off the wall to finish. Repeat for a few reps. If you familiarize yourself with the negative, kipping back up will be a whole lot easier.
The Kip
The kip is an integral part of the HSPU. This explosion is what helps you first get out of your negative, which is the toughest part. Here’s how you accomplish it:
- Kick up against the wall and lower your head to the ground.
- Bend your legs and slowly bring your knees toward your chest, letting them find a natural resting spot. This will likely be someplace a little below your hips.
- Quickly shoot your legs straight up – but still under control. Keep your core tight and push through with your arms.
- Finish with your head just about aligned with your arms. This will help ensure you’re fully locked out.
Cycling Kipping Handstand Push-Ups
If you have trouble cycling HSPUs, it’s likely for one of two reasons:
- You don’t have the strength yet to string a bunch together.
- You can’t nail down the speed and technique.
If you’re in the first group, remember: you should be breaking these up before you hit failure, not after! That could mean doing them in sets of two or three. Heck, quick singles are even an option.
If cycling is an issue because of the speed and technique, slow the movement down. This doesn’t mean do a 10-second negative. It means focusing on technique so your body hits all the right positions.
We’re making shopping for the Open easier than ever. Shop with The WOD Life today and stock up.