What is Myofascial Release and How Can You Do It?
August 4, 2021
Written by admin in Training,
 13 minute read
 Have you ever experienced deep, aching pain in a muscle? Something that persists or even worsens each day, causing discomfort? Do you experience difficulty sleeping because of this muscle discomfort? It sounds like you might be dealing with myofascial pain. And one of the most common ways to manage it is myofascial release. But what is myofascial release and how does it work?
Let’s back up for a minute.
Psst! We think you might like our blog on five ways to use a lacrosse ball.
What is Myofascial Pain?
Myofascial pain happens when pressure on the more sensitive points in your muscles causes pain and can even travel to unrelated parts of your body. It stems from sensitivity and tightness in myofascial tissues. If the pain you’re dealing with is chronic, then you might be experiencing myofascial pain syndrome.
So, put very simply, myofascial pain is pain in your muscles. Now, what can you do about it?
What is Myofascial Release?
Relaxation techniques and physical therapy can help lessen and alleviate myofascial pain. One type of physical therapy method that can be applied is myofascial release. The goal is to reduce pain by alleviating any tension or tightness in what are called “trigger points.” Though it’s not always easy to detect the trigger points that cause the pain, myofascial release can be effective and more easily applied to a broad area of muscle and tissues.
There are two types of myofascial release techniques:
- Direct release – known as deep tissue myofascial release therapy; therapists use weight or direct pressure on the trigger points.
- Indirect release – a more gentle method where therapists apply less pressure, allowing the fascia and muscles to relax until a greater range of motion is achieved.
Meanwhile, the benefits that you can get from myofascial release are the following:
- Muscle relaxation
- Enhanced blood circulation
- Improved muscle function
- Improved joint range of motion and flexibility
- Improved neuromuscular efficiency
- Reduced soreness and improved tissue recovery
- Released knots or trigger points
- Less overall stress
In doing myofascial release, the therapist or athlete begins massaging the area by applying a small amount of pressure. They might hold this pressure in one isolated spot, massage it gently, or use a more rigorous rubbing/scraping motion.
This process is repeated multiple times on trigger points until the muscle tightness is lessened.
Take note that you won’t always be applying pressure on the area where you feel the pain. This is because the origin of the pain might be elsewhere. For example, tight hips might end as lower back pain. Thus, you might need to use myofascial release on the hips, not the back.
Psst! Read our blog on 10 banded stretches for healthier hips.
Myofascial release can reduce stiffness and tension of the muscles throughout your body by releasing trigger points across a larger area of your muscular system.
How to Do Myofascial Release
If you want to know how to perform myofascial release by yourself, here are a few suggestions to guide you.
Foam Rolling
Before tackling your WOD, foam rolling should come first. It can also be done as part of a cool-down and also makes for excellent active recovery.
There are several types of myofascial release techniques that you can do by using a foam roller. Some of them are the following:
- Gastrocnemius/Soleus (Calves) – Place the foam roller under your mid-calf. Cross the other leg over it to apply pressure. Roll the calf area and find the most tender spot. Hold for 30-90 seconds until the discomfort is lessened. This method is most effective for pain stemming from running/sprinting and for those who regularly wear high heels. Switch legs and repeat steps.
- Adductors – Lie down facing the floor and flex one leg on the foam roller. Roll the upper inner thigh area and find the most tender part. Hold for 30-90 seconds until the tightness feels like it’s dissipating. Switch legs and repeat steps.
- Tensor Fascia Latae – Lie sideways with the foam roller under your hip. Cross your top leg over the lower leg and roll the hip joint slowly toward the knee. Once you find the tender spot, hold for 30-90 seconds until the muscle tightness is lessened. Switch sides and repeat steps.
- Thoracic Spine – Lie on the floor resting your upper back against the foam roller. Cross your hands/arms to the opposite shoulders and raise your hips from the floor. Roll back and forth slowly until you find the tender spot. Hold for 30-90 seconds.
Piriformis Myofascial Release
The piriformis muscle is located in your glutes. We bring this up specifically because one thing many of us deal with is excessive sitting. This, in and of itself, can wreak havoc on your body due to the tightness and immobility it causes. When you then go and train on top of this, extreme soreness, pain, and injury can result. Try this:
- Sit on a chair with your core engaged and aligned. Flatten your feet on the floor.
- Place a small exercise ball against the piriformis muscle, the area between your outside hip and tailbone. Position yourself as if you’re half-seated on the ball.
- Put your weight against the ball and hold pressure on the muscle for 30 seconds to two minutes.
- If you want to deepen your stretch, cross one of your legs over the other at your knee.
There are many other ways to use myofascial release for piriformis pain, but this is one of the more simple and straightforward methods.
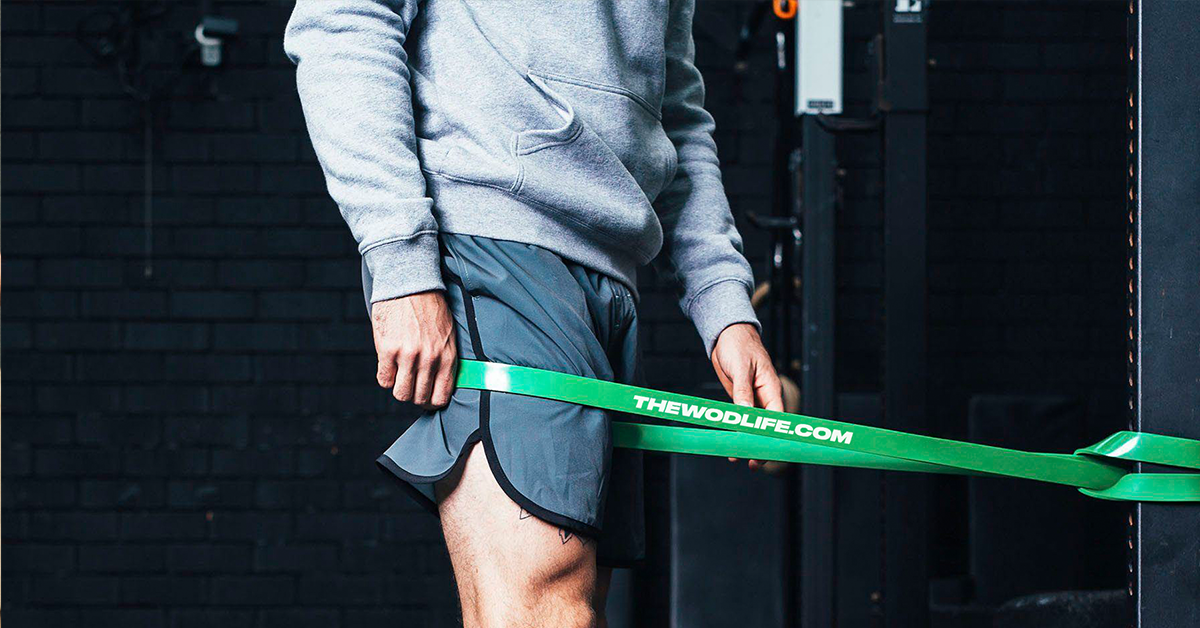
To help you on your road to recovery, The WOD Life offers a wide range of stretching and mobility tools to help you with your myofascial release, including muscle rollers, foam rollers, trigger point balls, and scraping tools. Designed for all types of athletes and for specifically targeted relief, you can use these tools anytime and anywhere. Shop our collection of recovery tools today.