When it comes to strength, mobility and skill, there’s always room for improvement. Use the following movements to improve weaknesses and take your everyday WOD to the next level.
1. Sots Press
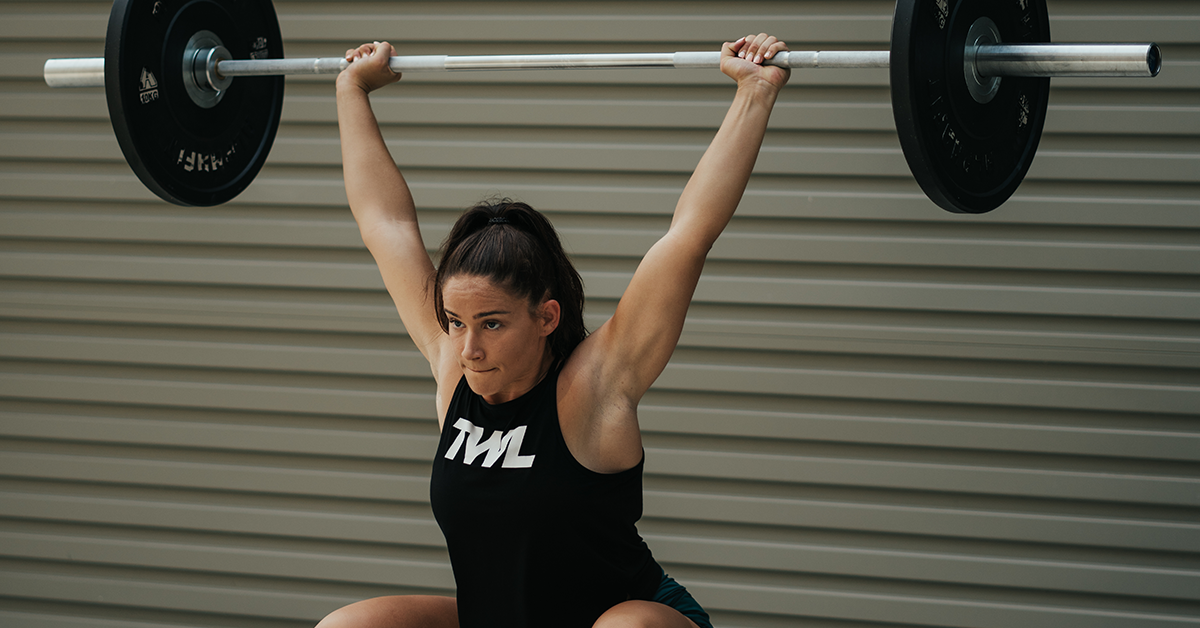
If you want to snatch heavier weights but lack the mobility and shoulder stability necessary to add more iron to the barbell, the Sots press might be the perfect drill for you.
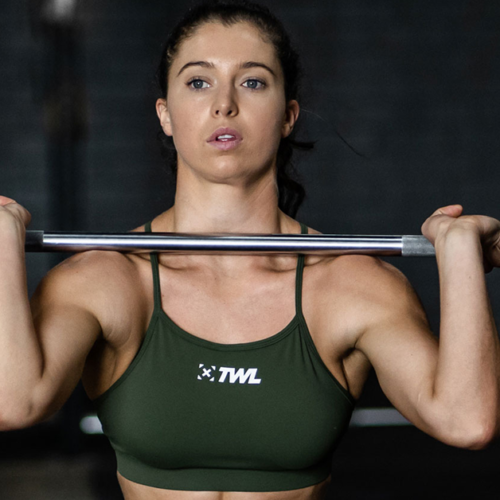
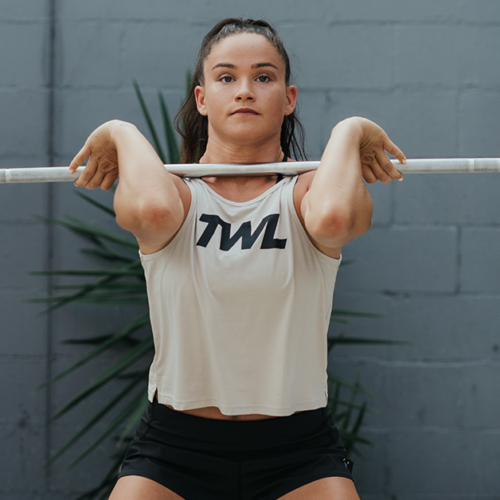
Named after Russian weightlifter Viktor Sots, the Sots press is a shoulder press performed from the bottom of a squat. It can be done with a barbell from the front rack position with a clean-width grip, or from the back squat position with a snatch-width grip. It can also be performed with kettlebells — one per hand, or just one side at a time to work your body asymmetrically.
In addition to building strength, mobility and stability in your shoulders, the Sots press also improves core strength, balance in the receiving position of the snatch or clean and mobility in your ankles, hips and thoracic spine.
Before performing the movement, we recommend doing the Sots press with a PVC pipe and having your coach assess and critique your position and mobility. Certain mobility restrictions may prevent you from performing a weighted Sots press correctly, so you should be fully warmed up and mobile before adding a load.
How to do it:
- Load barbell to preferred position (front rack or back squat) with proper grip width.
- Lower yourself to the bottom of your squat. Pause.
- Press bar upward, keeping your core tight and your shoulders fully engaged. The bar should travel in a straight line above the arches of your feet.
- Pause at the top with elbows and shoulders locked out.
- Slowly return bar to starting position. Repeat.
2. No-Hook Grip Work
We’re taught to use the hook grip because it helps you hang on to heavier weights for longer. Thus, it’s not surprising that doing no-hook grip deadlifts, barbell/dumbbell rows and Olympic lifts can work wonders. It benefits both grip strength and back engagement; and because the weight feels so heavy in your hands, it helps teach you how to keep the arms relaxed and not grip the bar too hard. Plus, when you go back to using a hook grip, heavier weights feel easier.
How to do it:
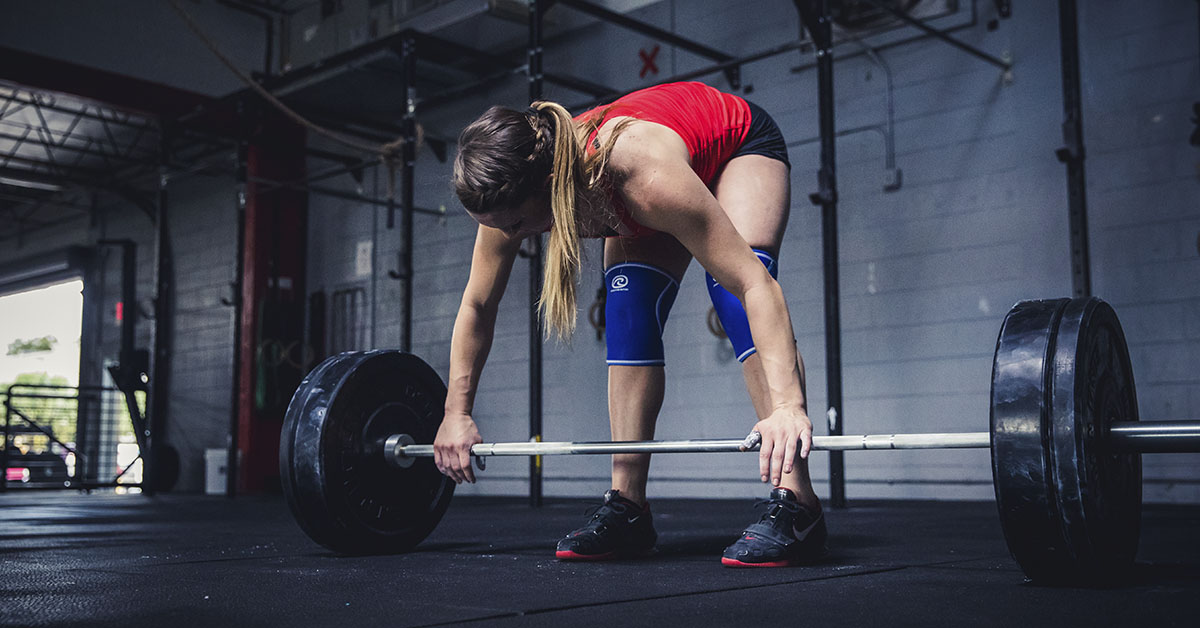
Grip the bar or barbell with your thumbs outside your fingers. Be sure to start with light weight and work your way up, as most people can’t lift as much without a hook grip.
3. Wide Grip Pull-Ups
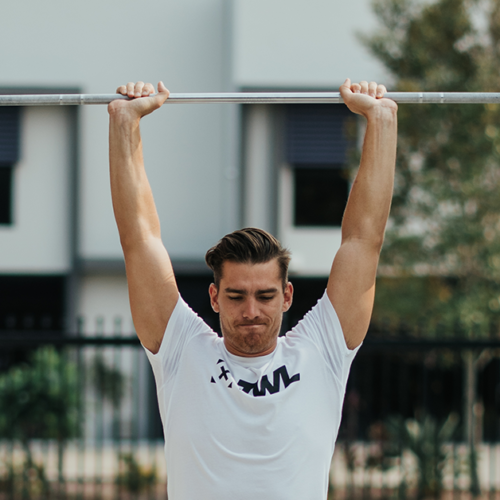
Contrary to an old rumor spread in bodybuilding communities, wide grip pull-ups do not make your lats freakishly huge — but when done properly, they can lead to practical strength gains.
If you haven’t mastered regular strict pull-ups, wide grip pull-ups aren’t for you (yet). They predominantly rely on your back muscles — especially your latissimus dorsi — and all but remove your biceps and triceps from the equation. Also, because of the position of your shoulders, combining kipping with wide grip pull-ups is not a good idea.
If you can perform 10 to 15 strict pull-ups unbroken, you’re probably ready to try the wide grip.
How to do it:
- Grab the pull-up rig with your hands just outside shoulder width (your arms and body should form a “Y”).
- Engaging your lats, pull your shoulder blades together and drive your elbows straight down to the floor. Your whole body should stay tense throughout the movement, and your neck should stay in a neutral position, in line with your spine.
- Once you’ve reached the top, with your chin over the bar, lower yourself back down.
If you can’t pull yourself all the way up, just pull as far as you can and hold. Then, release and try again.
4. Single-Leg Deadlift
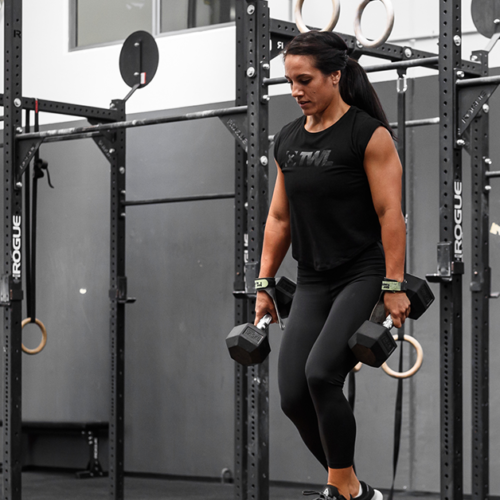
An ace at revealing muscle imbalances — and lack of balance — the single-leg deadlift also works as an antidote for those weaknesses. The unilateral movement primarily works the hamstrings; but when performed correctly, it also challenges the shoulders, back, core, glutes, and quads. It increases hip, knee and ankle stability, as well as hip and ankle mobility.
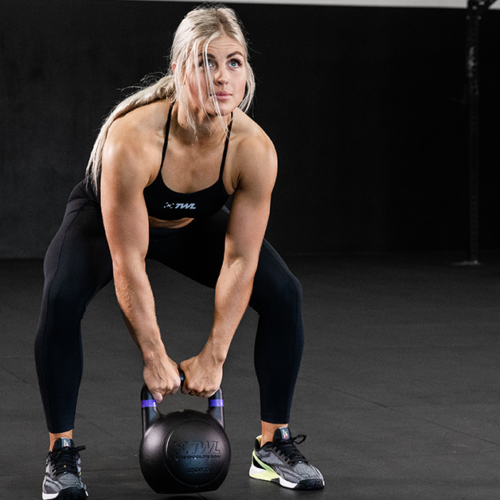
The single-leg deadlift can be done with just bodyweight or with kettlebells or dumbbells — one for each hand or just one to add asymmetrical challenge.
How to do it:
- With one foot planted firmly on the ground, slide your free foot backward and hinge at your hip to lower your torso to the ground. Your back should stay straight and neutral, and your shoulders and hips should remain parallel with each other and square to the ground.
- Once your torso and back leg are parallel with the ground, grab your weight(s) and make sure your lats are engaged.
- Hinge your hips forward and draw your torso up, bringing your back leg to your planted leg. Take your time. Maintain balance the whole way.
- Hinge hips backward again and lower the weight(s) to the ground.
Things to watch for:
- Your standing knee can bend, but it should stay in line with your toe and not move forward much at all.
- Your back leg should be controlled and treated as an extension of the spine.
- Your shoulders should not collapse forward. Keep your lats engaged throughout the movement.
- Your back should not curve downward or arch upward, but remain in a safe, neutral position.
Use these movements as drills in your warm-up or make them part of your WODs. Before long, you’ll start noticing improvements in balance, strength and stability.

