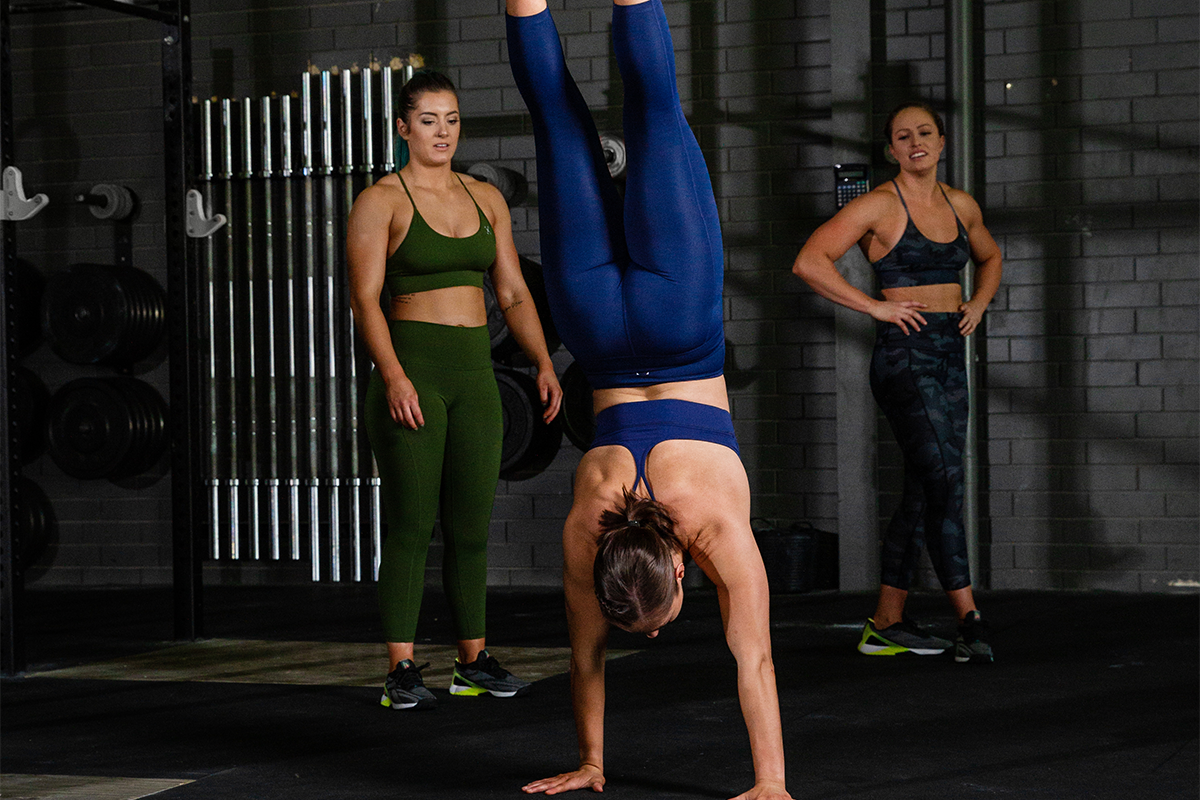
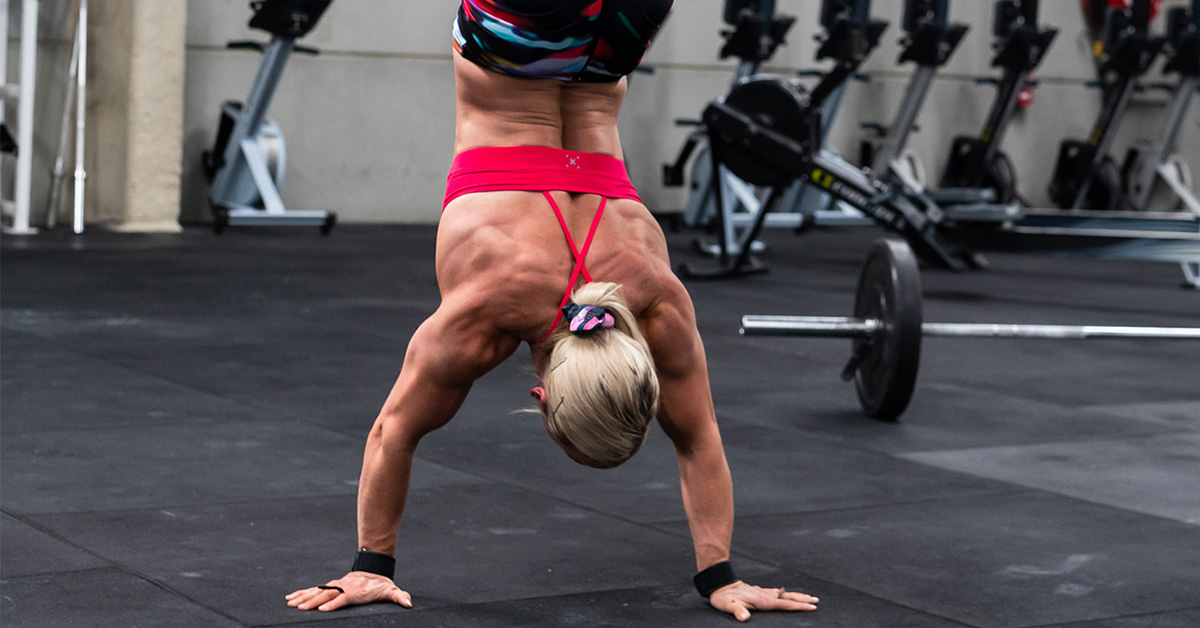
There are a few movements in functional fitness that give most athletes a run for their money. Muscle-ups are one. The Olympic lifts can be challenging. And handstands are another. While practice and repetition are important, flinging your legs over your head over and over again won’t help you master the elusive handstand. So, how can you strategically work your way to performing one Rx’d? Let’s talk about a few handstand progressions that’ll get you there.
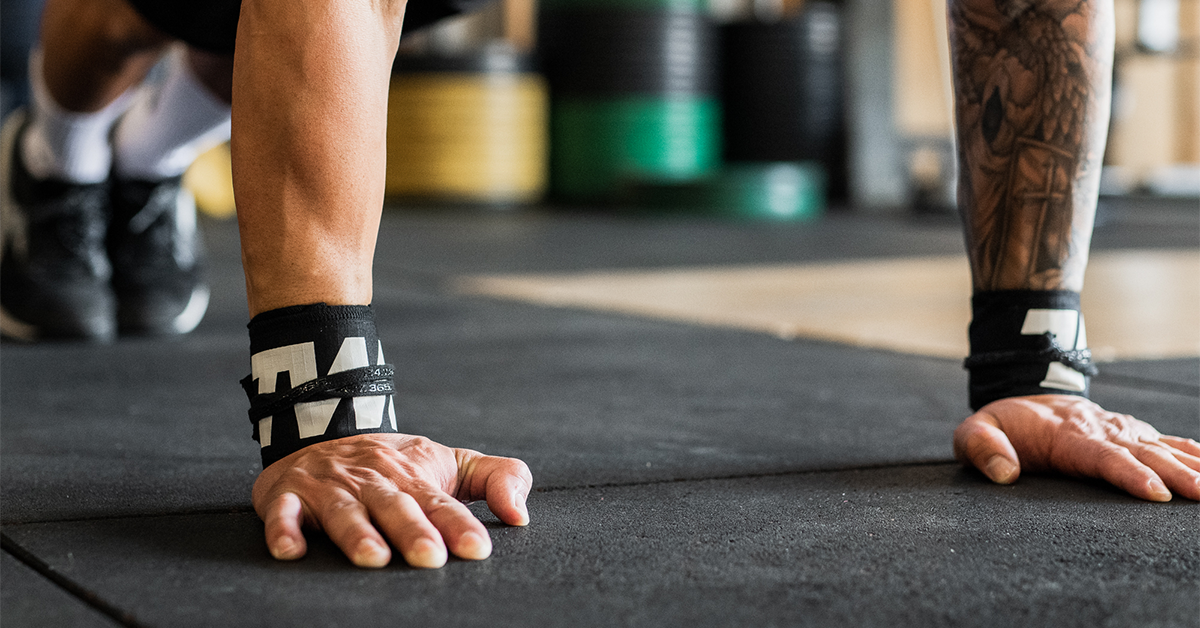
Psst! Let’s talk about helpful gear. When it comes to standing on your hands, wrist wraps are a lifesaver.
Shop Now
5 Handstand Progressions for Mastering the Movement
Now, the handstand demands all sorts of capabilities, namely mobility, strength, and confidence. So, we’re going to try to tackle all three with these handstand progressions. Let’s go!
1. Box Holds
If you’re as green as they come, then you might be dealing with a lack of strength, mobility, and confidence. And that’s ok! After all, handstands can be a little scary. Let’s start off slowly. Commonly, to help mimic the feeling of holding your body’s weight upside, coaches set athletes up with a plyo box.
But you’re not doing box jumps. Rather, you’re putting your feet up on the box and your hands on the floor. The further your hands are from the box, the easier it’s going to be. The closer your hands are to the box, the more challenging it’s going to be and the more it’s going to feel like a real handstand. This is because, with your bum higher in the air, more of your body’s weight is in your hands — as if you were upside down.
Do this for a few rounds, aiming to hold for anywhere from about 15 to 30 seconds each time. This is a common handstand hold alternative and it’s an excellent primer.
2. Kick-Ups
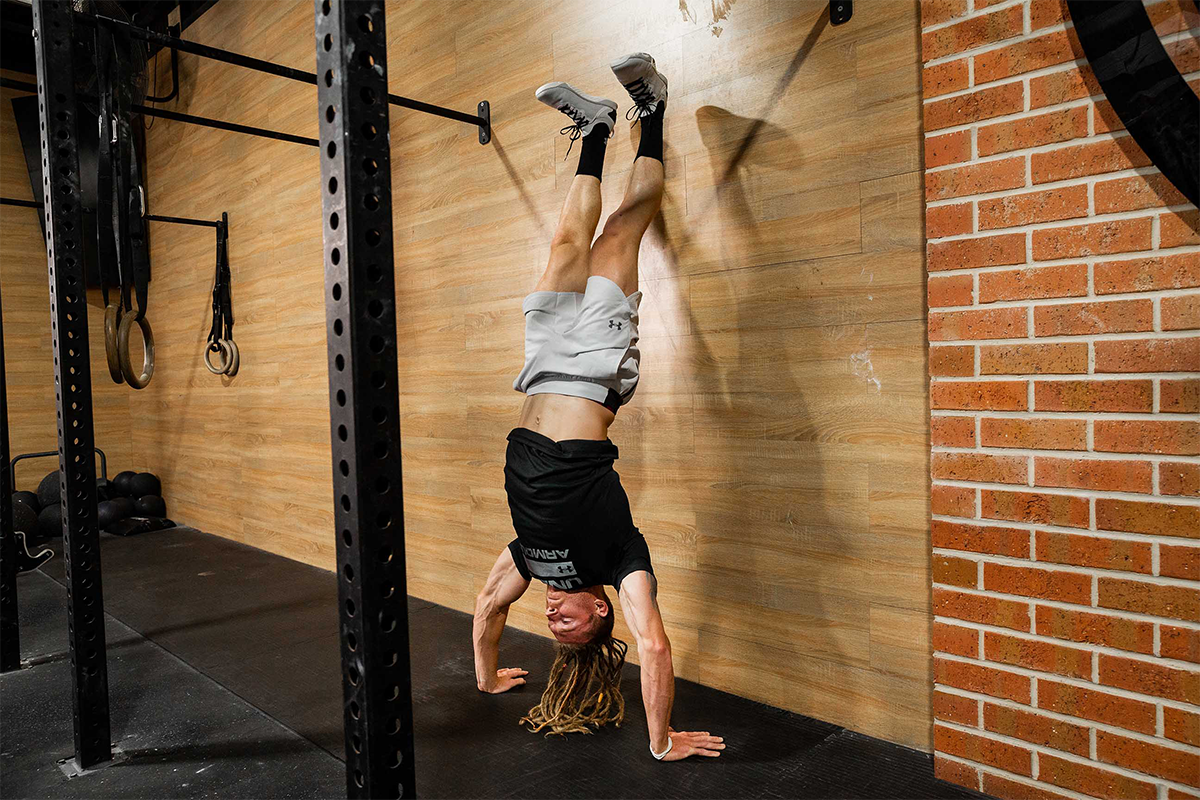
The next on our list of handstand progressions is kicking up against the wall. This will require a little more strength and mobility than working with a plyo box. Facing the wall, practice starting on your feet, bending forward to place your hands on the ground a few inches from the wall, and kicking your legs up. You should finish with your heels touching the wall for support.
Don’t just hang out here all slack. Form matters! This is your opportunity to build strength in a controlled environment. Push out of your shoulders. Squeeze your core. Notice how it feels to be engaged and intentional in this position. That’ll translate when eventually step away from the wall.
3. Wall Walks
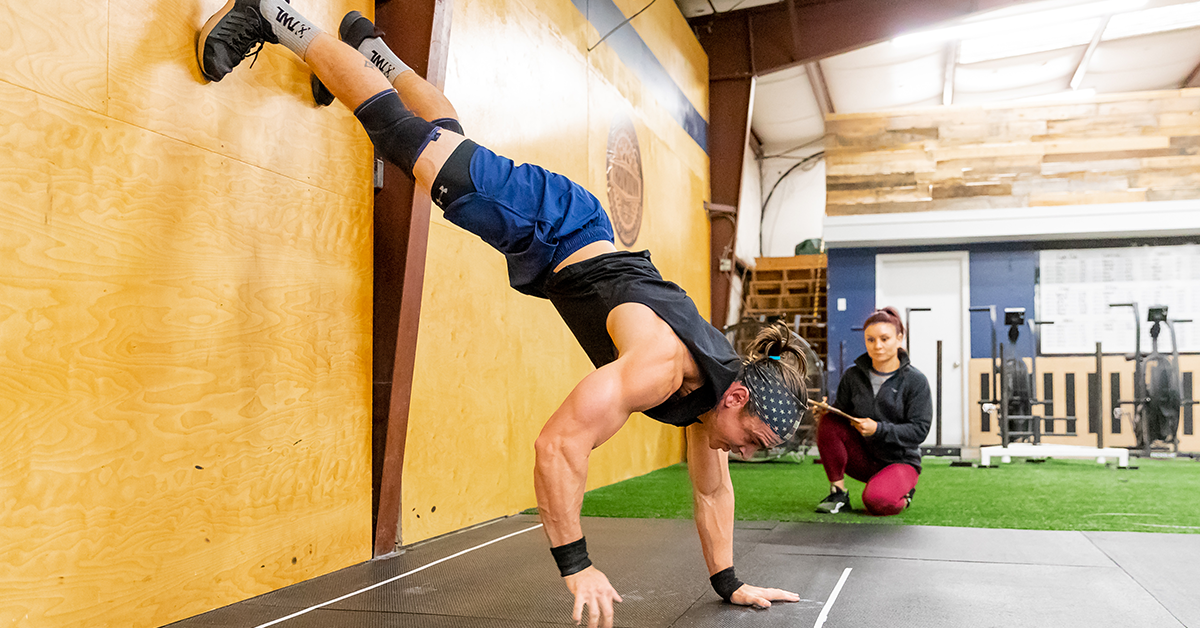
This is going to up the level of difficulty once again, for two reasons. First, wall walks take longer, which means you need greater strength. Second, you are now going to be facing the wall, which can be intimidating!
Face away from the wall and lay down with your chest to the floor. Your feet should be up against the wall, and your arms should be bent with your hands by your chest — like a push-up. Then, push up to a plank position, arms straight. Begin to “walk” your feet up the wall, while walking your hands toward the wall. The goal is to get the front of your body flat up against the wall, nose touching. (It’s ok if you’re not there quite yet. You can still practice the wall walk.)
Once again, remember to stay engaged. Once you’re ready to come down, you can either cartwheel out of it or simply walk back down.
4. Shoulder Taps
Next, let’s add a little more movement to our handstand progressions! You’re going to once again face away from the wall and kick up into your handstand. From here, you’re simply going to alternate sides and tap your shoulders — left fingers to the left shoulder, right fingers to the right shoulder.
You’re going to notice that this requires you to shift your weight ever so slightly from side to side. This is going to help you build strength and also discover if you have any imbalances in weakness or stability in either shoulder. And it’s an especially important progression for when you decide to start training handstand walks, as it mimics the movement.
Aim to do this for reps or a specific amount of time. You can do this facing the wall or turning away from it.
5. Hip Taps
Want to up the intensity one more notch? Try hip taps. It’s the same concept except for this time, as you probably guessed, your fingers are going to tap your hips. Aside from having to move your arms a bit faster, you might also need to shift your weight from side to side a little more drastically. When you tap your hips, keep your arms straight and swing them out to the sides for your fingers to make contact.
Make it spicy: Once you have the necessary strength, try standing on one hand! Slowly tip to one side — let’s say the left — and as you do, carefully take the weight off of your right hand until your fingers are just grazing the ground. Eventually, you’ll be able to lift your right hand up entirely and hold that position. Again, this is great for building strength and also learning if one shoulder is stronger/more stable than the other. Bonus!
We often think that in order to get better at something, we just need to do that thing more. While this is partly true, you also need to supplement your training with other supportive exercises. That’s where these handstand progressions come in. Utilize them on a regular basis and before you know it, you’ll be standing on your hands with ease!

