If you’re looking for glute exercises that will tone your bum and sculpt the perfect backside, look no further than the banded glute bridge. This exercise is excellent because it targets both the larger and smaller muscles of your glutes, and it’s low-impact! Big results, little wear and tear. Put on some tunes, grab a mini resistance band, and give this exercise a try.
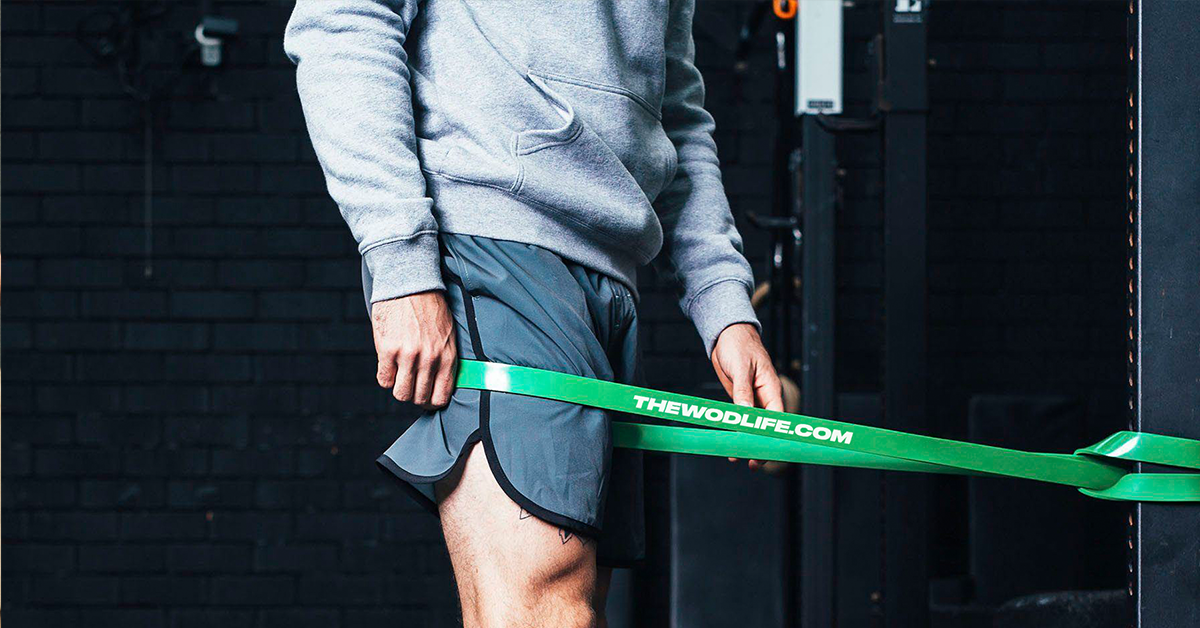
If you need to get a new mini resistance band, here are some of our recommendations. (View our full collection online.)
Shop Now
What is a Banded Glute Bridge?
First, let’s talk about how to do a banded glute bridge.
A banded glute bridge is a resistance band exercise that targets the bum. Lay flat on your back with your feet flat on the ground and approximately shoulder-width apart (possibly a little wider), legs bent, with a mini resistance band looped just above your knees.
The band should always be on tension; otherwise, it defeats the purpose. If you notice your band is slack, move your knees apart a little bit further until it’s on tension.
Psst! Read our blog on time under tension and why it’s so important.
Then, you slowly lift your torso and upper legs into the air, extending your hips until your quads and torso are in line with each other. You should be pushing through your quads and squeezing your butt at the top. Hold for two seconds. Finally, you lower yourself back down to the starting position.
Here’s what it’s going to look like:
Try this for three sets of eight to 12 reps. To make them more challenging, you can:
- Slow down the movement and/or pause for longer at the top.
- Do more reps.
- At the top of the movement, pulse your knees outward to fight against the tension even more.
- Use a thicker resistance band (or multiple smaller bands), which is going to be harder to keep on tension.
You can do banded glute bridges as part of your warmup, the workout itself, and even on active recovery days. Because it’s so low-impact, it’s great for getting the blood flowing and triggering your muscles without causing a ton of soreness. In fact, exercises like this can help to reduce and alleviate soreness.
Note: If you have a herniated disc or back pain, consult your doctor before performing this exercise.
What Muscles Do Banded Glute Bridges Work?
Banded glute bridges strengthen the glutes, true, but they also work your hamstrings and lower back muscles. And because you perform this movement slower and under more control, it gives you an opportunity to really engage those smaller muscles and feel them working. Imagine how this translates when you put a heavy barbell on your back and squat it.
Furthermore, your glutes, hamstrings, and back are all part of your posterior chain. The importance of a strong posterior chain is often overlooked in strength training routines. A strong lower back and glutes will improve your posture and athletic performance and also help to protect you from injury. When athletes experience injury, it often stems from some sort of weakness or imbalance in the glutes or back. We might not think about these muscles too often, but they have a big job to do. And problems in the glutes and back can quickly spiral out of control.
Banded glute bridges are a simple way to build up the strength of your posterior chain bit by bit. It’s a small movement that can lead to big results.
3 Banded Glute Bridge Variations
Once you’ve got the traditional banded glute bridge mastered, you can switch it up with these variations.
1. Single-Leg Banded Glute Bridge
You perform this the same exact way, except you do it on one foot! It’s going to look like this.
The biggest thing to remember here is to keep your hips squared at the top. In other words, they should be in line with each other. One hip should not be higher than the other. If you can’t raise your hips as high as you normally would, that’s okay! Focus on the quality of the movement.
2. Glute Bridge + Leg Extension
You can think of this as a less extreme version of the single-leg bridge. Perform your standard bridge and then pause at the top. From here, straighten one leg. Set that foot back on the ground (still in your bridge) and lift the other foot into the air. Then, lower that foot down, lower your butt, and begin the next rep of your bridge.
3. Glute Bridge + March
Once again, you’re going to execute your standard glute bridge. But this time, at the top of the movement (meaning when your butt is in the air), you’re going to march in place by lifting one knee up and then setting it back down, switching to the other side and alternating for reps.
In this case, you’re having to resist the tension of the band in two directions: side to side and up and down.
Remember when you’re performing the banded glute bridge or any of its variations to do so slowly. The goal is to maintain the correct position under control, not race through the reps at a higher speed.
There are so many resistance band training benefits. They’re compact, gentle on the body, and effective in targeting smaller muscles. Banded exercises might not look like a lot, but they pack a big punch. Grab a mini resistance band and try these glute bridges today!

