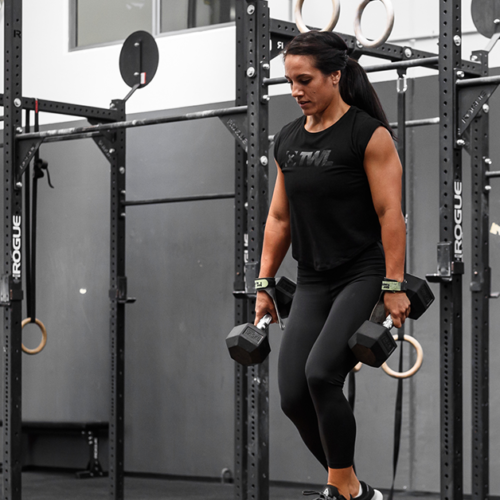

We all commit to fitness routines for various reasons. We engage in different workouts, training habits, and nutrition plans depending on what we want to achieve. The thing is, our fitness goals are mainly focused on how we want to look rather than getting stronger and healthier.
Many people forget to incorporate back exercises in their training programs, simply because they don’t see the results when looking in the mirror. Instead, they pay more attention to “mirror muscles” — the ones they more readily see when they look at their reflection.
Make back training a priority to improve form, posture, and spinal muscle flexibility. Even if you don’t have the time to go to the gym, you can strengthen your back muscles from the comfort of your home through simple, cost-effective equipment. This blog will go over some of the best back exercises with resistance bands that you can do from just about anywhere.
Don’t forget to check out our full collection of resistance bands.
Shop Now
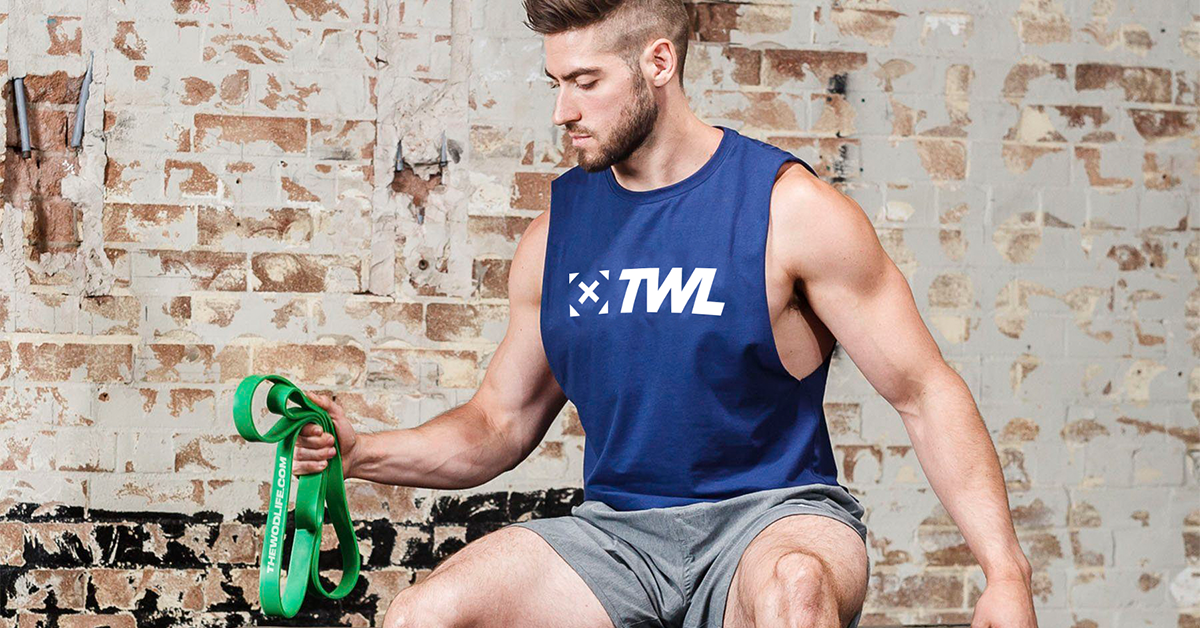
What is a Resistance Band?
Typically made from synthetic rubber or latex, resistance bands force the user to work harder to maintain control. One of the many benefits of resistance bands is that it adds tension to regular exercises to engage more muscles, making the movement more challenging.
There are many types of resistance bands, each serving its own purpose and offering various difficulty levels. Some have handles. Others don’t. They are available in light, medium, and heavy tension levels. All are portable, versatile, and affordable, making it a popular piece of fitness equipment for frequent travelers and those who love working out at home.
While this blog focuses on back exercises, resistance bands are so versatile that they can help improve mobility, boost flexibility, and increase strength in just about any muscle group. To maximize your resistance bands, check out our favorite resistance band exercises.
The Best Back Exercises with Resistance Bands
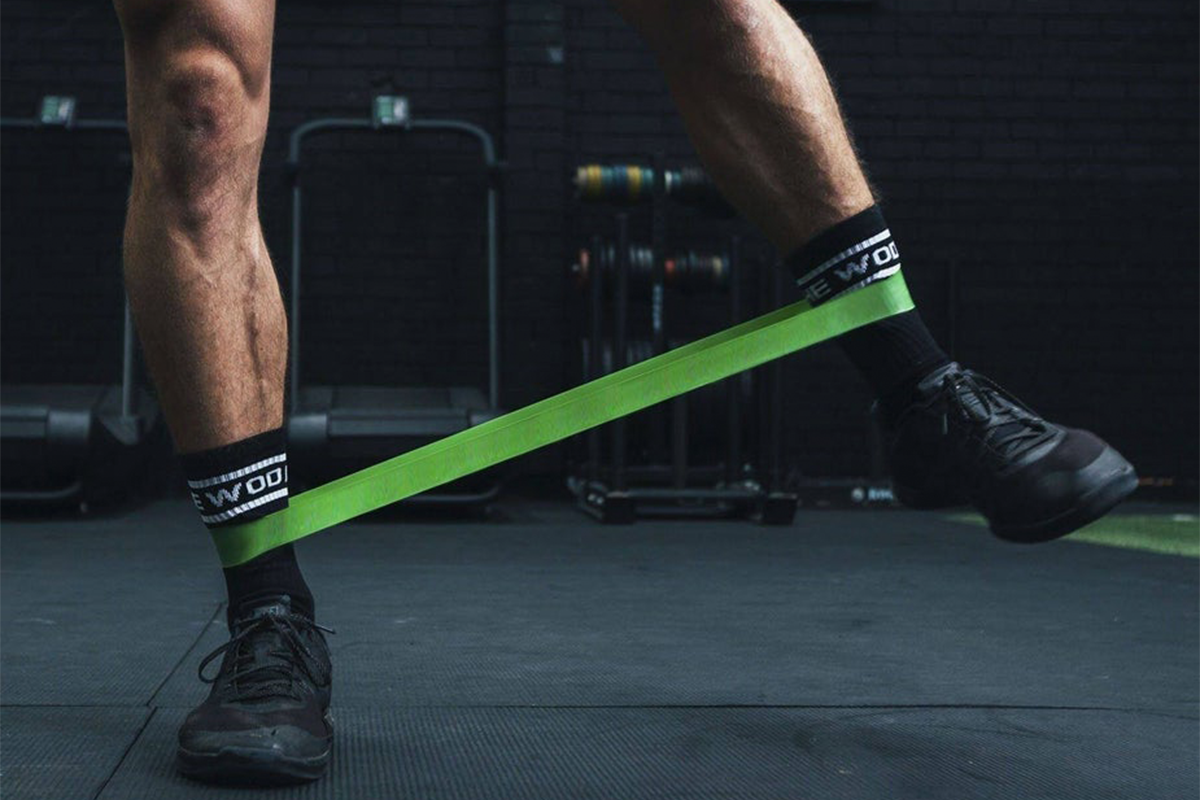
Important note: For these back exercises with resistance bands to work, you need to always start on tension. The band should never be slack. If that happens, adjust your positioning so that in the starting stance, the band is pulled tight.
1. Bent-Over Row
Stand shoulder-width apart. Then, step into the resistance band. Lean slightly forward to hold the band in your hands. Bend your knees a bit and keep your back straight.
Next, slowly bend your elbows and lift the band as high as possible. As you move your arms back, squeeze your shoulder blades together. Don’t change the position of your waist and legs. Pause and squeeze for a moment once you reach the top, and then lower the ends of the band.
2. Face Pull
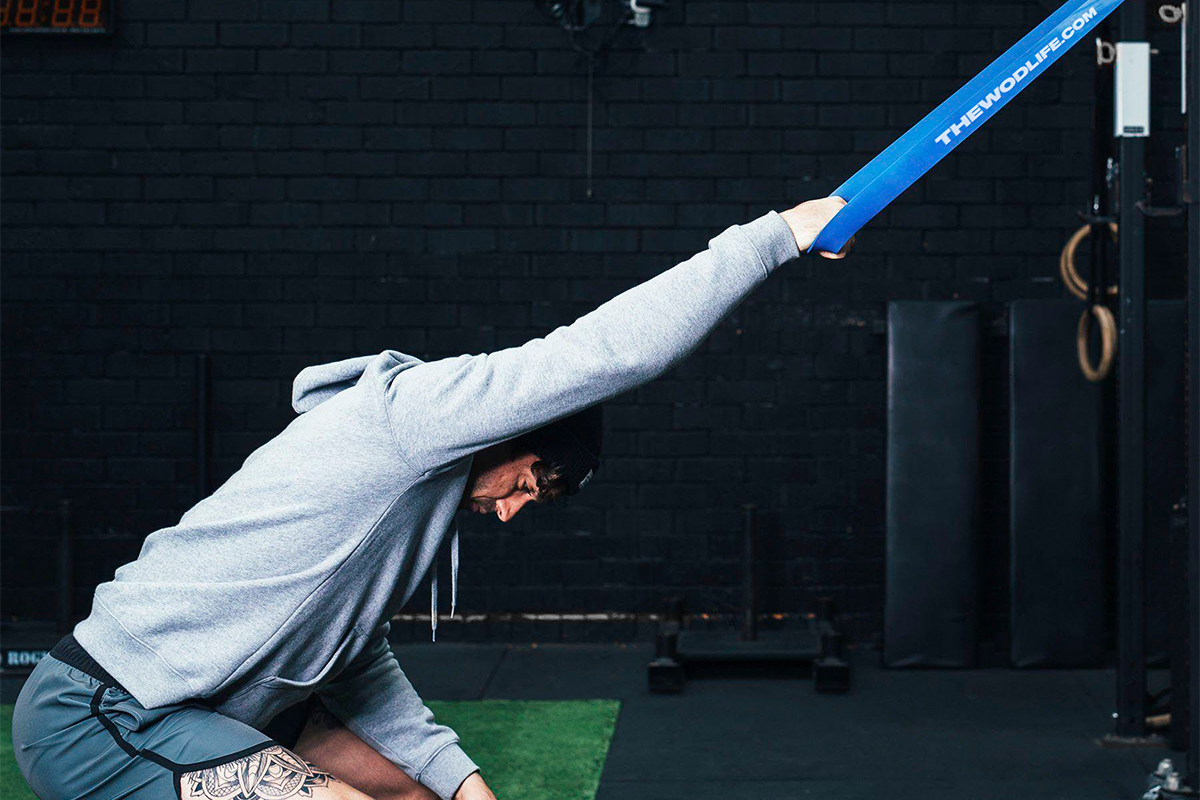
Secure the resistance band on a squat rack or any fixed object at eye or chest level. Stand with your feet shoulder-width apart and hold the ends of the band while at a safe, comfortable distance from the attachment point. The greater the distance from the anchor, the greater the tension and the tougher the workout will be.
Pull the band straight towards your body while standing upright. Only bend your elbows — don’t move your head or shoulder forwards. Pause for a moment before releasing the band and going back to the starting position.
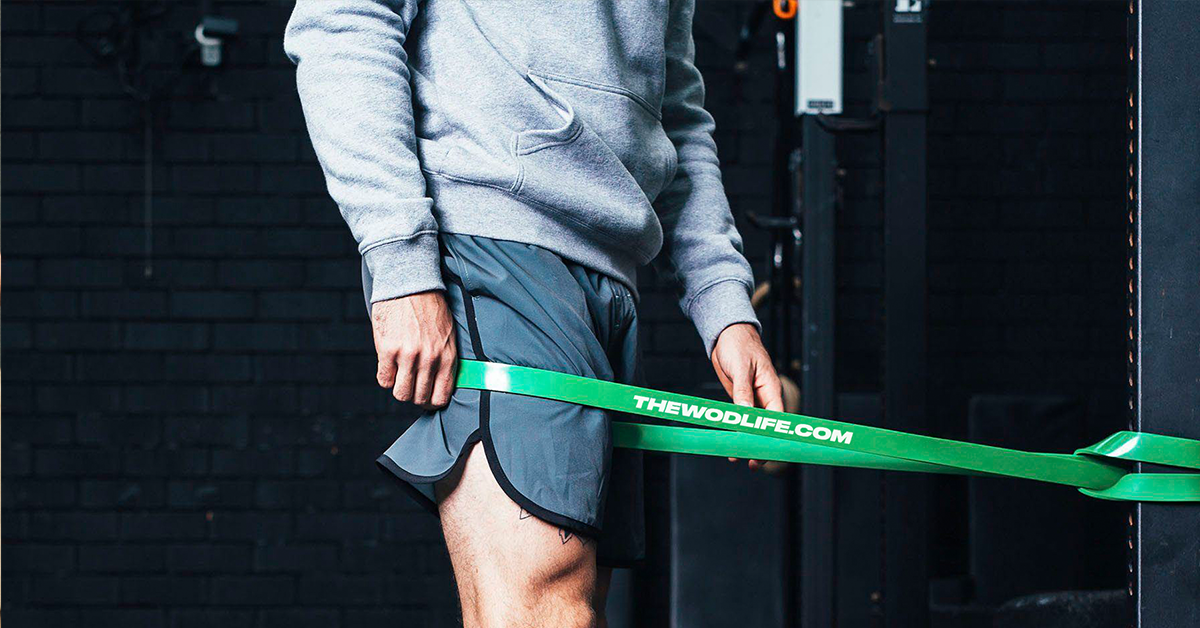
3. Deadlifts
Resistance bands make it possible to perform deadlifts without weights and bars. Start with getting your form right. Stand shoulder-width apart in the middle of a resistance band and grab its ends with each hand. To do this, slightly bend your knees and hinge your upper body forward at an approximately 45-90-degree angle. This is your starting position.
Squeeze your glutes and drive yourself upward. Your arms should be completely extended. Stay in the upright position for a moment before returning to the starting position for another repetition. Keep your back straight throughout the movement to maintain good form and technique.
4. Seated Row
Sit upright on the floor. Then, slightly bend your knees and place the band around your feet or the soles of your shoes. Hold on to each endpoint with your hands. Now, prepare yourself to pull the band. Sit tall, stretch your legs, and brace your core.
Pull the band towards your lower abdomen while squeezing your shoulder blades together. Keep pulling until your elbows are behind your torso. Pause for around two seconds before slowly extending your arms to return to the starting position.
5. Lat Pulldown
Attach the resistance band to a high, stable structure, like an elevated, wall-mounted hook or door frame. Stand, kneel, or sit on the floor. Then, extend your arms to hold the ends of the band with each hand.
Engage your core. Pull both ends of the band until it reaches your chest or waist. Pause for a moment to further engage your lat muscles. Don’t rush the movement. Gradually return to the starting position. It’s crucial to slowly get used to the routine by initially performing fewer repetitions and increasing it as you go along.
Try New Back Exercises with Resistance Bands Today
A resistance band is a small investment that can make a positive difference in every fitness program, especially in back training routines. Resistance bands are your best friends if you’re just starting to strengthen your upper- and lower-back muscles. Use them alongside weights and other training tools to improve spinal support, initiate more progress, and diversify your workouts. For holistic core strengthening, use resistance bands to improve ab strength and hip mobility as well.
To find the best resistance band to suit your fitness needs, check out The WOD Life’s collection today.