
If you want to deadlift more weight, there are a number of creative ways to build strength. In this blog, let’s talk about the rack pull! We’ll cover:
- What it is.
- What the benefits are.
- How to set up for the rack pull.
- How to perform it.
What is a Rack Pull?
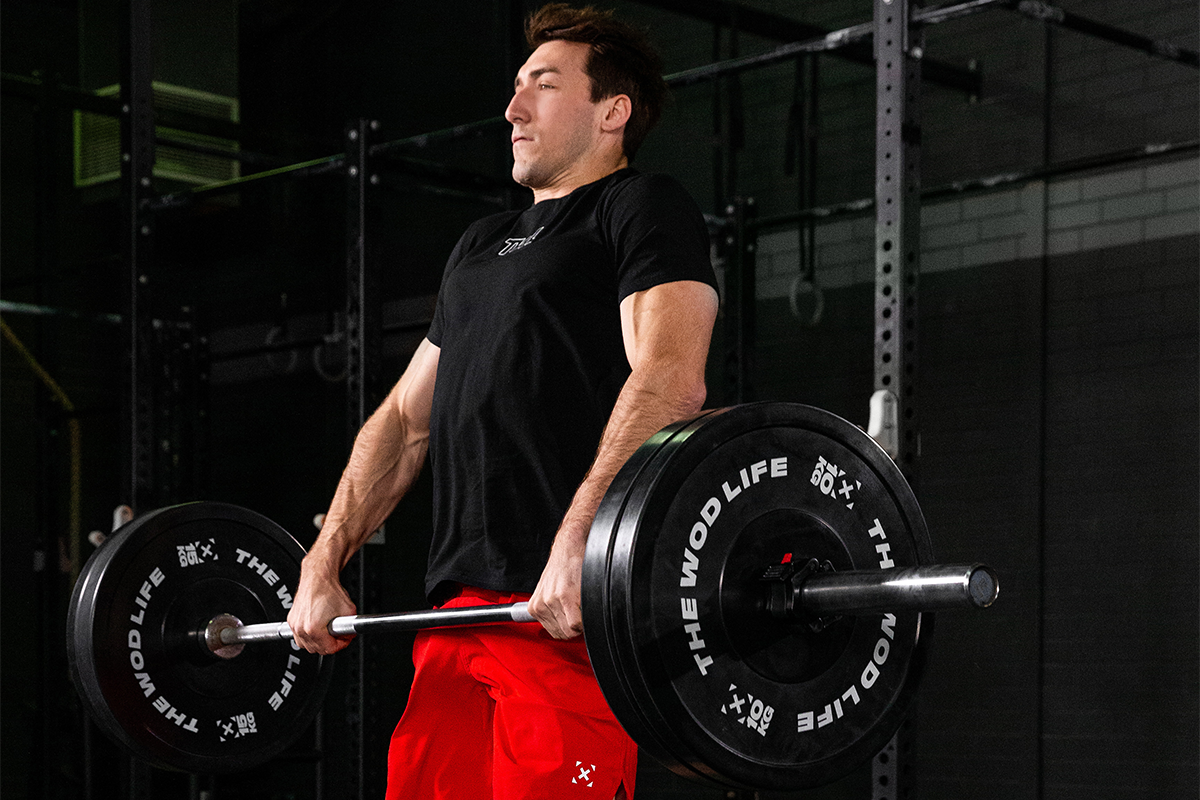
The rack pull is, quite literally, a pull out of the rack. But what does that mean? Basically, it’s a deadlift variation that consists only of the latter half of a deadlift. Essentially, it cuts the deadlift short. As opposed to pulling the barbell from the ground, you’re pulling it from pins in the rack, blocks, or stacked plates, with the barbell set up just above or below your knees. This is an excellent exercise to supplement your deadlift training.
What are the Benefits of a Rack Pull?
The rack pulls offer a number of benefits:
- The hardest part of the deadlift is the first few inches off the ground. So, this is what limits how much weight you can lift. Since a rack pull removes that part of the deadlift, you can pull much more weight.
- Because you’re able to lift so much more weight, you’re able to build significant strength in a new way.
- The rack pull also gives you an opportunity to simply feel what it’s like to hold more weight in your hands.
- It’s great for targeting the muscles of your posterior chain and especially your back and lats.
- The rack pull will help you build up grip strength.
- Similar to clean pulls, it translates to many things you do in the gym outside of deadlifts, including cleans, which technically start with a deadlift/pull.
How to Set Up for the Rack Pull
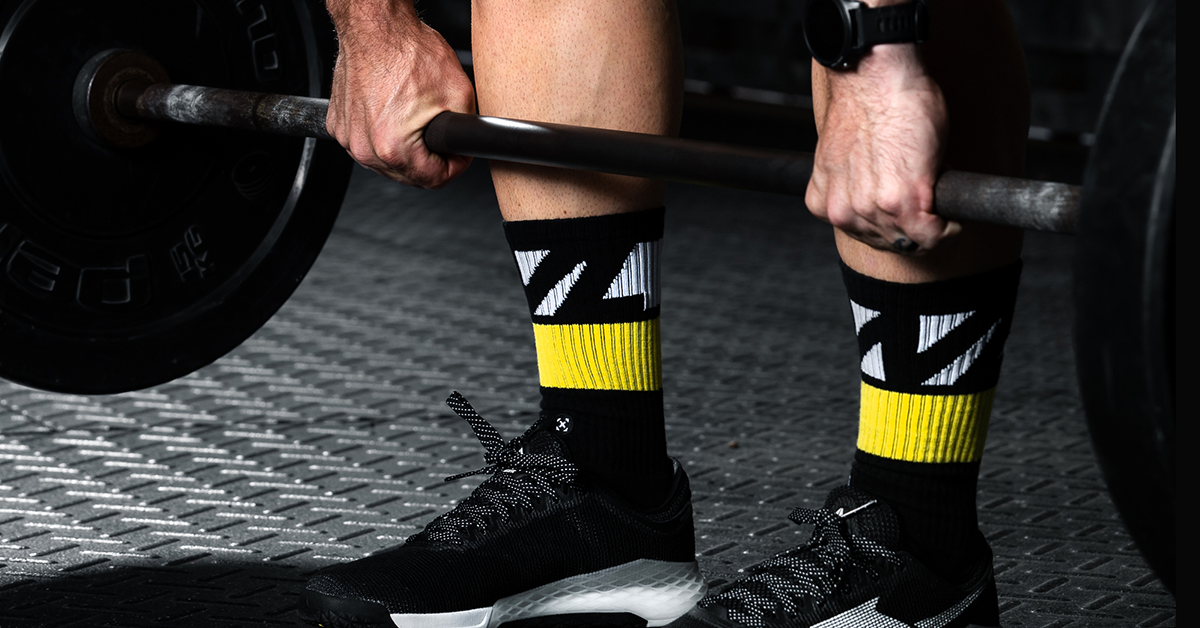
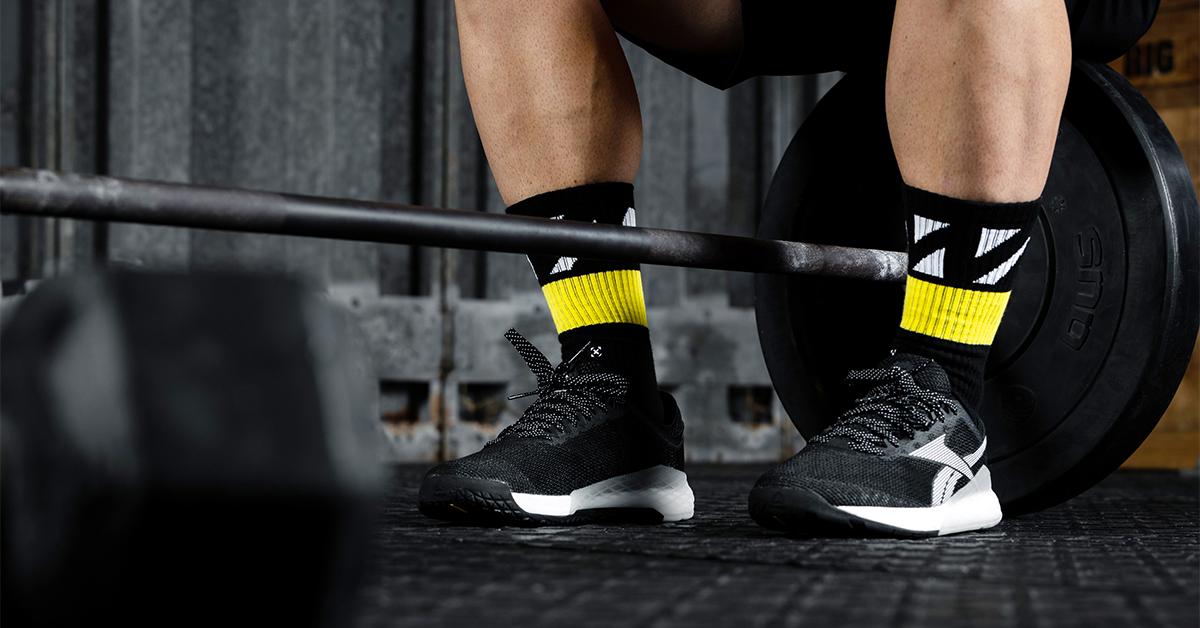
As we mentioned, you can perform the rack pull from pins, blocks, or stacked plates. Whatever setup you choose, you’ll likely want something that lifts the barbell off the ground between six and 12 inches. The benefit of using pins is that you don’t have to be as careful to set the plates down on such a small surface (like plates or blocks). However, plates and blocks also protect the knurling of your bar.
At the end of the day, don’t sweat it! Use whatever equipment you have and roll with it.
Shop Now
To start, pick a weight that you know is safely manageable for you. Don’t try to go heavy quite yet. This is going to be a novel stimulus, and while the rack pull allows you to lift more than you can traditionally deadlift, in the beginning, it might be the opposite. This is just because you’re getting used to the movement.
Once you have your equipment set up, you’re ready to go!
How to Do Rack Pulls
We think this video explains it nicely. Check it out, and then we’ll break the rack pull down into a few simple steps and tips.
Here are a few things we want to highlight.
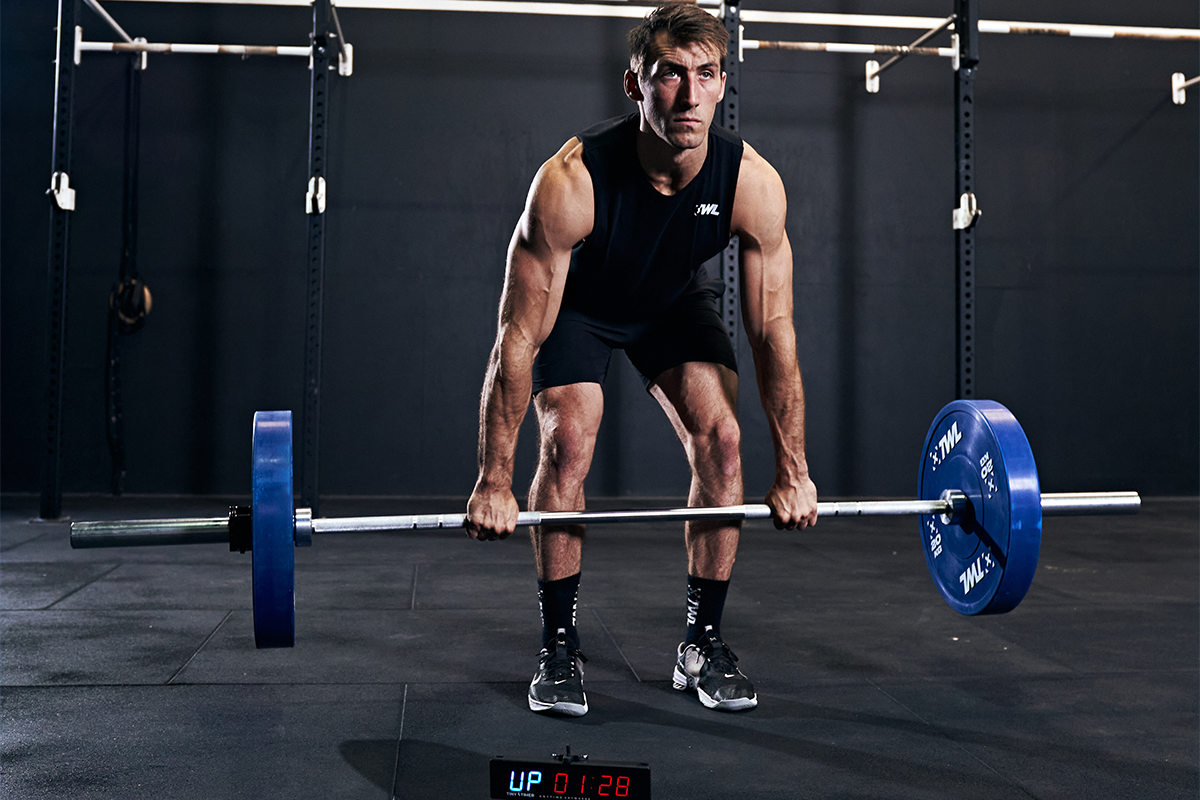
1. Start with Your Shins Up Against the Bar
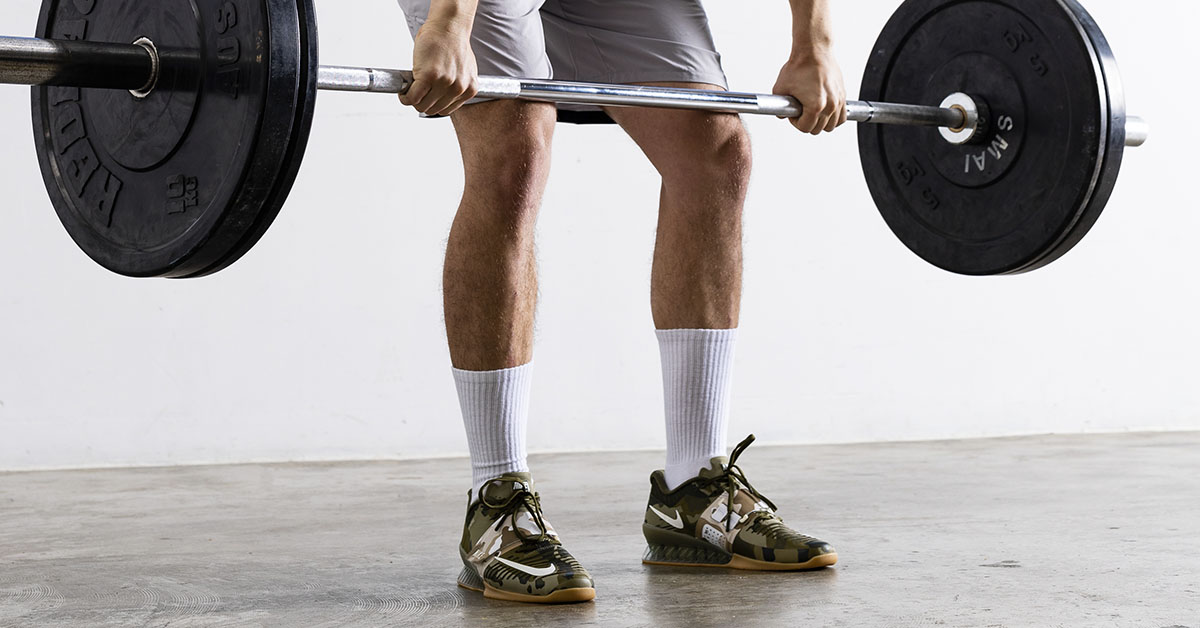
With the traditional deadlift, you start with your shins a couple of inches off the bar. Thus, the bar is aligned over the center of your foot. But the traditional deadlift also starts from the floor.
With rack pulls, considering they start around knee height, you accommodate this change by adjusting your starting position.
2. Soften Your Knees Slightly
With a deadlift that starts from the ground, you need to bend your hips and knees more in order to meet the bar with your chest parallel to the ground. But with rack pulls, the barbell is higher, which means your torso doesn’t need to be as folded and your hips and knees don’t need to be as bent.
3. Keep Your Head and Spine Neutral
One common mistake that athletes make with deadlifts and pulls, in general, is either (a) rounding their spine or (b) forcing their neck into an awkward position so that they’re able to look up as they lift. Both of these are incorrect and can lead to injury. Pulling weight off the ground with a rounded spine means your core isn’t engaged and your spine is incredibly vulnerable. Looking up means your spine is out of alignment, and the results can range from discomfort to full-blown pain. Also, when you’re out of alignment, you can’t lift as much.
Think of forming a straight line from the top of your head all the way down to your hips. If your spine is curving in either direction, pause, stand up, realign yourself, and try again.
4. Gear Up Wisely
If the focus here is to build strength, then you want to rely on your own raw strength/power as much as possible. Rack pulls don’t typically necessitate a weightlifting belt, since you’re not pulling from the ground anyway. You also won’t likely need knee protection like sleeves or wraps.
However, weightlifting straps can come in handy as you approach your max weights. Try to save them for the end, so that you can keep building up your grip strength. But once your grip becomes the limiting factor, it’s time to strap up!
Shop Now
5. Start the Pull Tight
Starting a pull from the middle of the lift is awkward. You almost don’t even know how to start. Athletes aren’t used to the sensation of pulling a bar from a dead stop that’s around their knees. But the sample rule applies as if you were pulling from the floor: Squeeze your core and engage your back before you start pulling.
Pulling any weight off the ground without engaging your muscles first means you won’t be able to lift nearly as much. Also, it can lead to injury.
6. Keep the Reps Low and the Weight High
One of the main purposes of rack pulls is to lift more than you currently can with a deadlift. Lowering the weight to perform more reps kind of defeats the purpose (although it would still offer some benefits).
Athletes commonly keep their rack pulls to rounds of 5 reps or fewer. This allows you to focus on going heavy while maintaining the proper positioning.
Rack pulls are an awesome opportunity to build full-body strength and increase both your deadlift and clean numbers. Give it a shot and let us know how it goes!
Learn more about how to use straps for deadlifting.